Sustainable Fashion On A Budget
Sustainable Fashion On A Budget

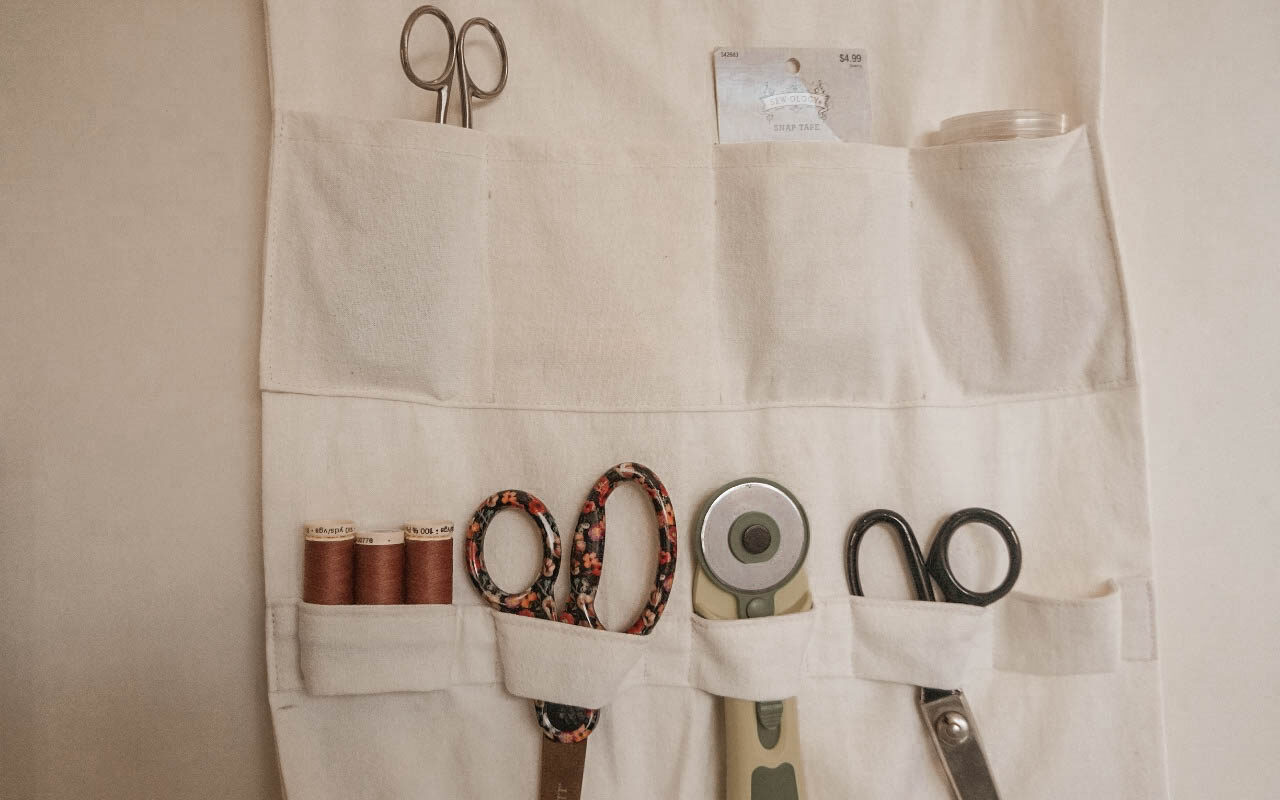
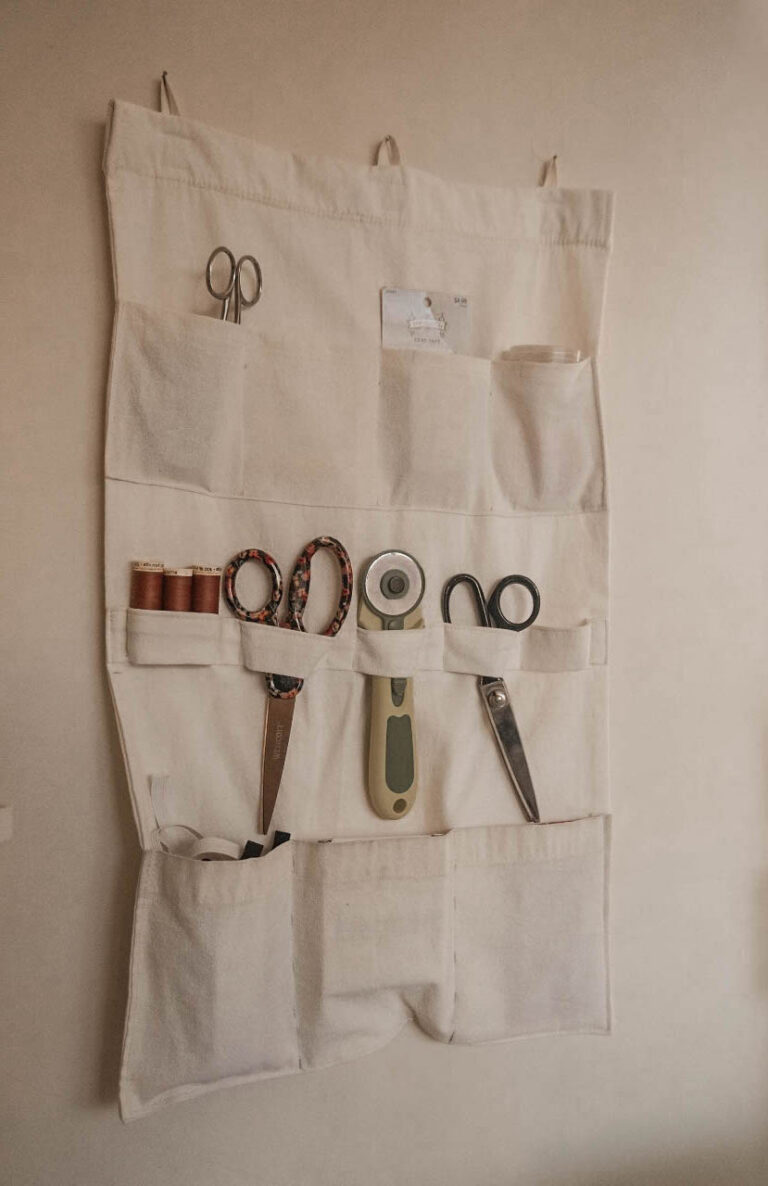
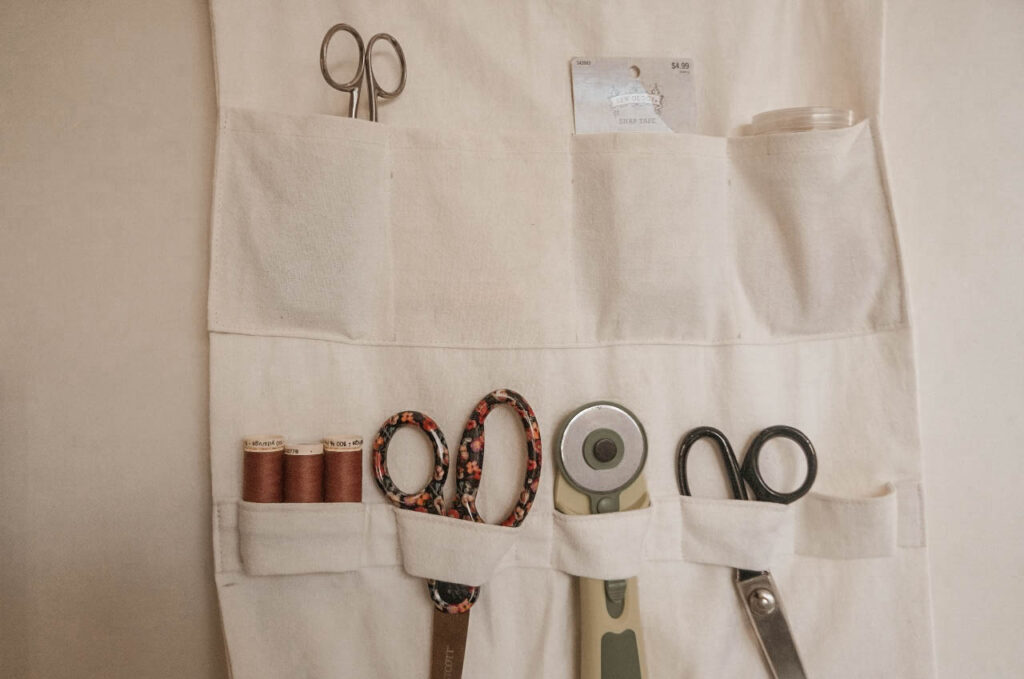
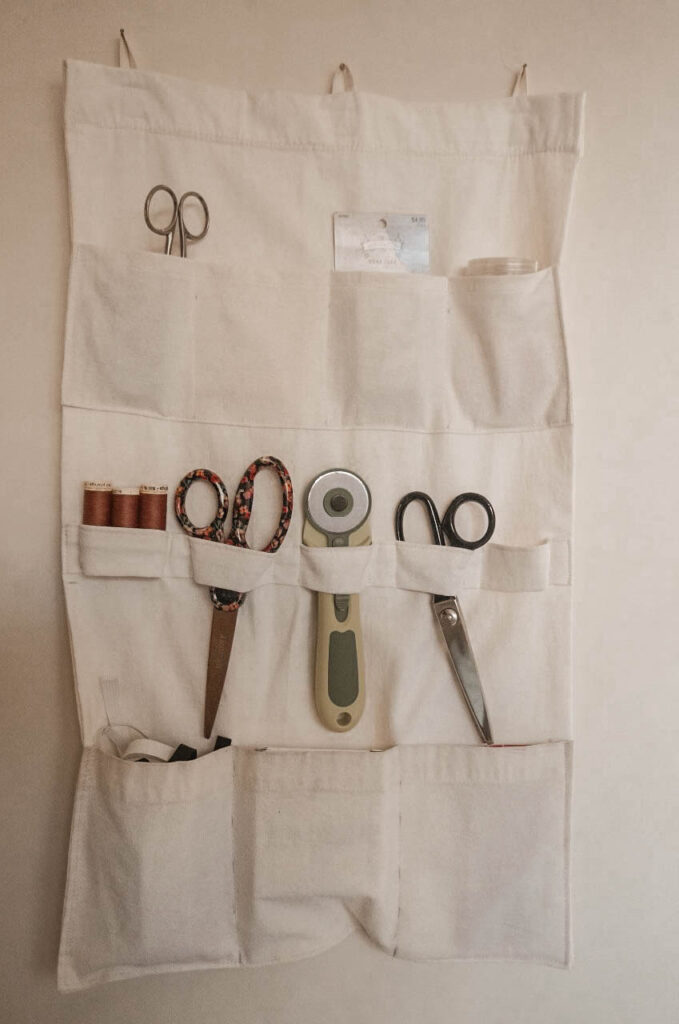
If you’re like me, you love crafting and having your tools in place so it’s easier to grab them. This Wall Pocket Organizer tutorial is perfect for you.
It will help you organize different things like your sewing tools, office or crafting supplies, accessories, or anything that might need order.
If you have a low budget you can find a second-hand curtain and use the fabric. Just like I did, my mom gave me this old curtain that she was not going to use anymore and I repurposed it here. It is good for the environment and your wallet. 🙂
*If you’re doing this by hand, I recommend doing a very close stitch or double stitch to ensure it won’t break, since it will have to support heavy items.
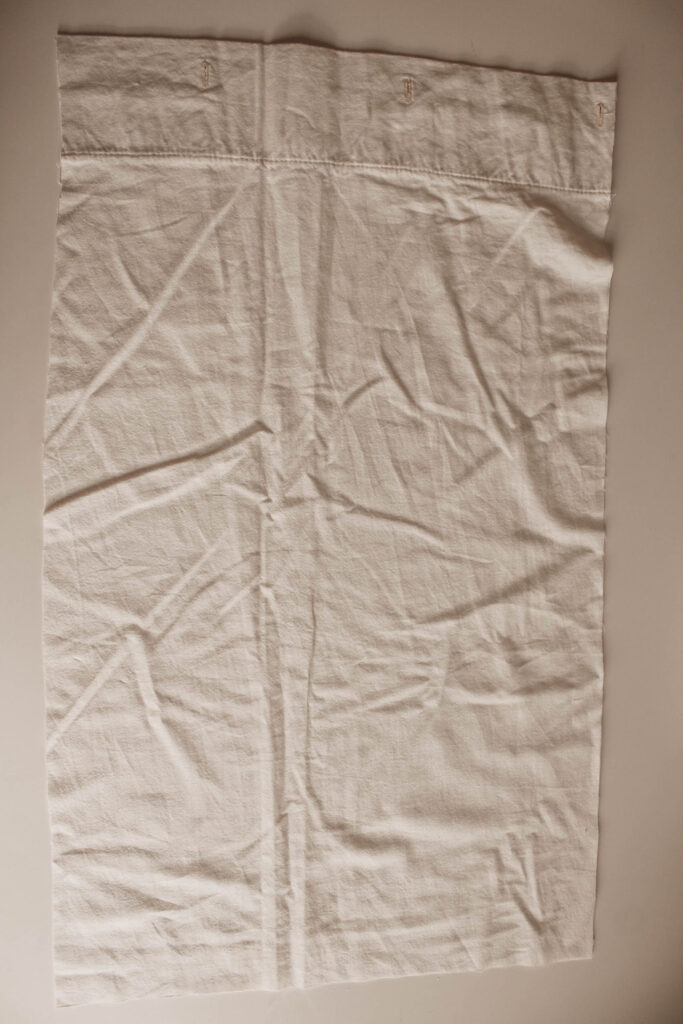
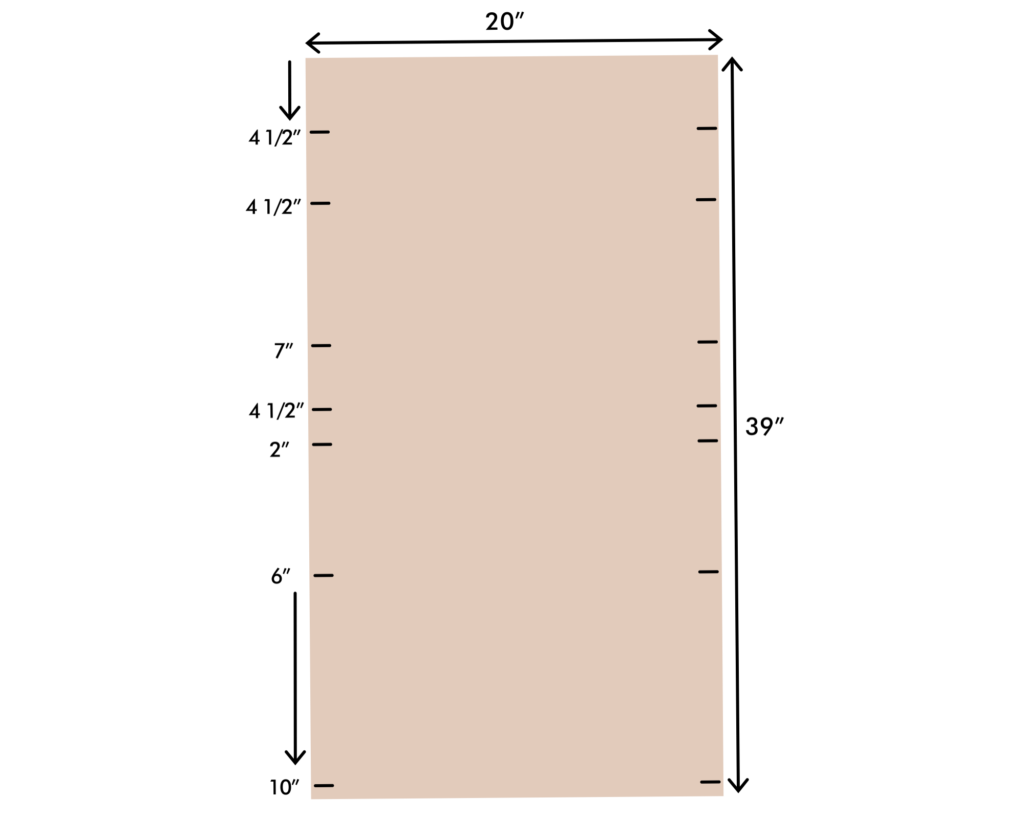
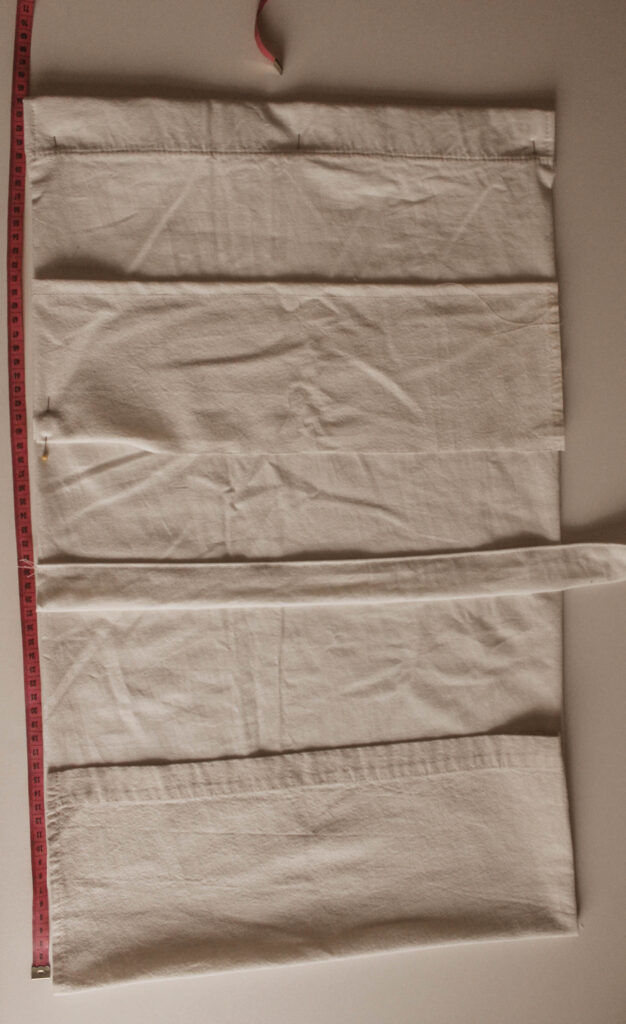
Take your fabric and extend it. Trace a rectangle of 20″ x 39″ and cut it. This will be your base.
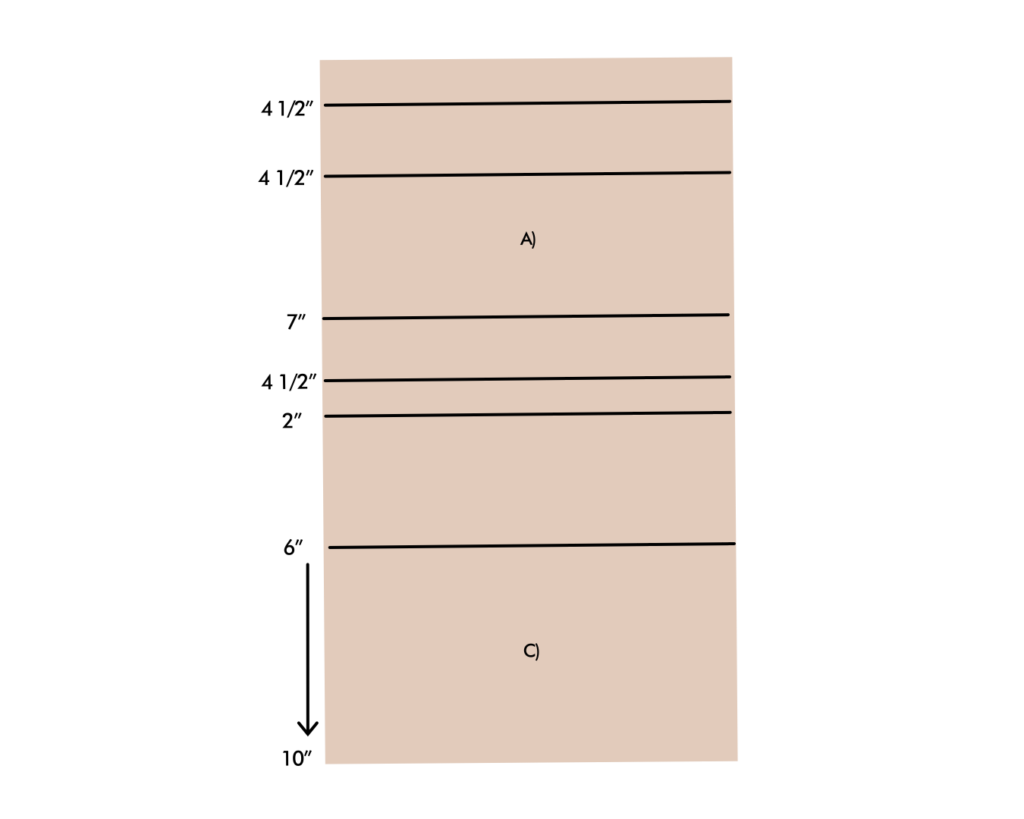
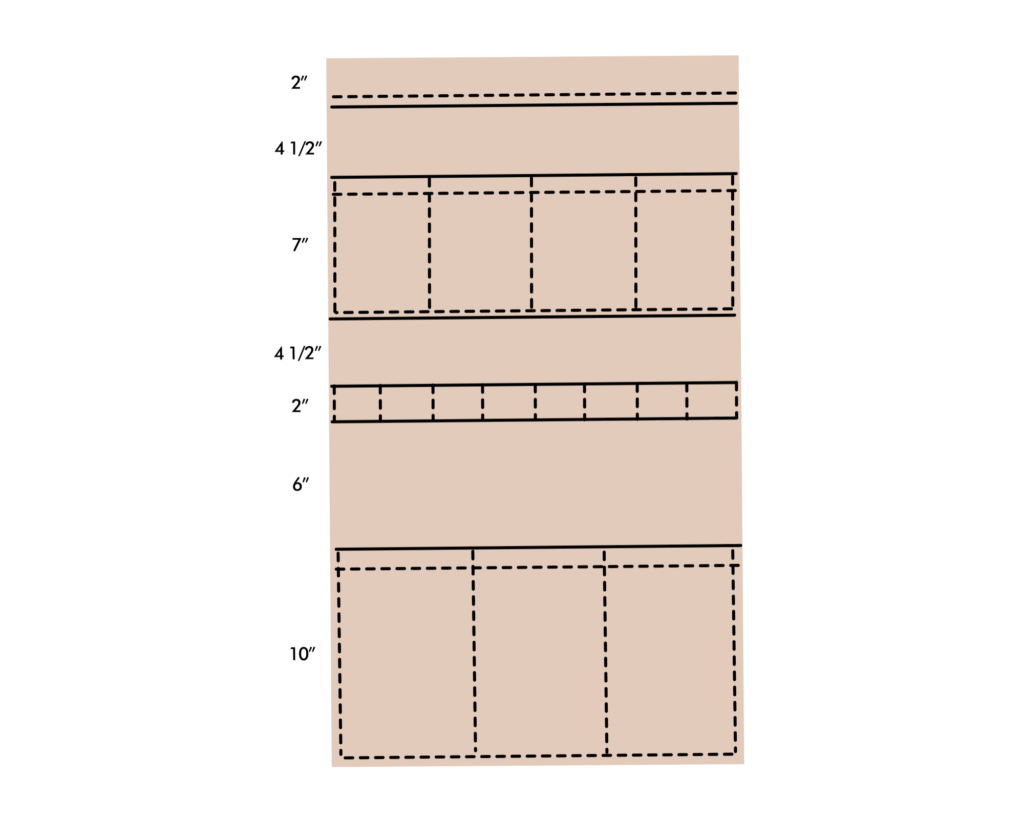
Make these marks to your base piece. Follow the picture.
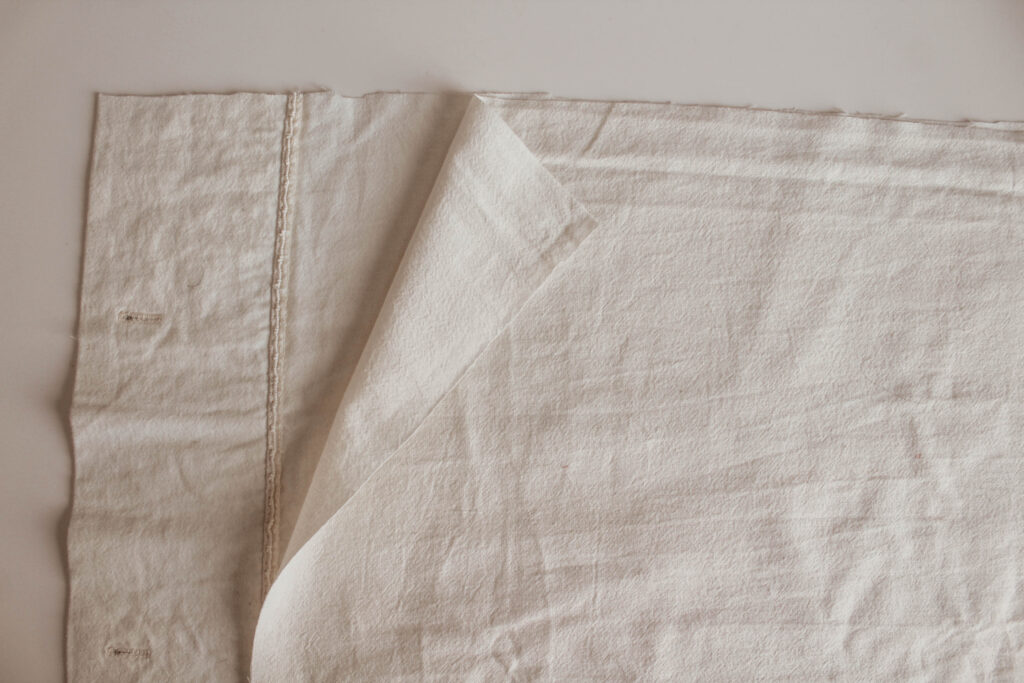
**If your fabric is not as thick as canvas fabric, you’ll need to cut two of these rectangles.
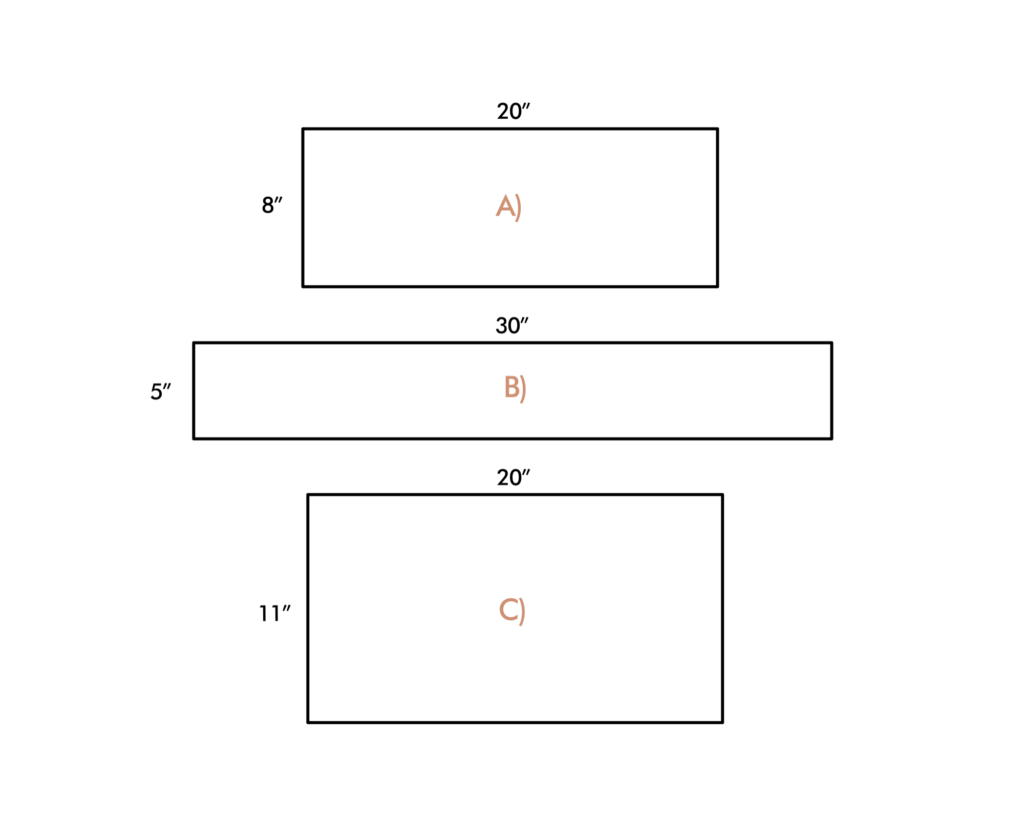
Then, trace three more rectangles.
Cut them, these are your pocket pieces.
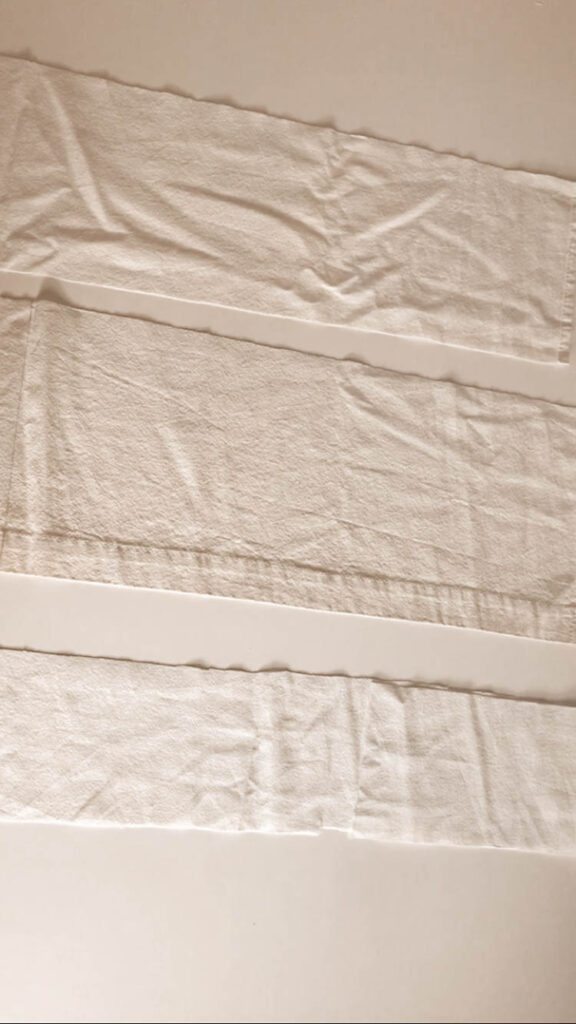
Finally, cut a long stripe which will be for the hoops. A rectangle of 12” X 2”.
Now, to prepare the hoops you’ll need to make a long strap.
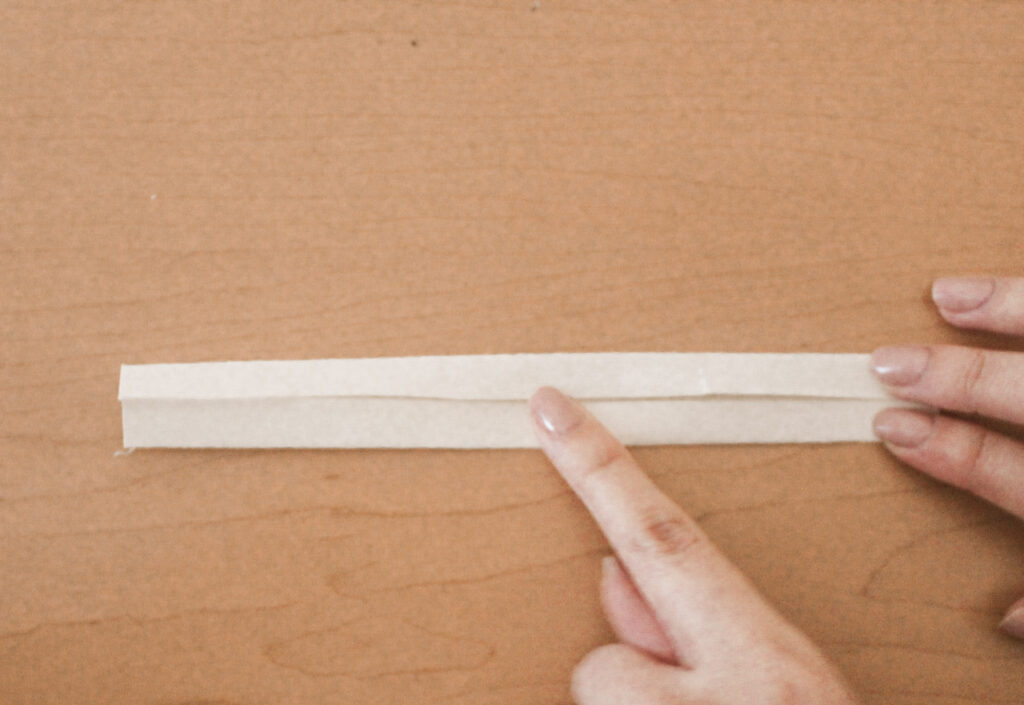
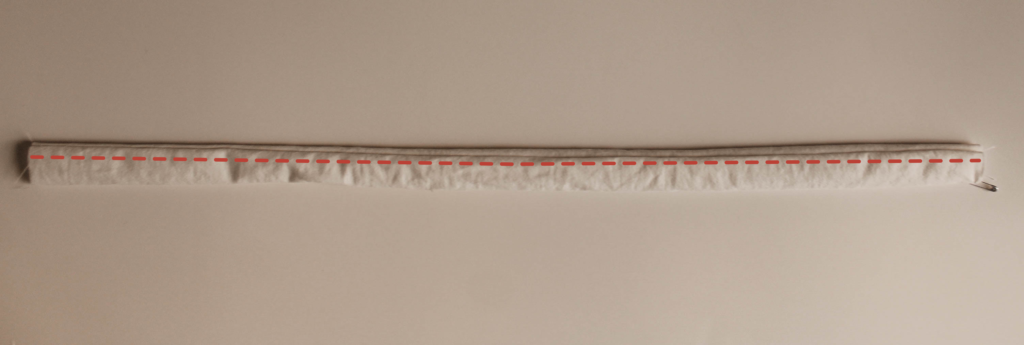
Take the long stripe and fold it similarly to a bias tape. Fold ½” on both edges, to the center of the stripe and to the wrong side of the fabric. Then with those folded, fold again in half.
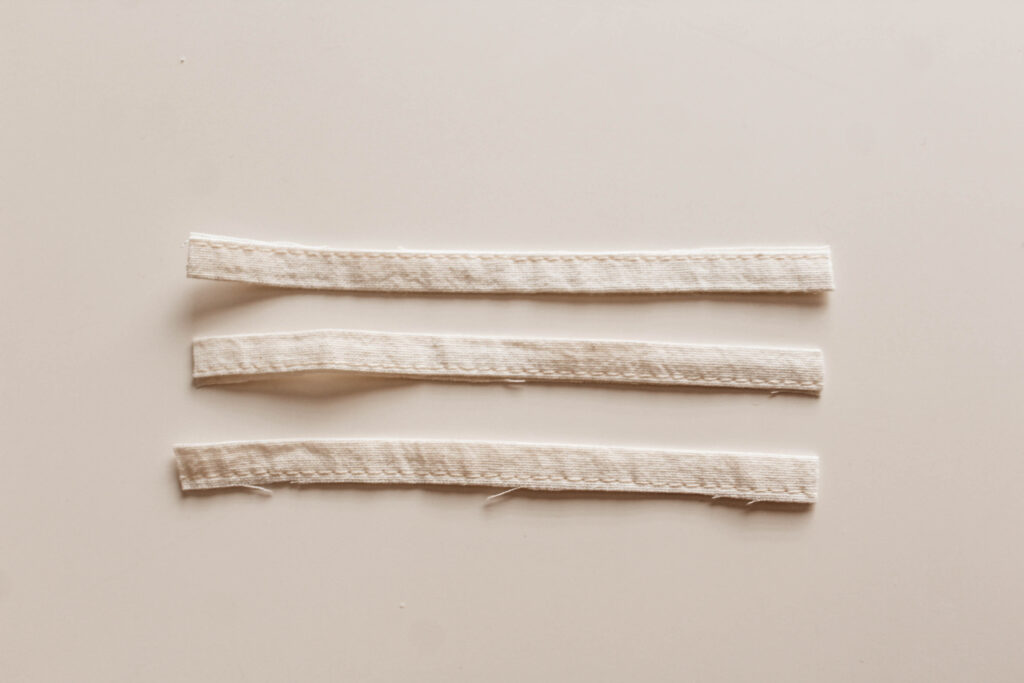
Make a stitch all the way of the strap, close to the edge.
Cut it in three.
Make the hem to the top of the pocket pieces, fold 1/2” to the inside, and sew close to the edge of the fabric. Do that to the pieces A) & B).
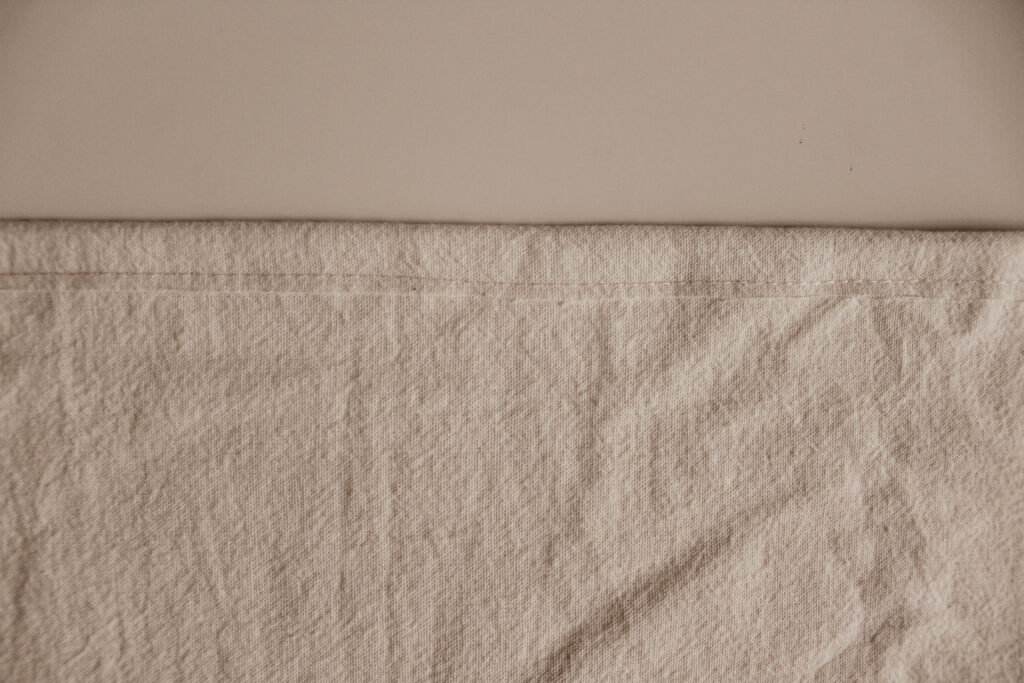
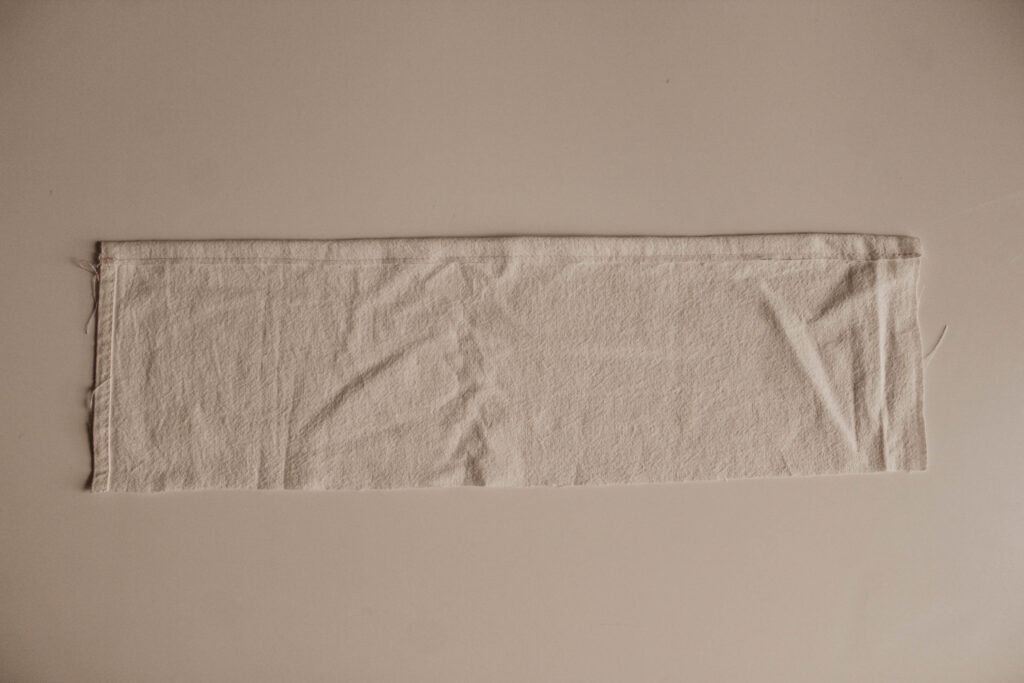
Sew the hem of the base piece, do it to all the sides except for the top part (fold 1/2″ to the backside of the fabric).
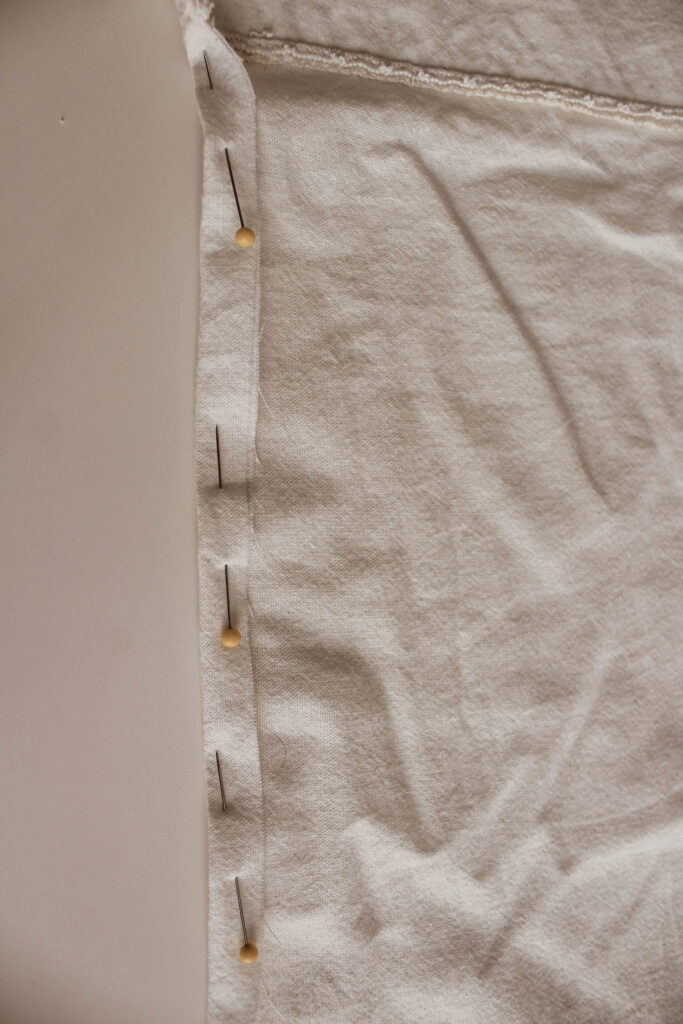
The top part needs a bigger hem, fold to the back 1/2“, and then 2”. Sew that to keep it in place.
Since my fabric already had a hem, I took advantage of that, and on the top part, just fold it one time to the backside.
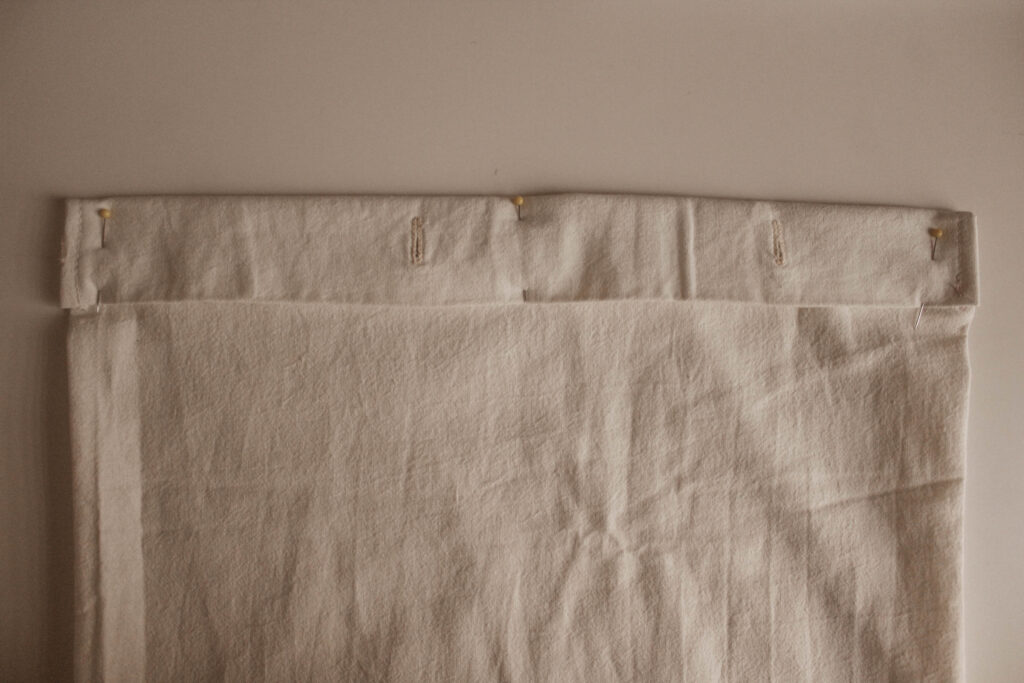
**If you cut two rectangles, instead, you’ll need to join those pieces together by sewing all the sides, except for the top part. Face right sides of the fabric together and sew the sides and bottom, with ½” of the seam allowance.
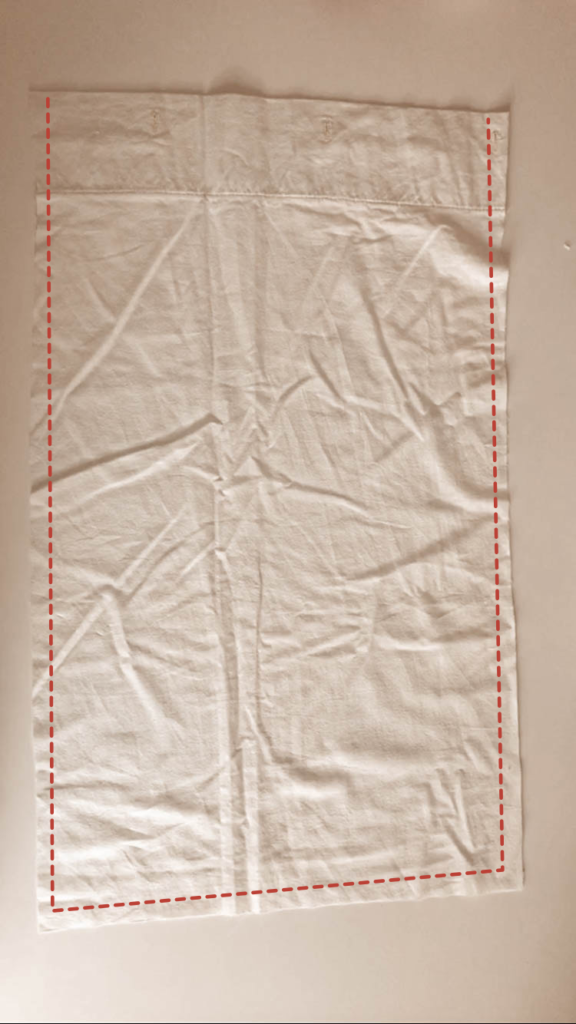
Take your A) and C) pieces and place them with the hem side on top.
I made a diagram so you can see more clearly which marks help you to place these pieces.
Once you’ve placed them, fold 1/2″ of the three remaining sides to the inside. You can use pins or clips to keep it in place.
Make a stitch on those edges you just folded.
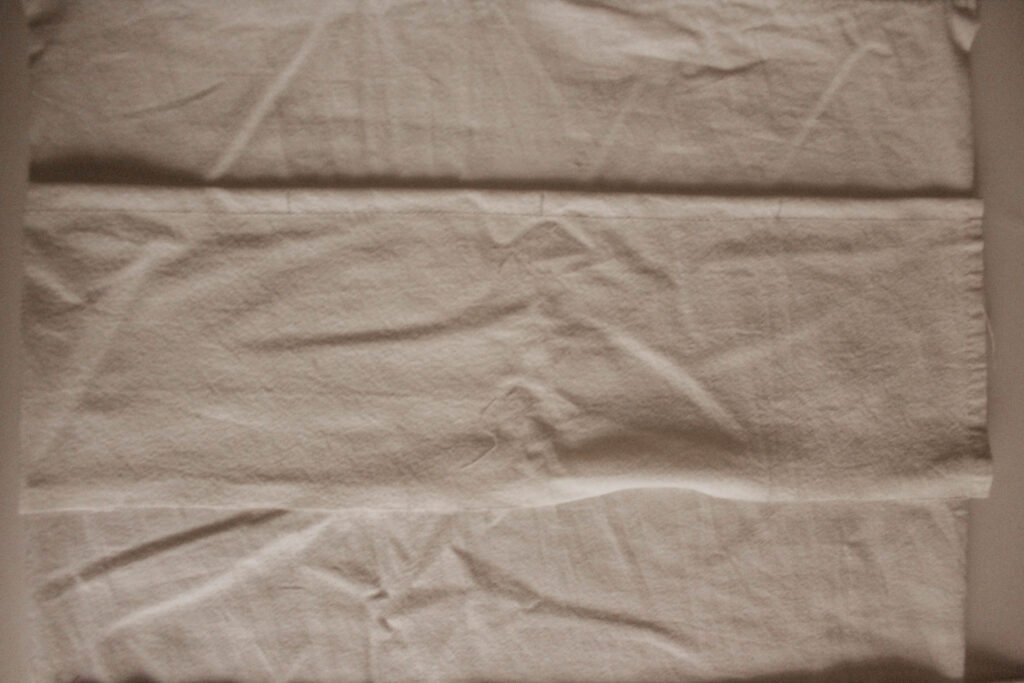
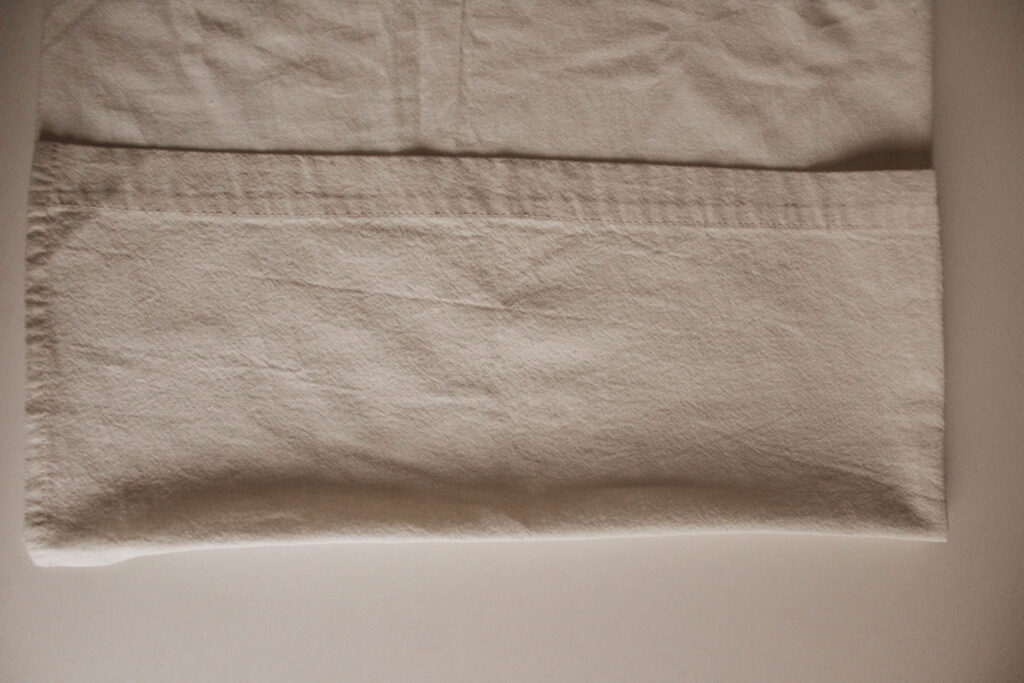
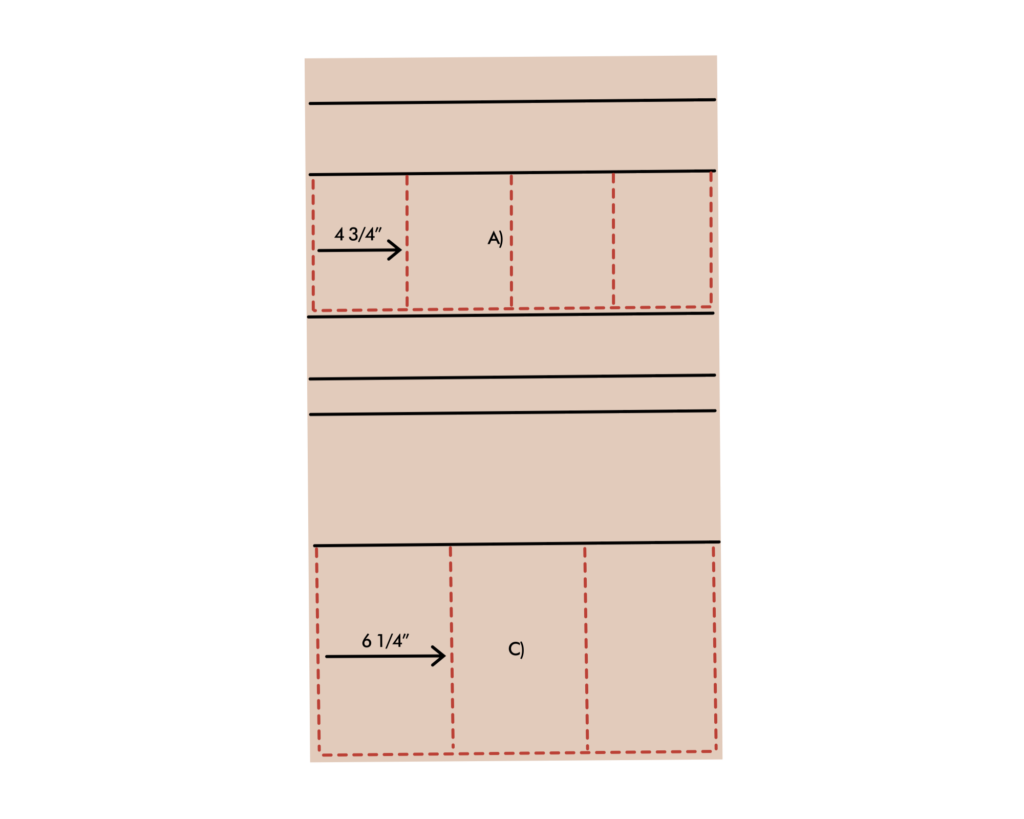
Then, to make the pockets you’ll have to divide the piece A) in FOUR and the piece C) in THREE.
Make a few marks with a pencil or chalk on those divisions and then, make a stitch on those marks.
For me, it was 4 3/4″ each division on piece A, and 6 1/4″ on C).
Now, prepare the B) piece. Fold ½” on both sides and fold those again in half. Just like we did with the straps but this one will have 2” in width. Sew it close to the edge.
Next, place that piece (B) to the base where the marks are. This piece should be placed 4 ½” below piece A).
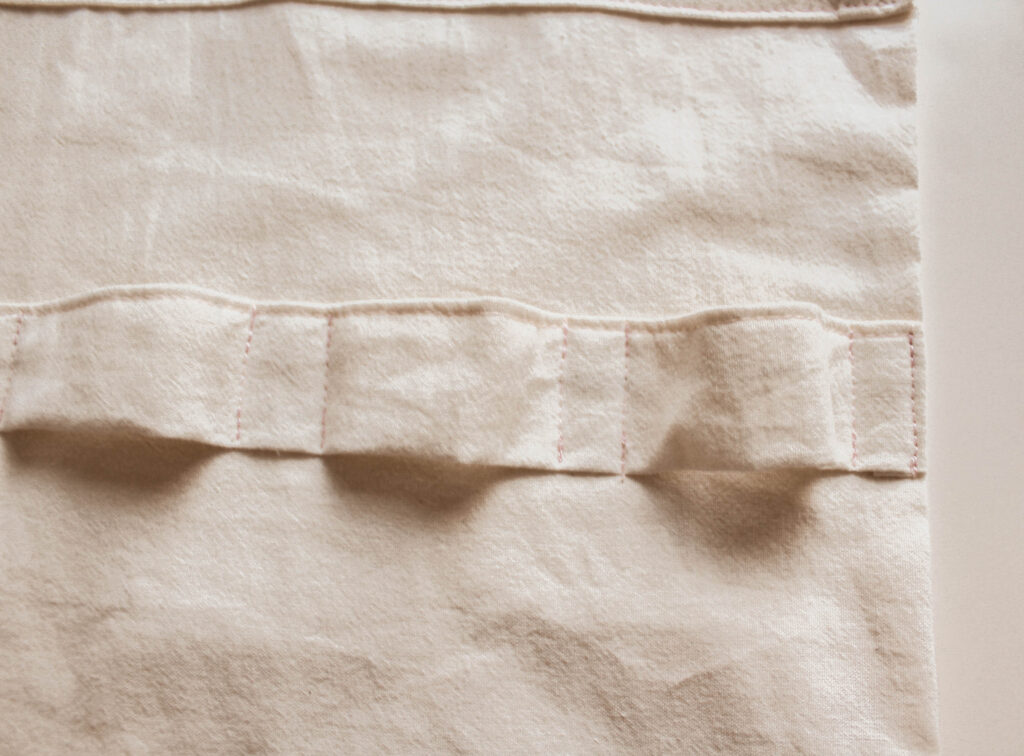
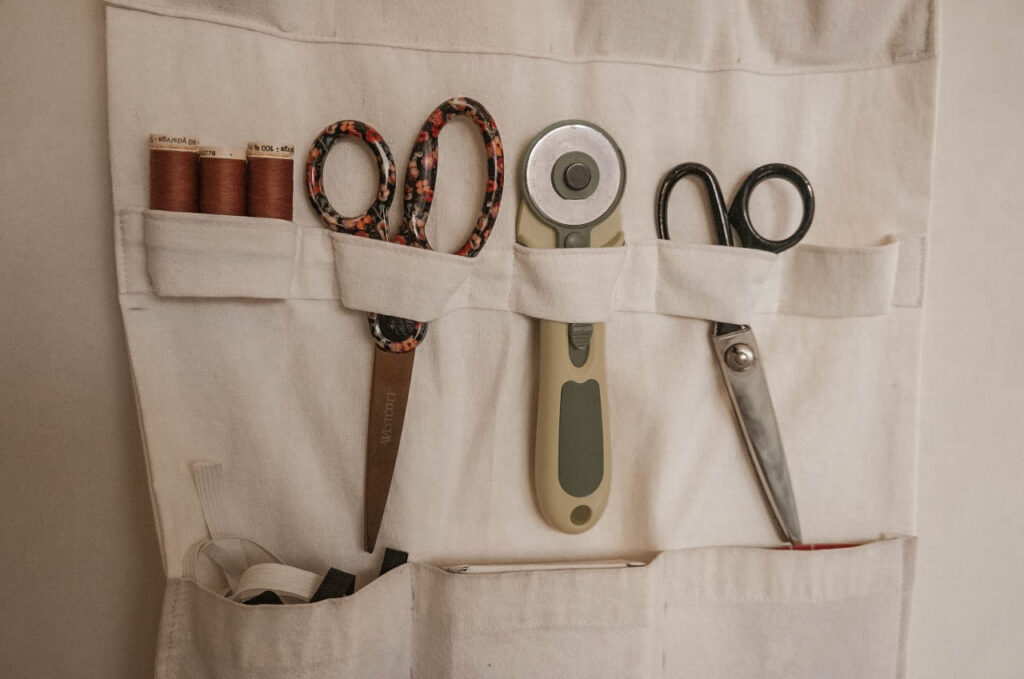
Time to make the loops for your tools. Fold in ½” of the left side of B) and place it at the mark. Sew that to keep that side in place.
Then, leave 1/2″ to the right. Put a pin there. Next, leave space for the loop by placing three or two of your fingers down the piece B). You can choose if you’d like bigger or smaller hoops. Depends on your tool’s size. Put a pin there as well.
Just like the second photo.
Keep doing those steps until you’ve reached the other end of the base piece.
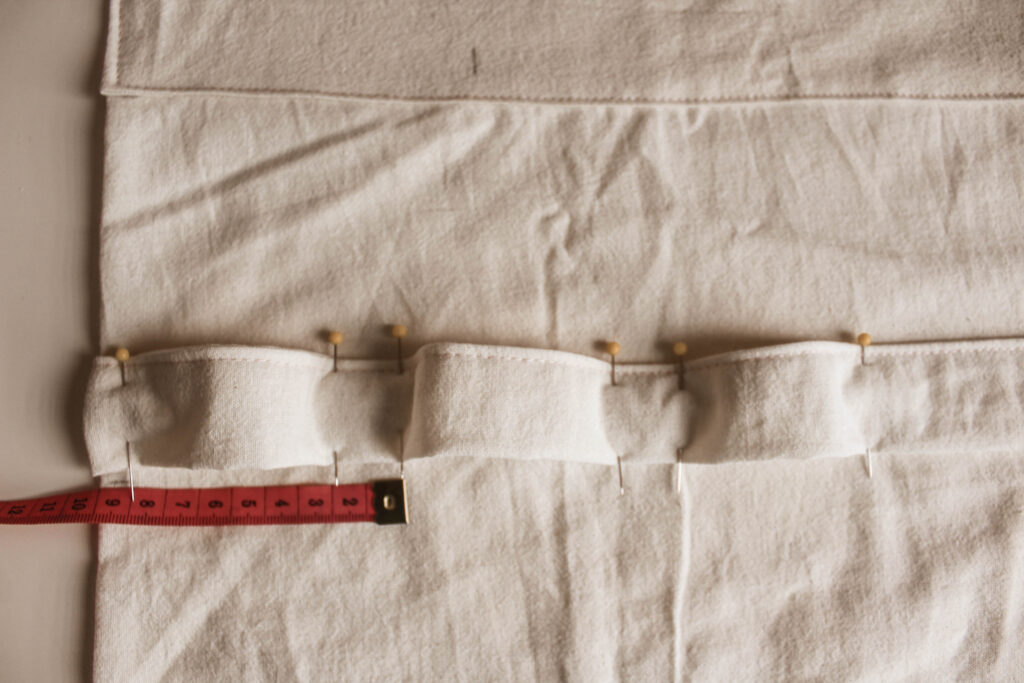
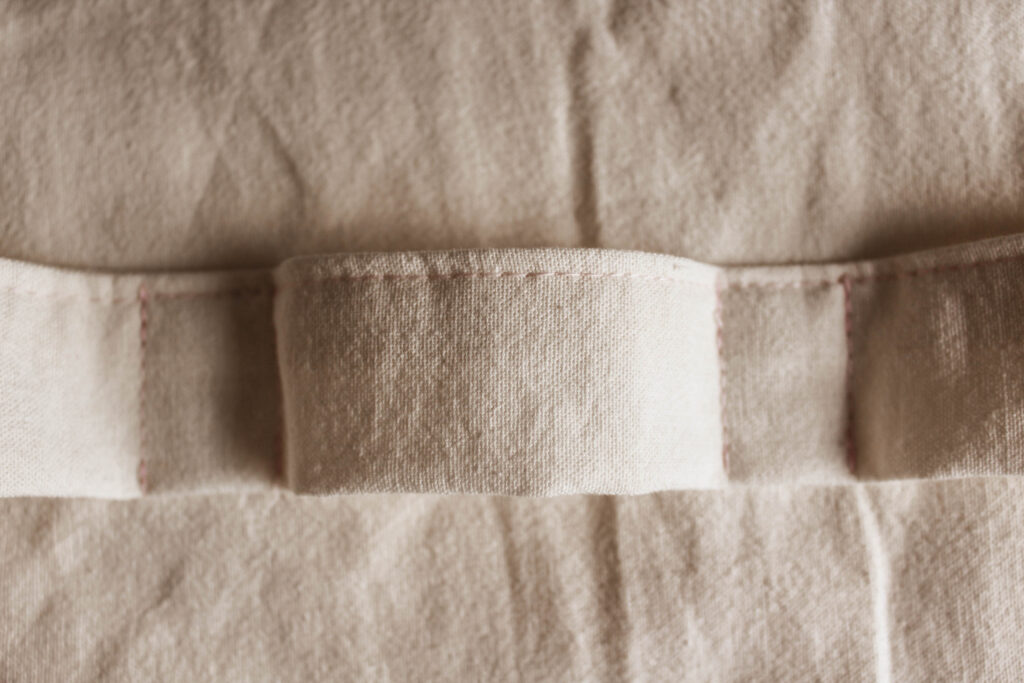
When you reach the end you can cut the excess. Just make sure to leave 1/2″ to fold in to hide the edge.
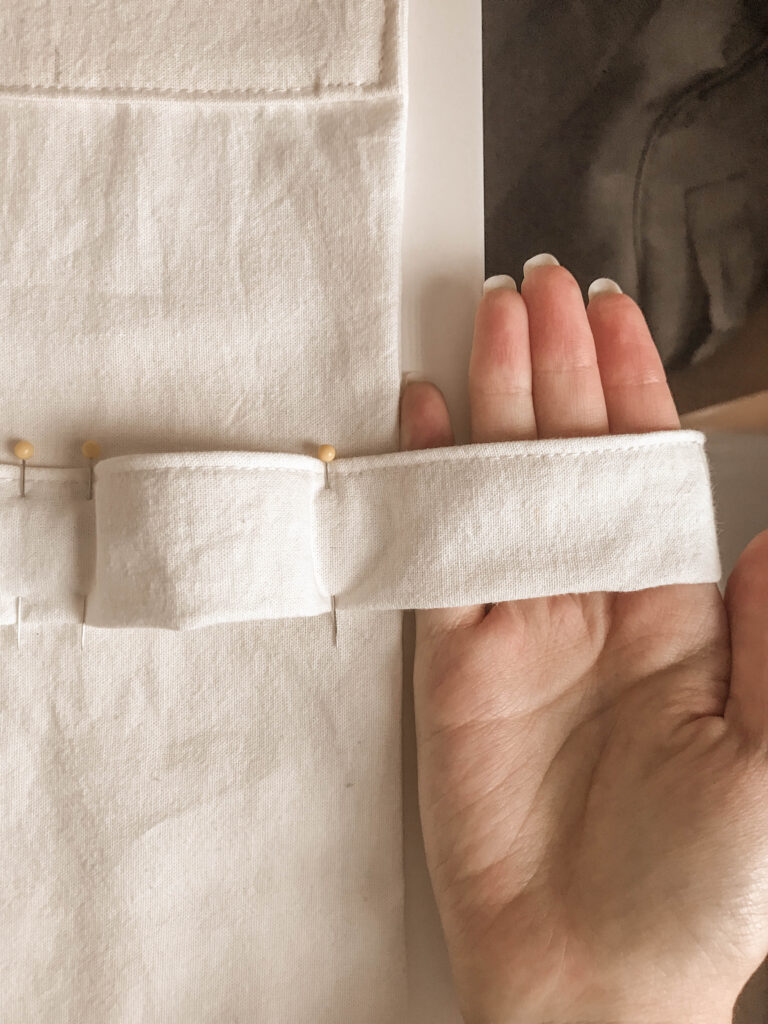
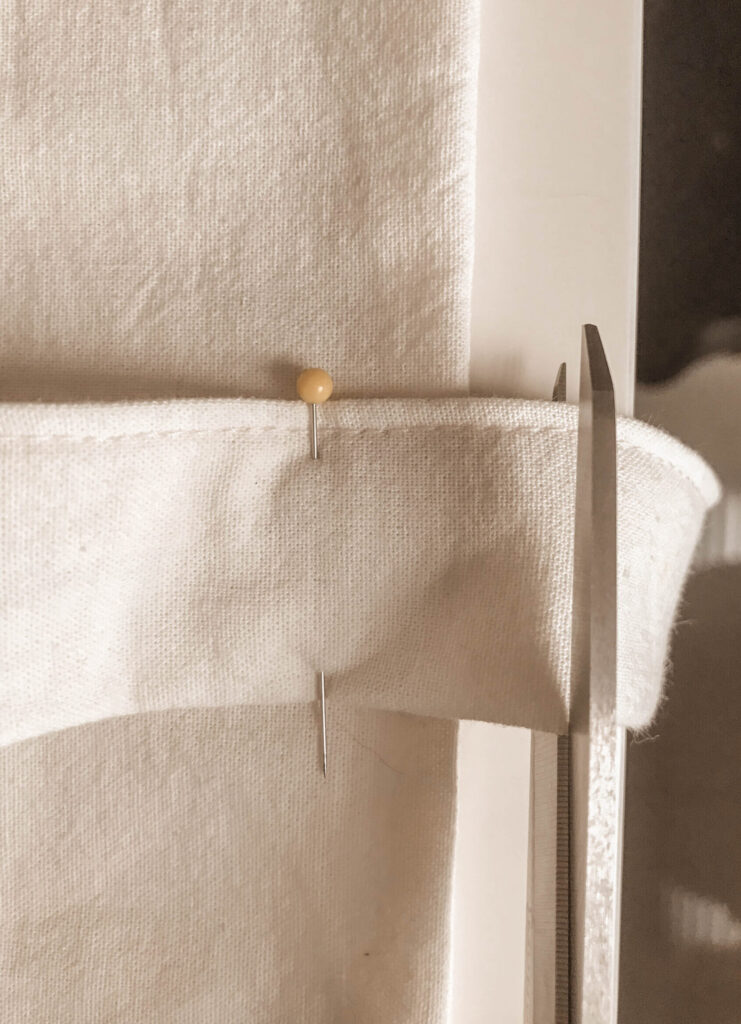
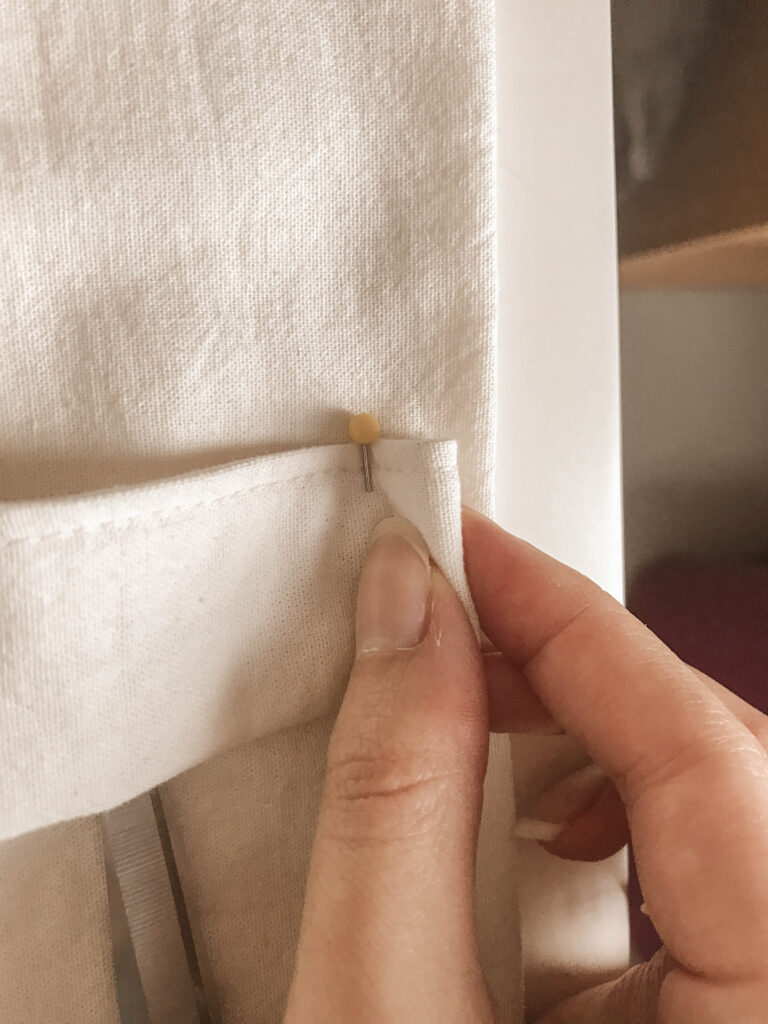
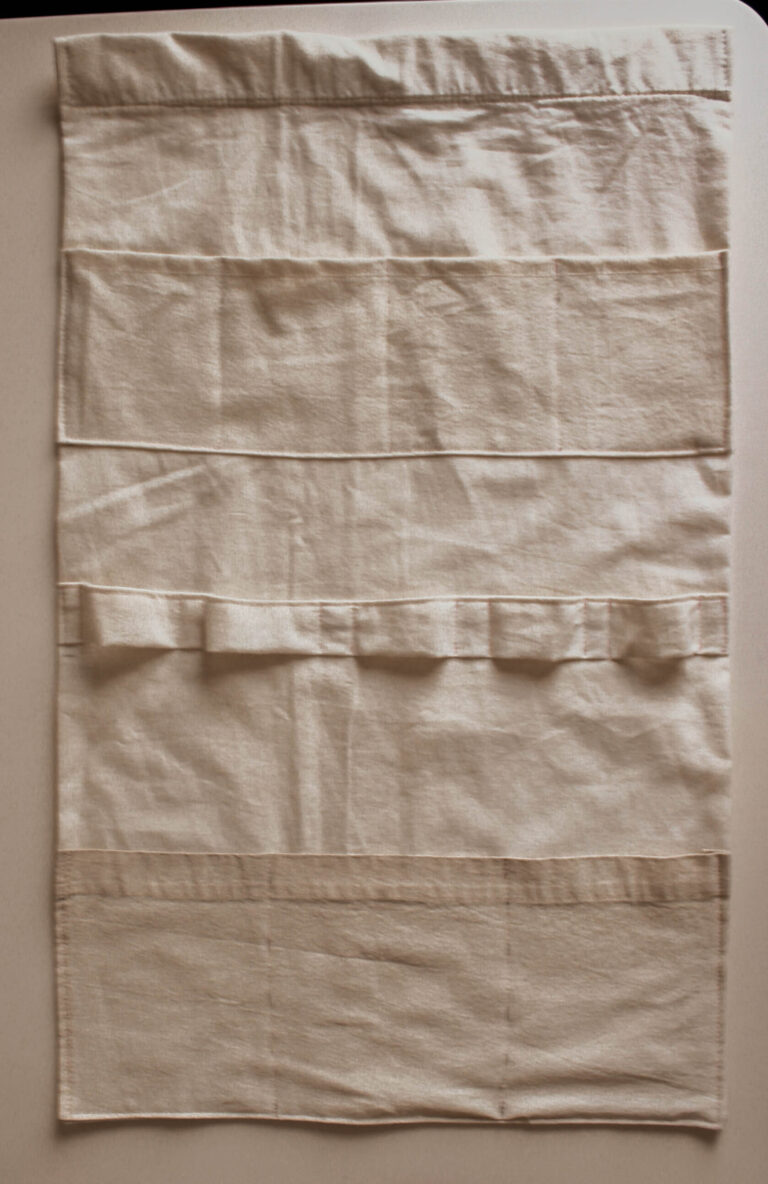
Sew those in-between parts like the picture. Remove the pins as you’re sewing them.
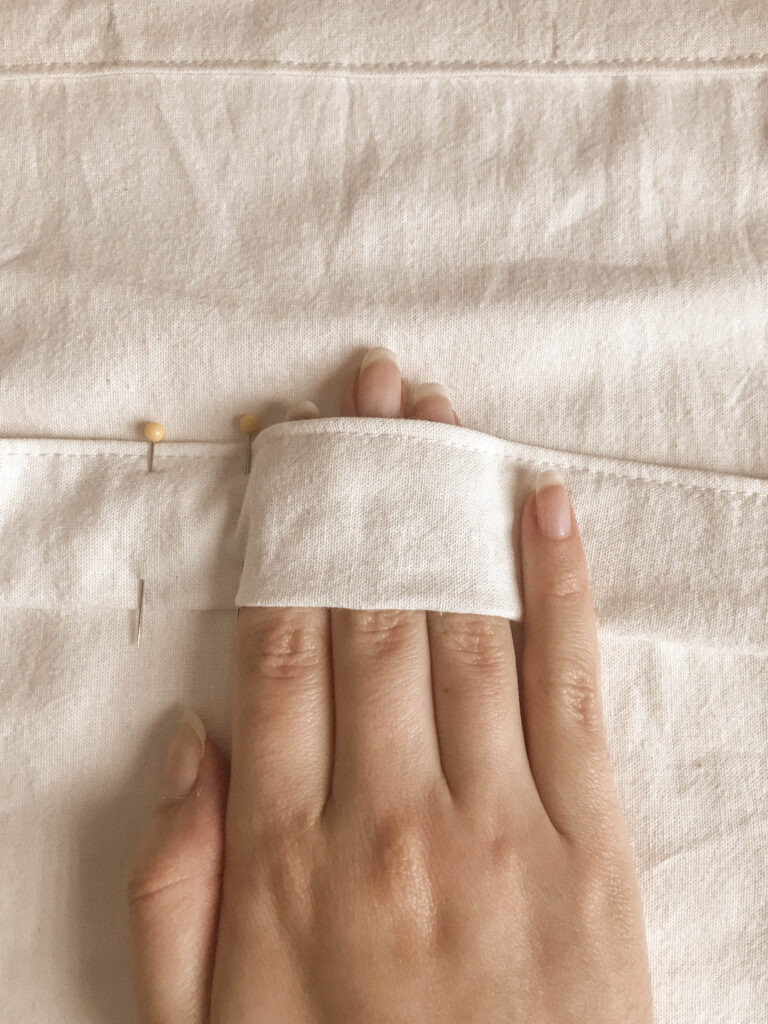
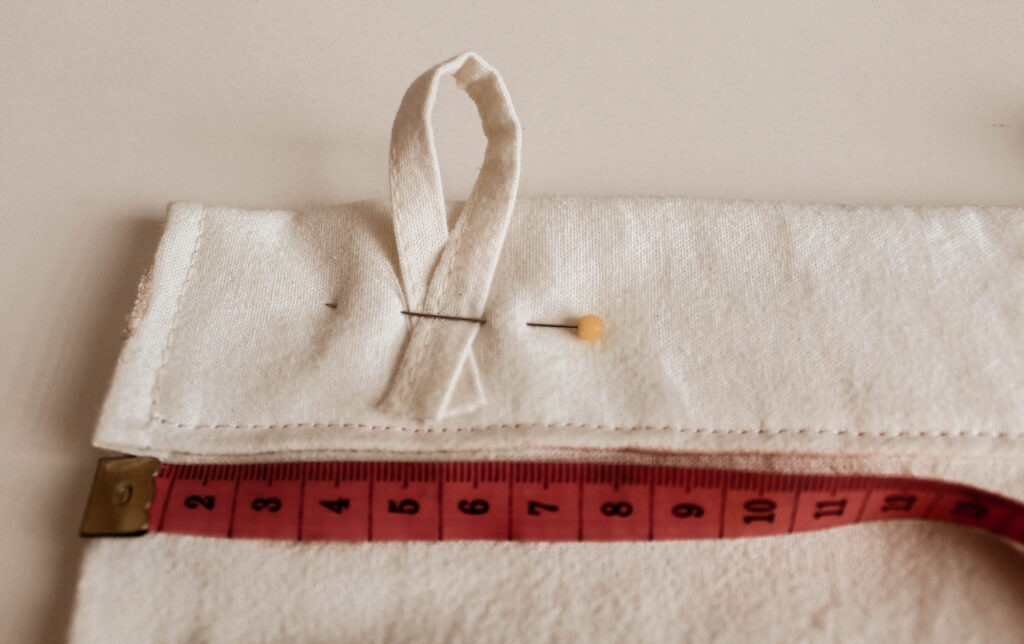
Finally, attach the hoops to the top hem of the rectangle. Measure the whole top part and divide it into three. Then, place the hoops in the middle of each third. Fold the stripe you made, like shown in the photo to form the hoop, and then make two stitches to secure the hoops.
Do the same for the two hoops remaining.
*Remember to do this on the back of the base piece.
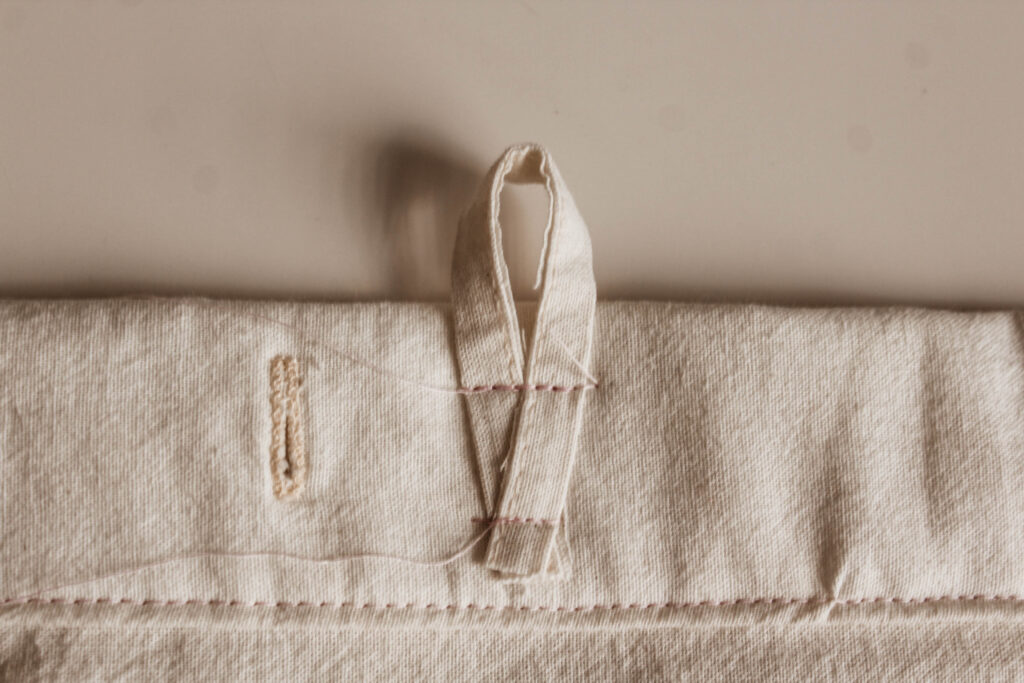
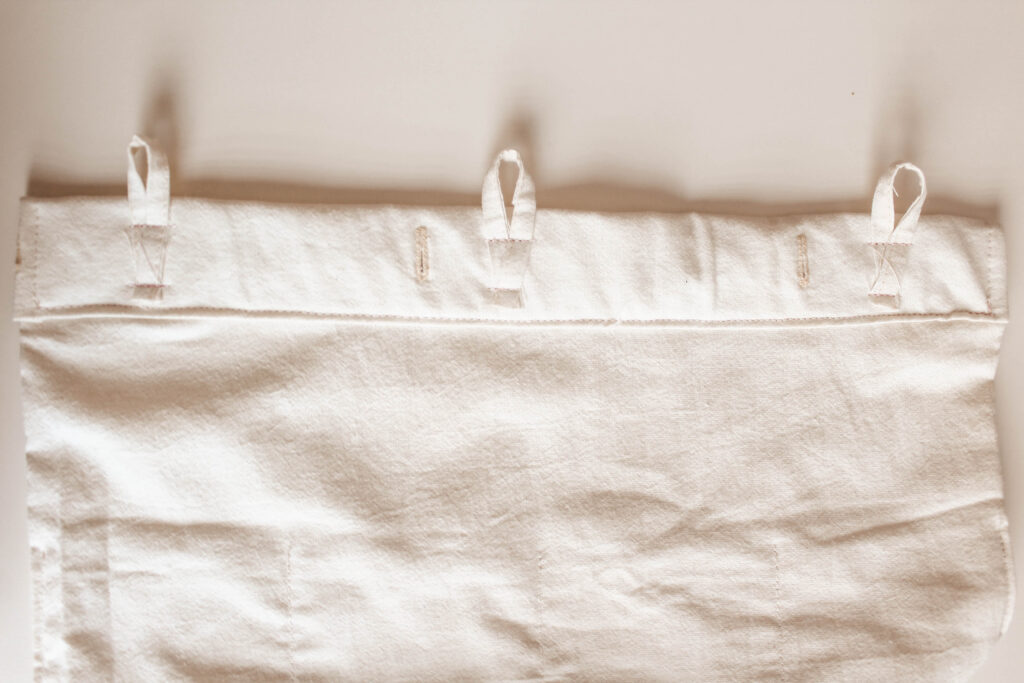
In the end, you should have all these stitches.
Become an insider to keep learning about yourself and don’t miss our latest guides and quizzes!
Read our Disclaimer policies, Privacy Policies & Terms & Conditions.


Leave a Reply