Sustainable Fashion On A Budget

Sustainable Fashion On A Budget

Who doesn’t love garments you can wear every season of the year? It is hard to find something that doesn’t look too springy or something that looks clearly for winter. Atemporal items aren’t only t-shirts or jeans, everything you can layer is atemporal too.
We want you to have a versatile wardrobe and that’s why we’re making this tutorial, so you can make yourself atemporal dresses that will look just as amazing on every season. All you have to do is layer it in winter and use it on its own in the summer.
Here you can see some ideas of how you can wear this adorable dress on every season:
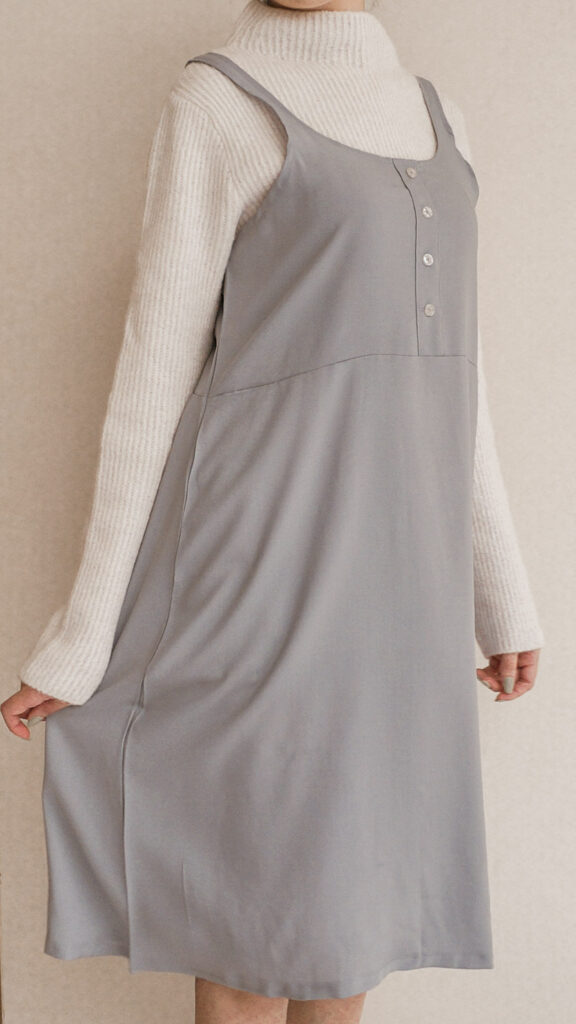
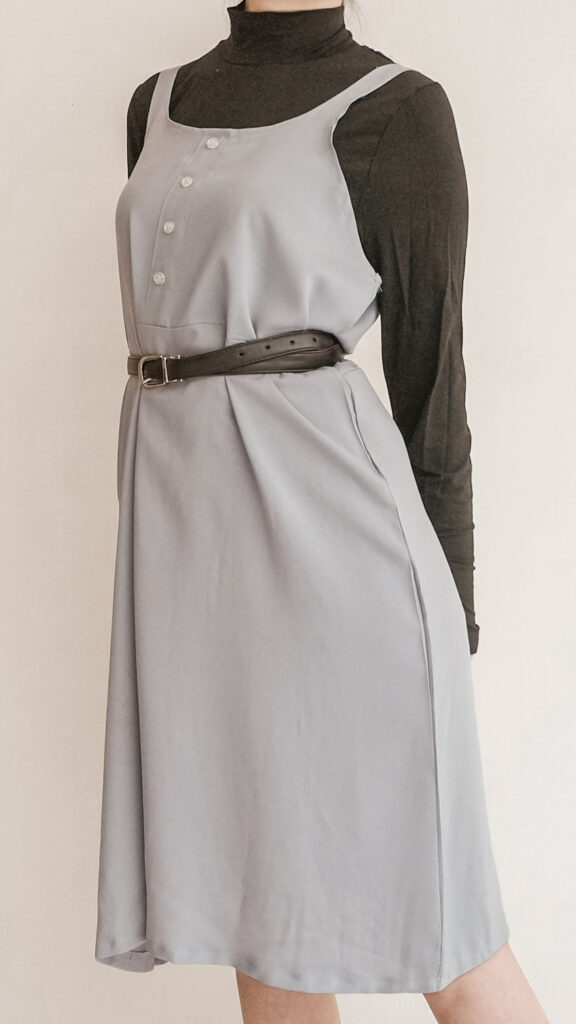
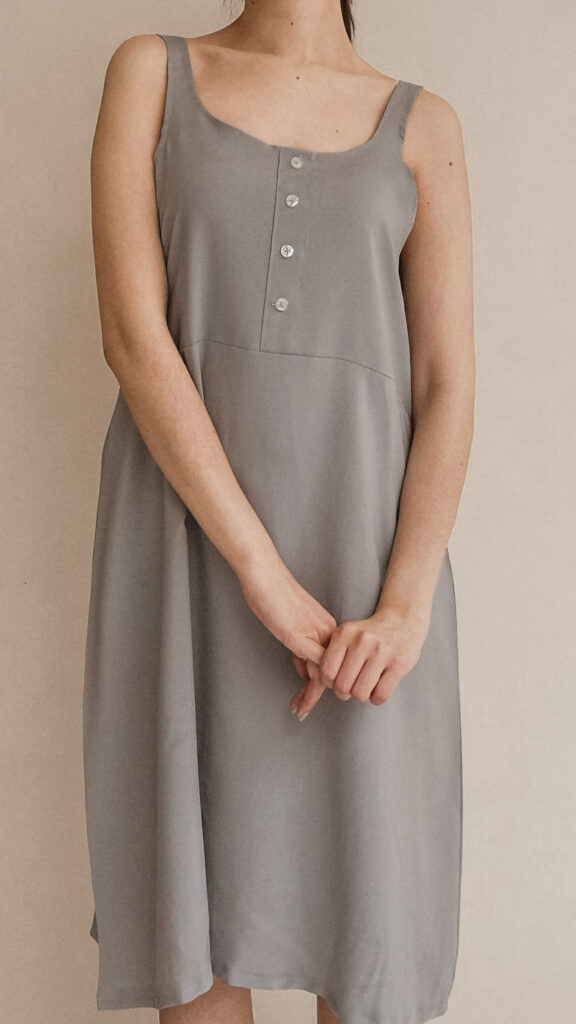
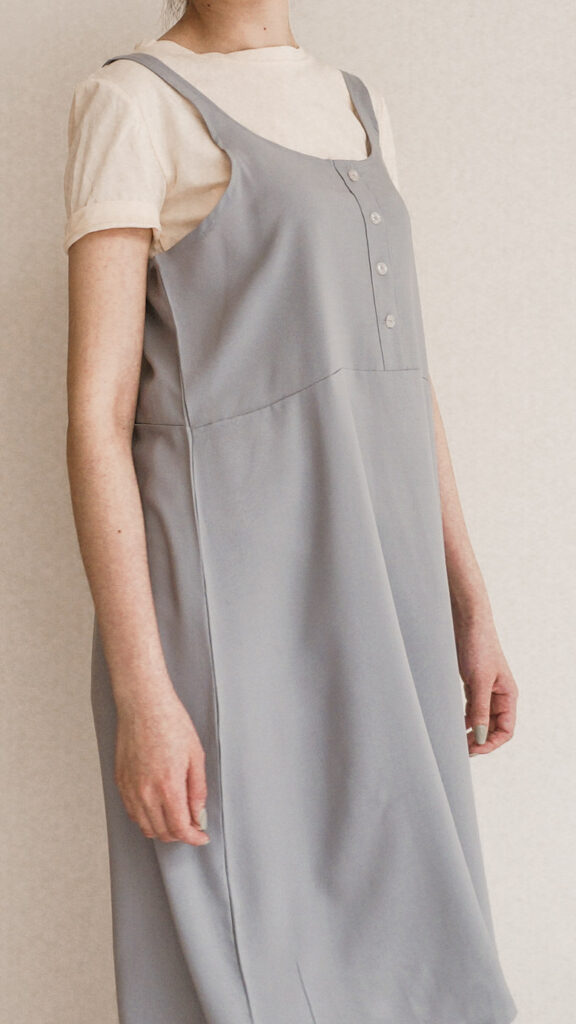
Now, go find your favorite fabric and let’s start sewing!
♡ Cotton fabric (depending on your size is the amount of fabric you need from 1 yard to 2 yards).
♡ Thread of the same color as the fabric.
♡ Buttons (3 or 4).
♡ Scissors or a roller cutter.
♡ A piece of fabric for the waistband (Try to use a thick fabric).
♡ Sewing machine or needle. (You can easily make the dress without a sewing machine).
♡ Tape measure.
♡ A tank top that fits you just right.
We need 3 measurements, from shoulder to underbust, bust contour, and from underbust to bottom (this will depend on how long you want your dress).
Follow the pictures to know how you should measure yourself and write down those measures.
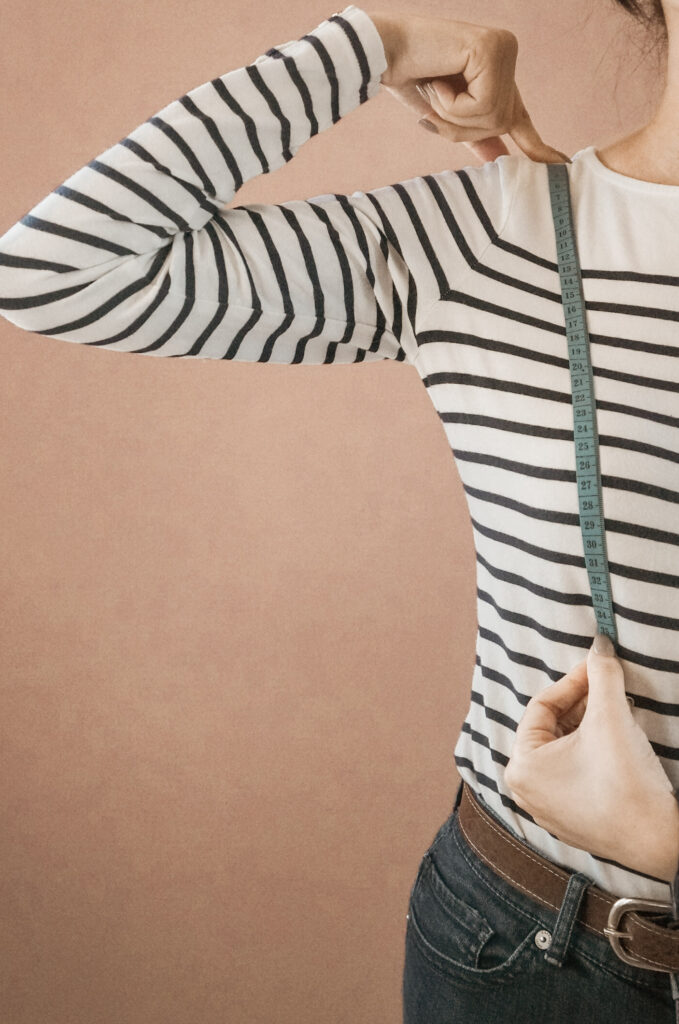
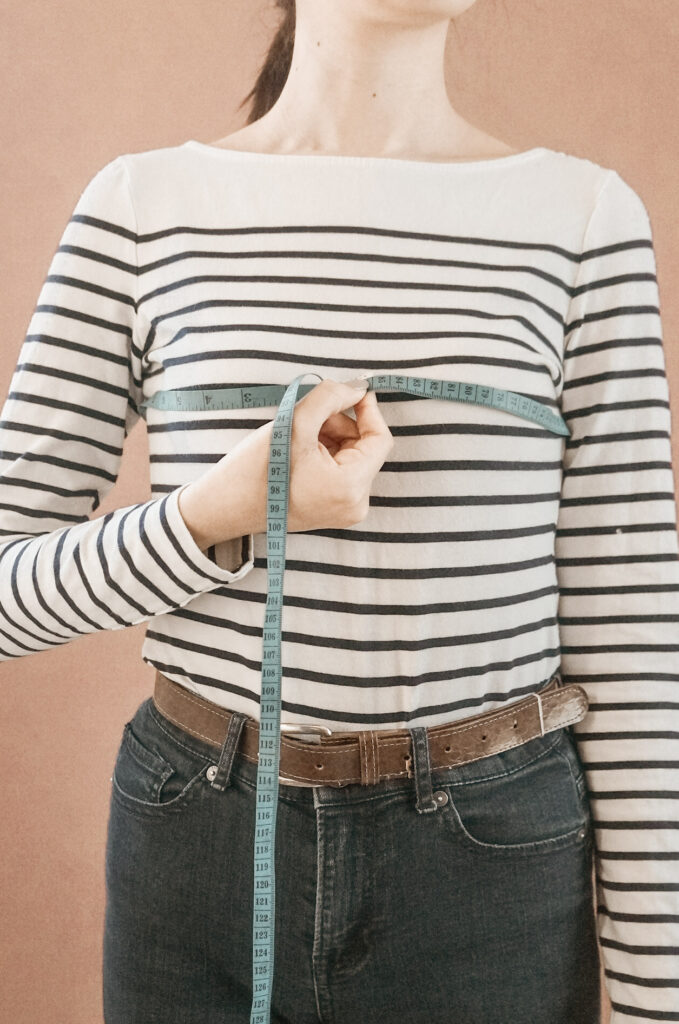
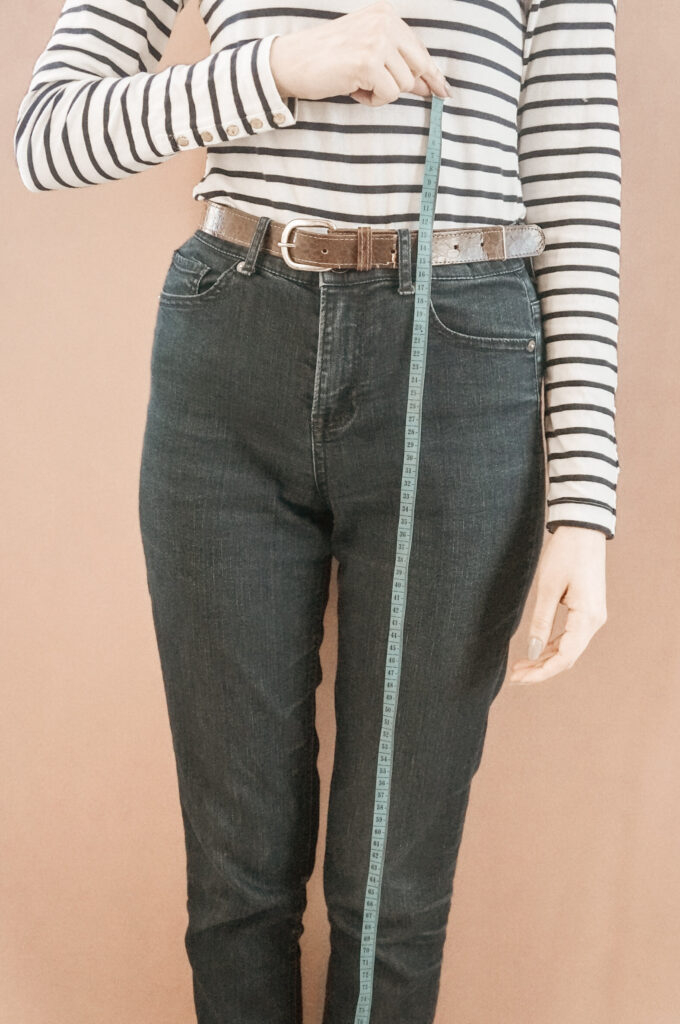
Fold your fabric in 2 and place your tank top folded over the fabric, just like I did:
Remember both folded sides must be turning to the same side.
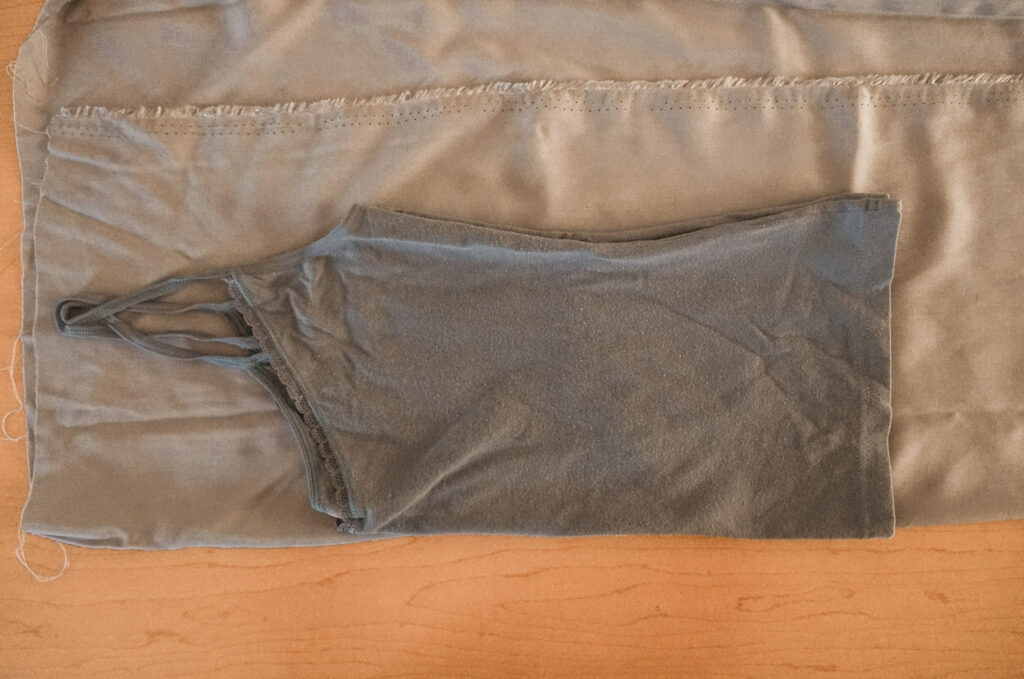
Take a quarter of your bust measurement and compare it without the widest part of your tank top. If your tank top is smaller, add what’s left.
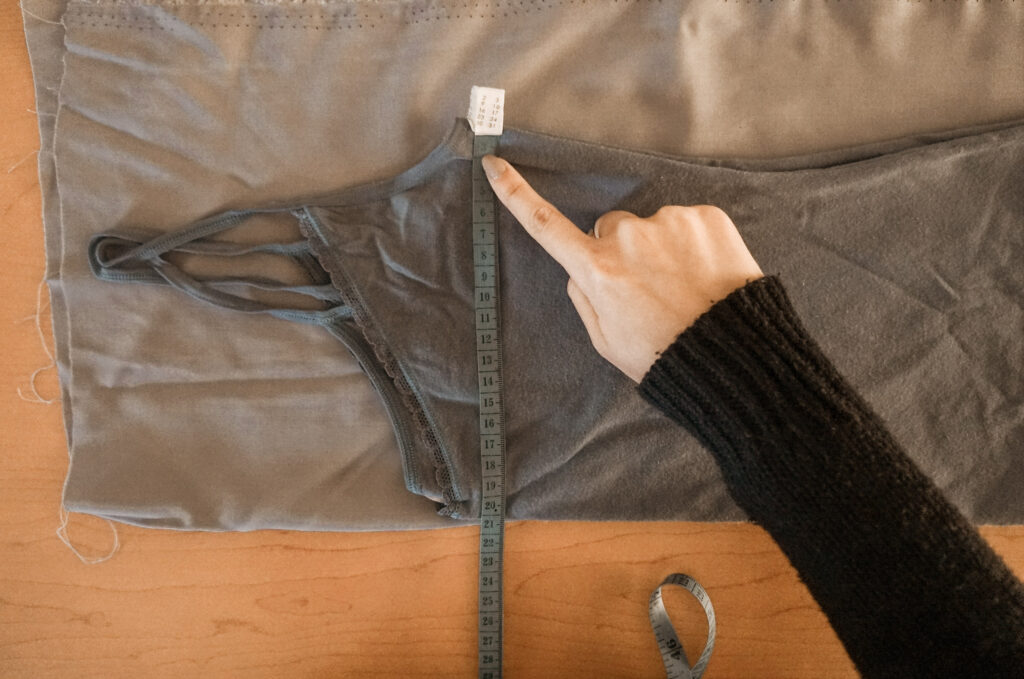
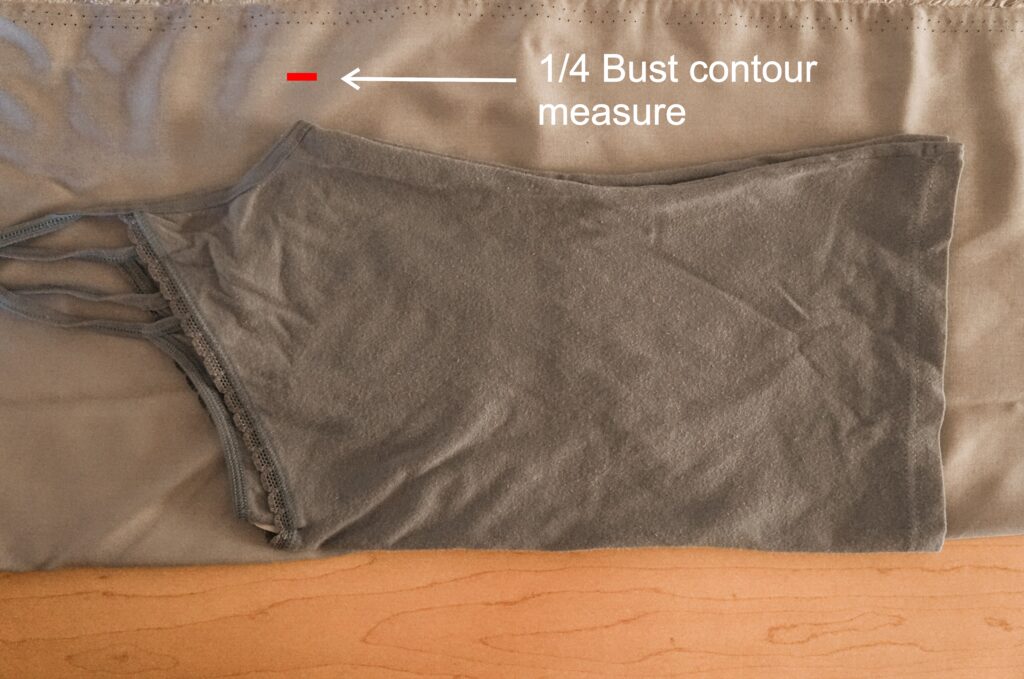
Add 1 inch/ 2.5 cm to the side.
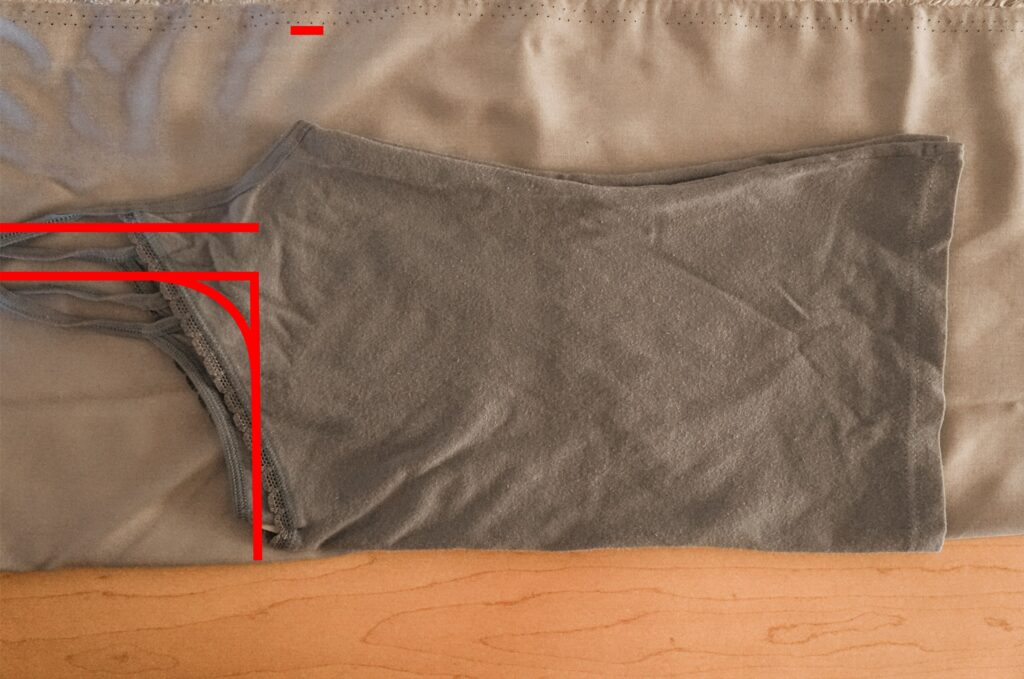
If you like the neckline of your tank top, trace it exactly like that. But if you want to make the exact dress I’m making, we need to make a square neckline. For this, trace a straight line where the tank top neckline begins, like this:
The strap should measure 1 inch/ 2.5 cm. For this, make sure the back strap of your tank top is precisely in the middle, so you can add 1/2 inch to one side and 1/2 inch to the other.
Join your lines like this, making sure the one from the neckline has a little curve on the edge. It should be a square neckline, but slightly curved.
Continue by going down 1 inch from your bust measurement. Then, with a slightly curved line, join that point to the strap.

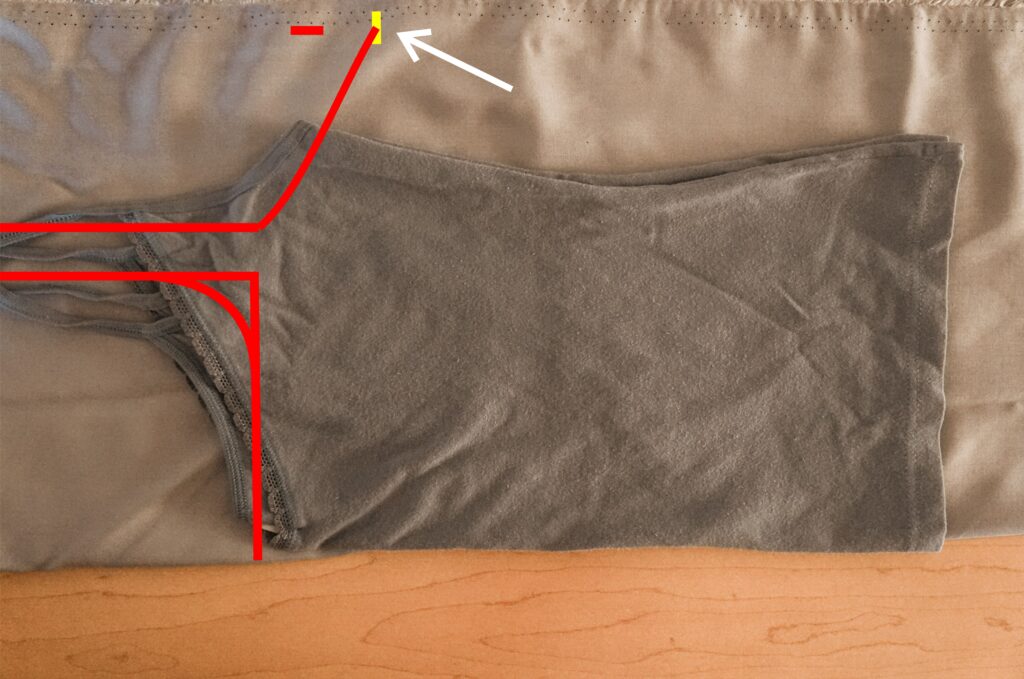
It’s time to use your shoulder to underbust measure. It should start where your strap begins and it should go down in a straight line, like this:
However, you can make it longer if you want to, in my case I wanted it just an inch below my underbust line.
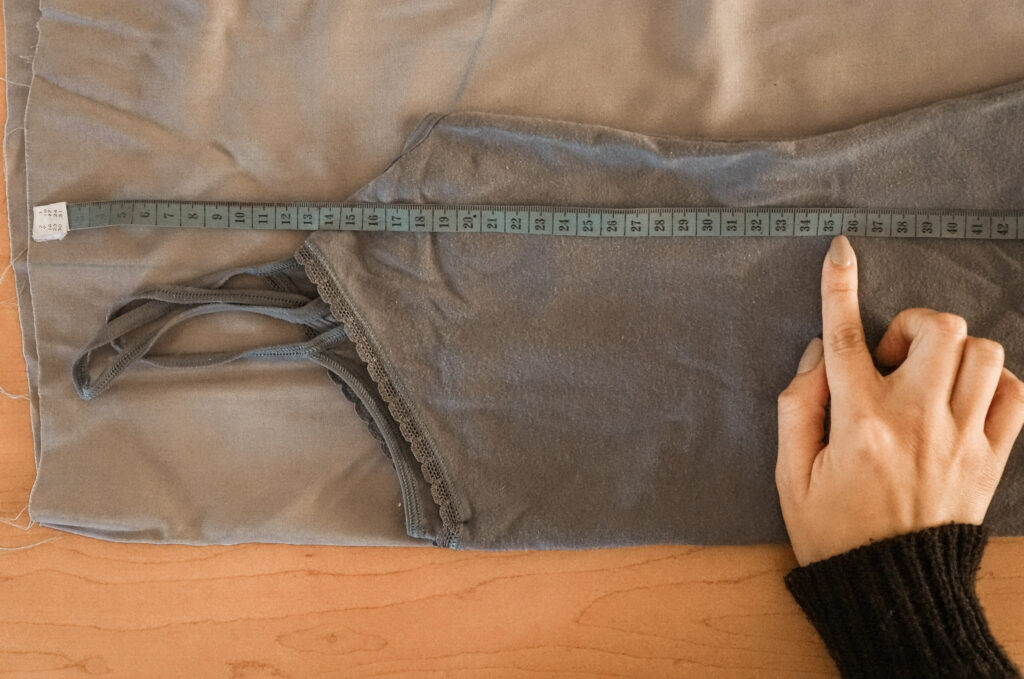
Make a line where your measure ends and join in a straight line from your armhole to that line.
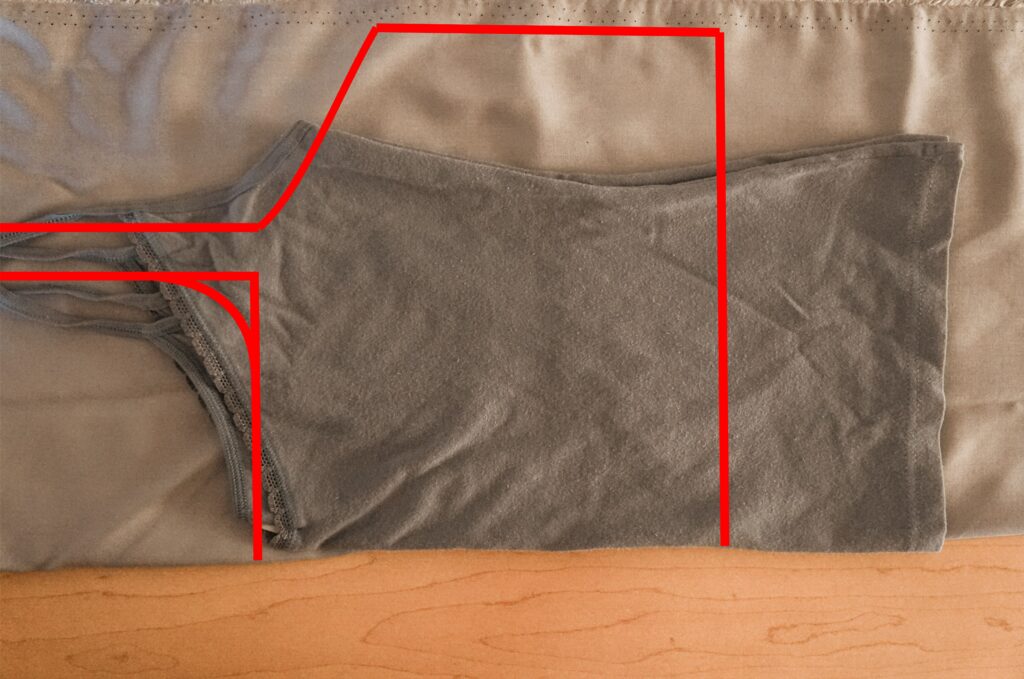
Add .5 inches or 1 cm to the contour for seam allowance.
Again, fold your fabric in 2, but now place your backside over the fabric leaving 1.5 inch/3.8 cm where the folded side begins. Trace the bottom corner including that extra 1.5 inch as part of your front piece.
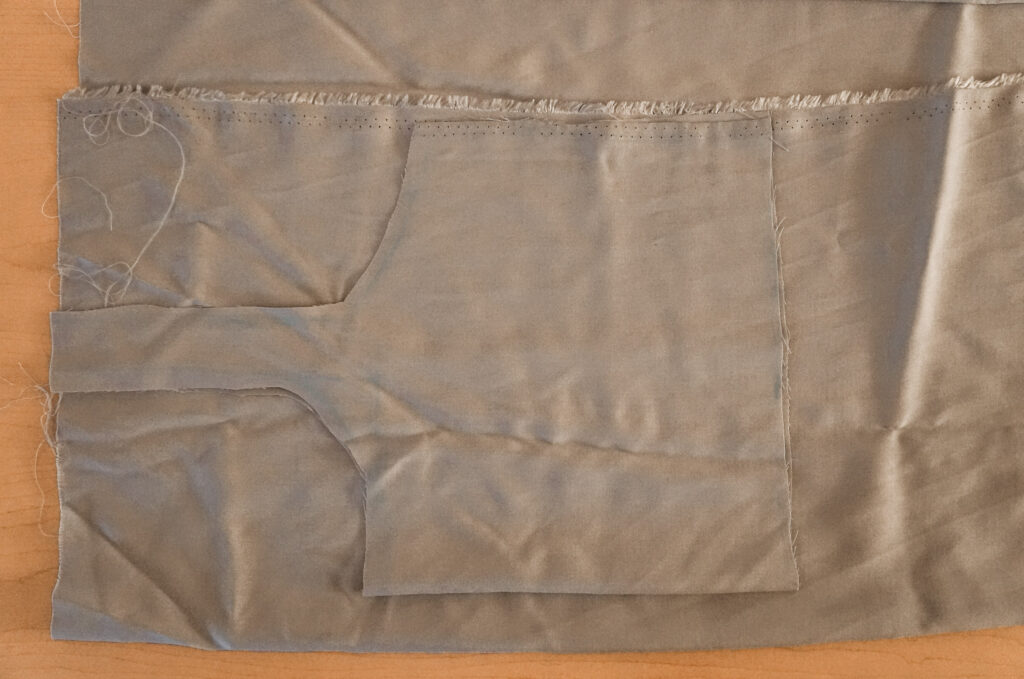
Move your strap 1 inch/2.5 cm closer in your front side. For this, just measure one inch next to the strap and then move your backside to follow the line:


Join with a curve your front strap to the side making the armhole.

Cut the piece and you’ll end up with something like this: The front side is slightly larger.

Place your backside over your fabric and from the middle point of it, go down using your underbust to bottom measure we took in the first step.
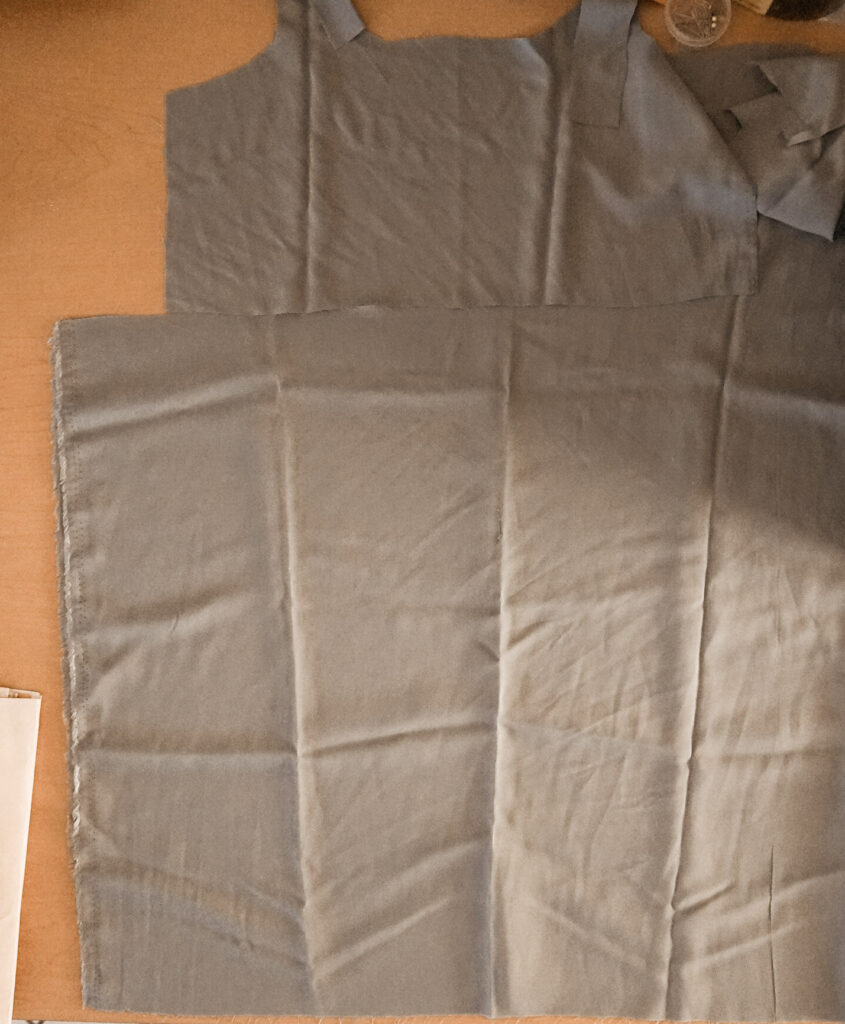
Trace a long line parallel to your underbust line. This depends on how flowy you want your dress to be. I recommend always making that line at least twice the underbust measure. If you want your dress to be below your knees, then add more. In my case, I added 2.5 times the measure of my underbust.
Make sure it is centered and aligned to your underbust line.

Join the edges of your underbust line to the ones of your bottom.

Curve the edges a little bit.

Cut the piece and then cut another one. You should have to exact pieces,
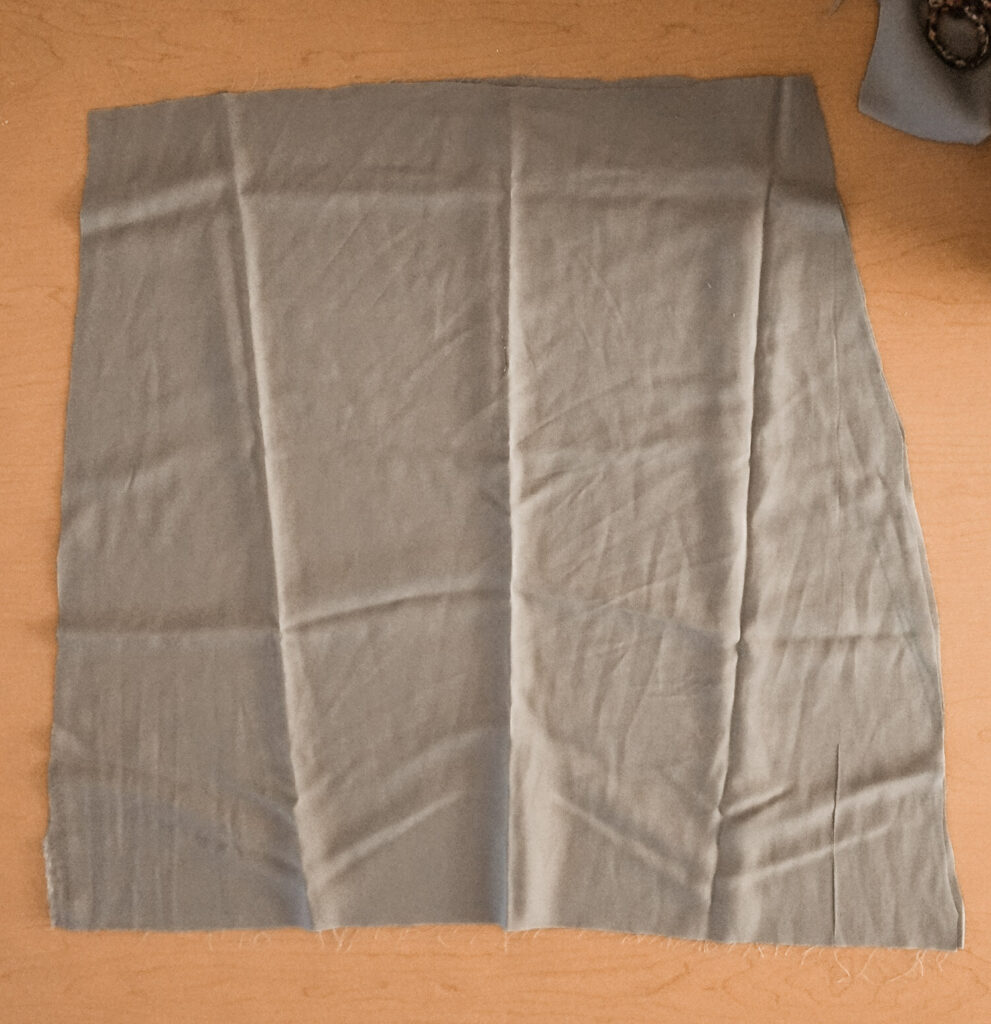
Take your front side and fold it leaving 2 inches on one side (5 cm). This is going to be your placket. Pin it and flip it. Continue by making a line from the folded edge to the center, it should be 1 inch.


Right, where you traced your line is where you should fold your frontside, so you can pin it again to make sure it doesn’t move. Then, sow over it to make your fake placket.


Join your straps together.
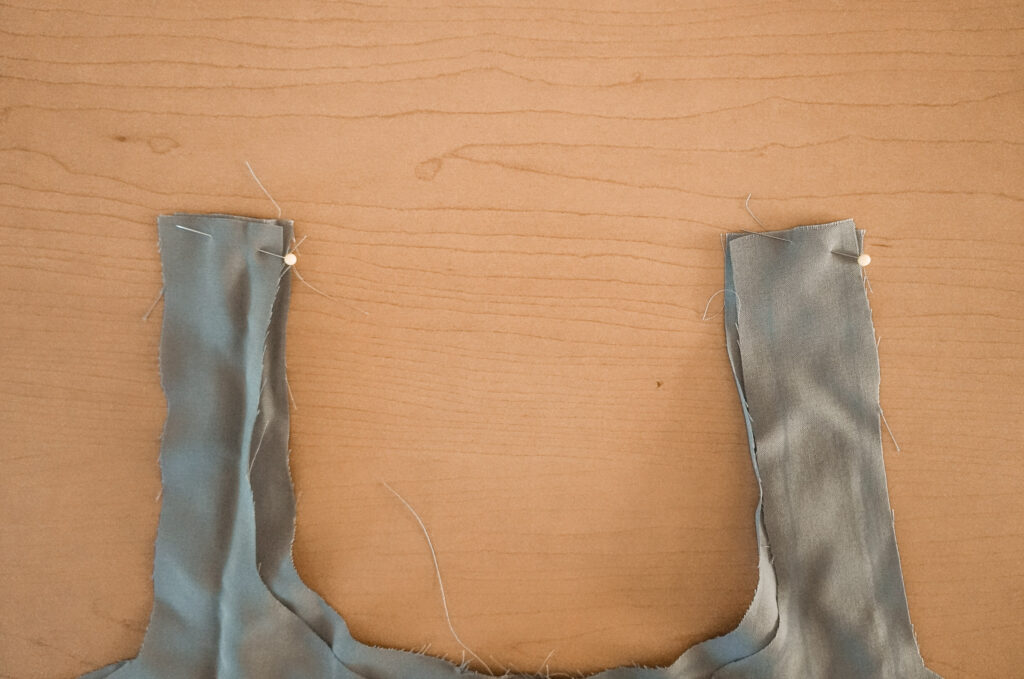
Make a hem on your neckline.
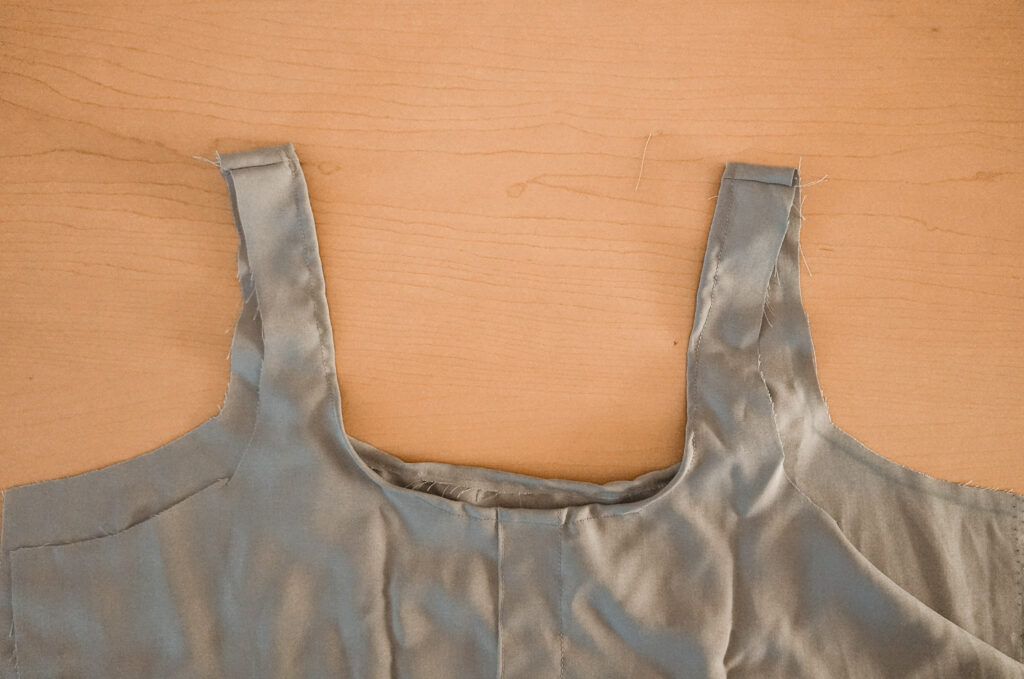
Iron your neckline seams, this makes all the difference, just look:

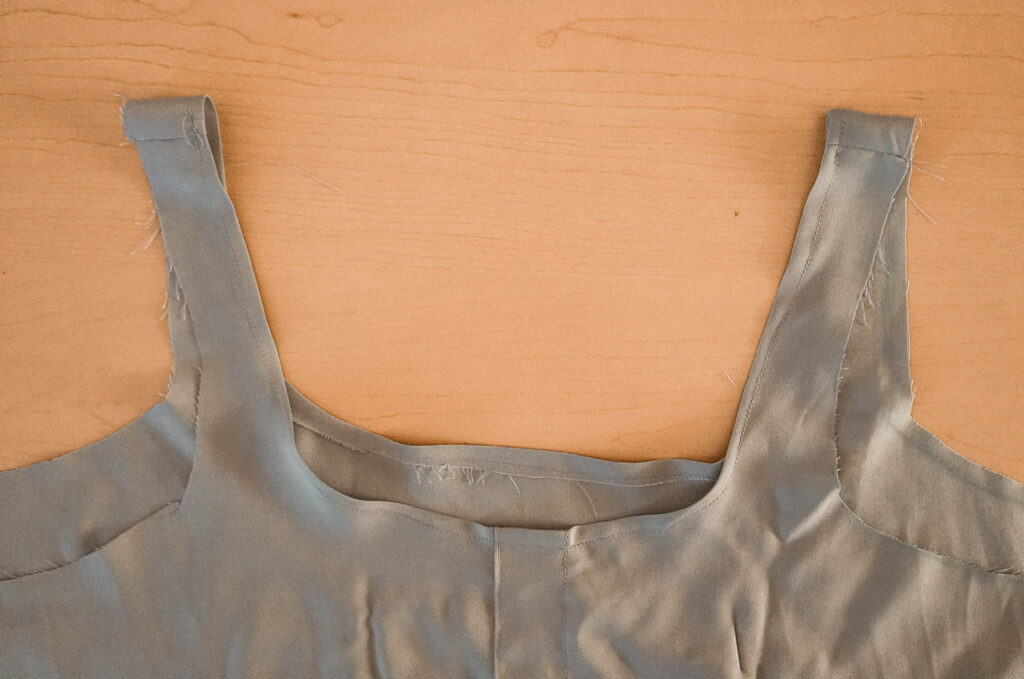
A quick tip: You can use a hair straightening iron, as sometimes it is faster.
Place your top side over your skirt piece making sure both nice sides of the fabric are facing each other. Sew them together from the bustline.
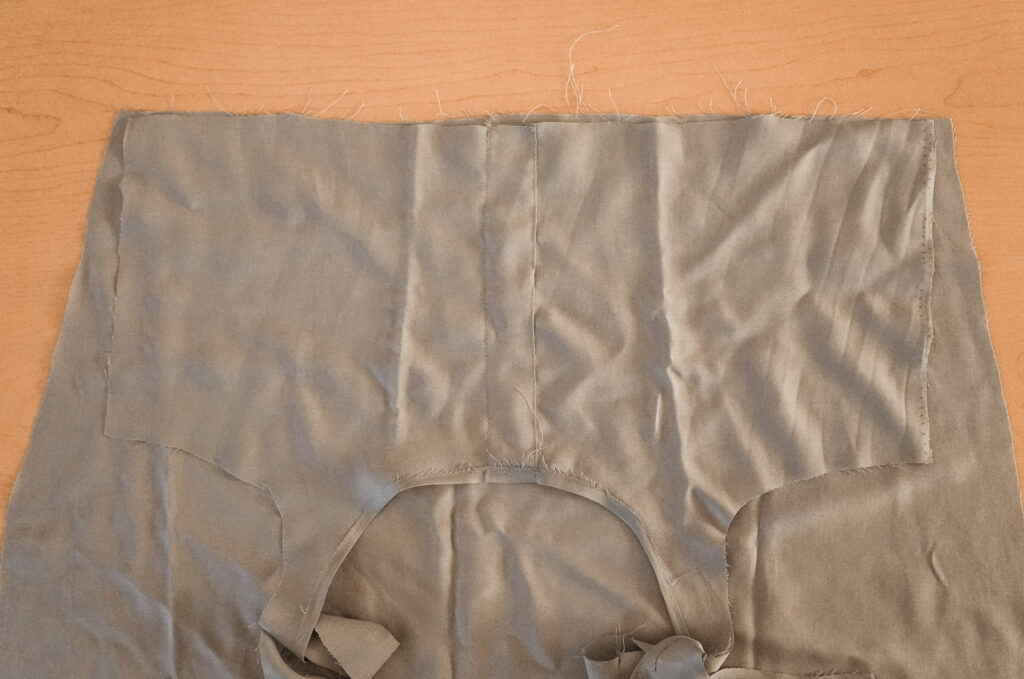
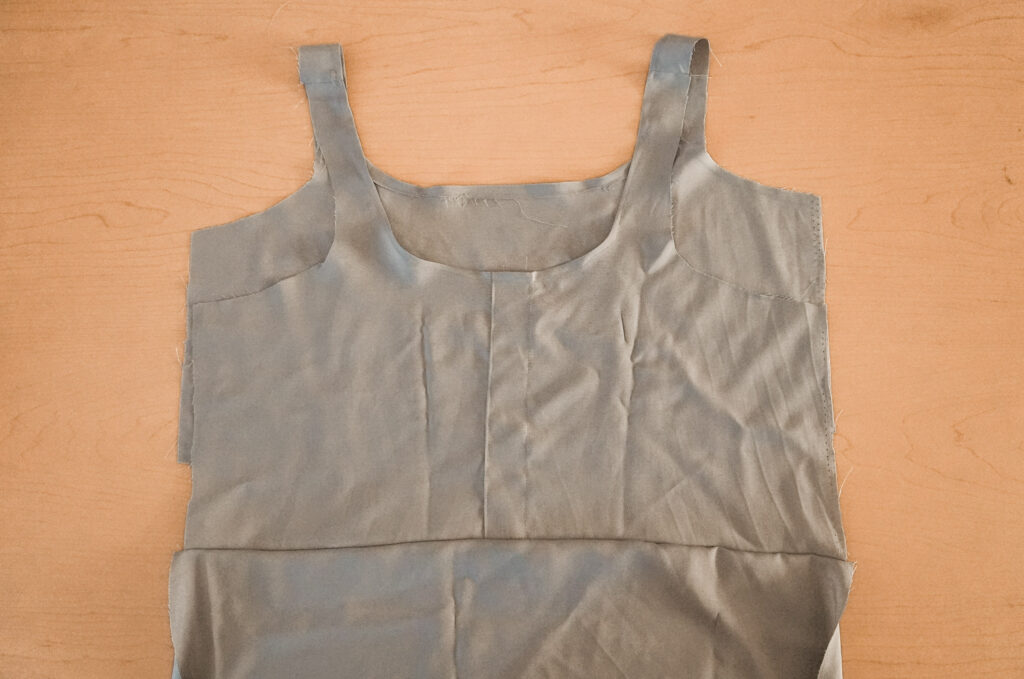
Repeat it with your front or backside.
Sew the sides together.

Make the hem on the armhole.
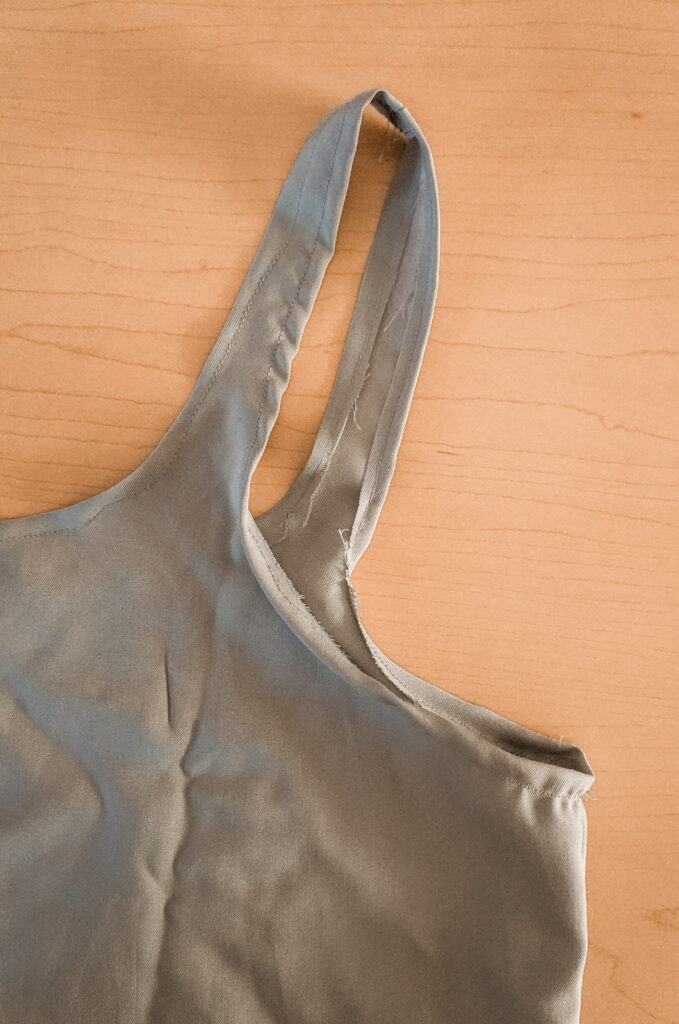
Make the hem on the bottom.

Take your buttons and with a pencil, chalk, or a marker, trace where you want them to be. Use your tape measure.
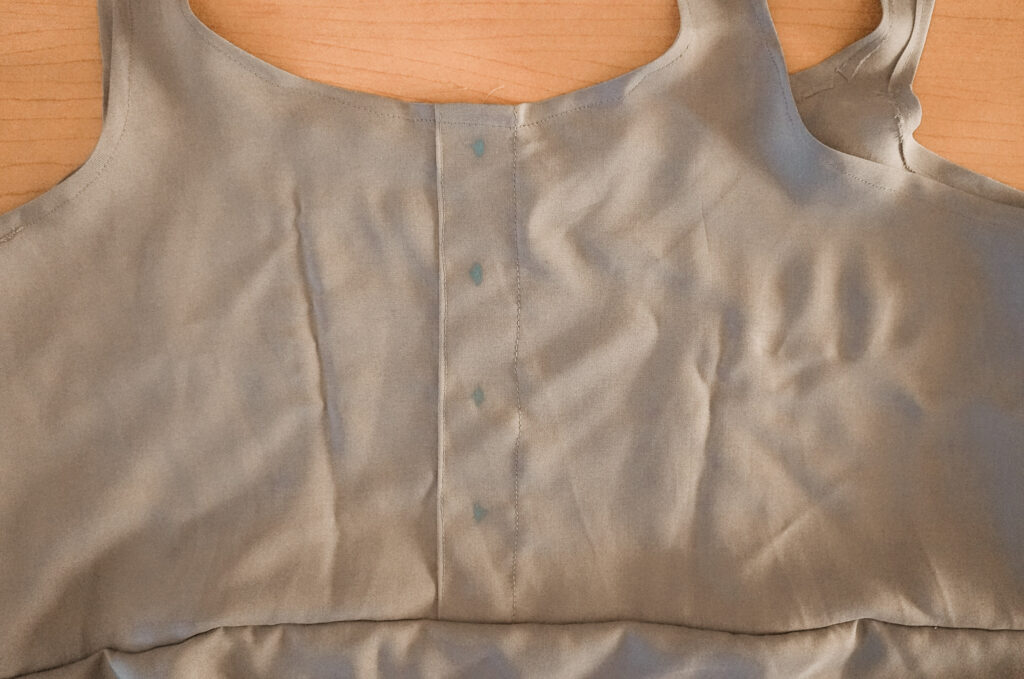
Because this is the easy version of this dress and we made a fake placket, we don’t need buttonholes. So you’re just going to sew the buttons where you traced the marks and that’s it!
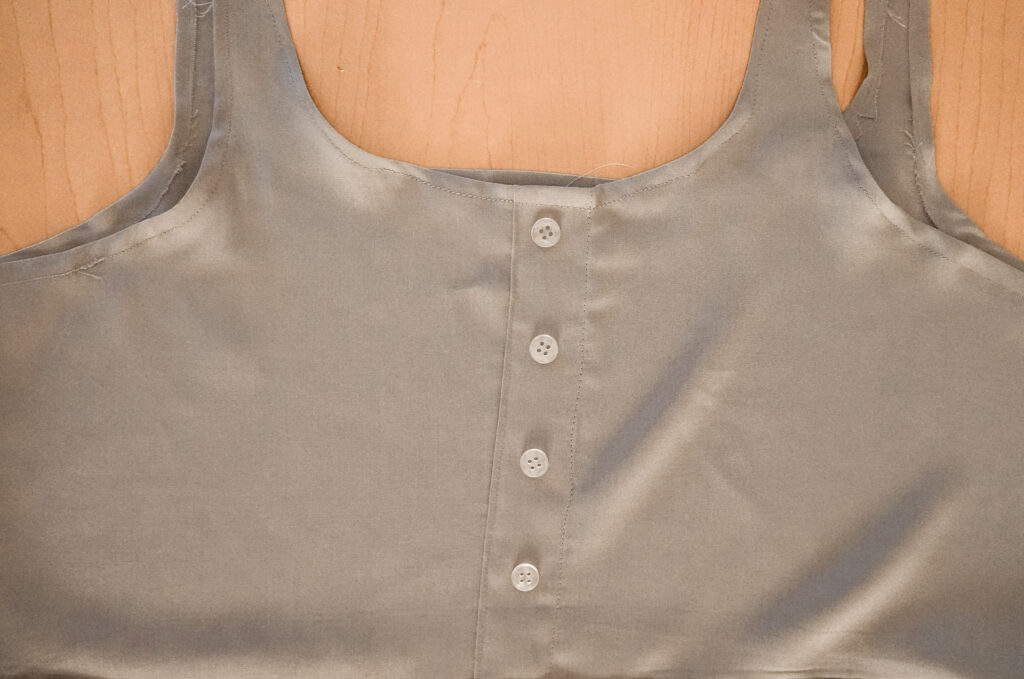
Remember to iron your dress and all the seams to make it look even better!
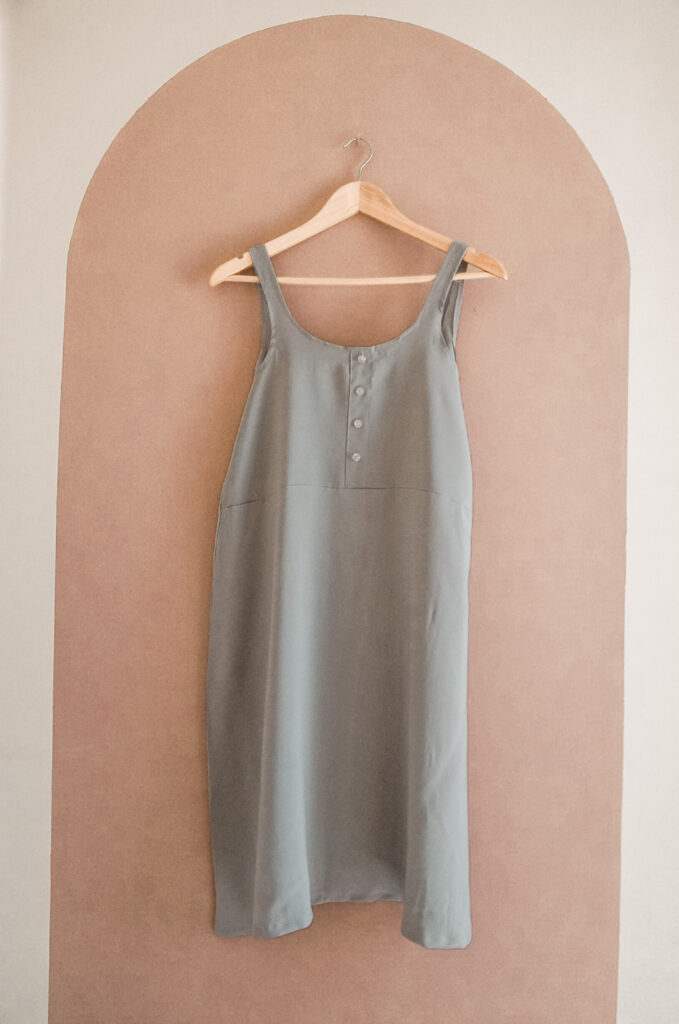
What do you think? It looks pretty cute, right?
If you liked it, you can always make another one! But if you want to try something else, check out our store for more tutorials.
Become an insider to keep learning about yourself and don’t miss our latest guides and quizzes!
Read our Disclaimer policies, Privacy Policies & Terms & Conditions.


Leave a Reply