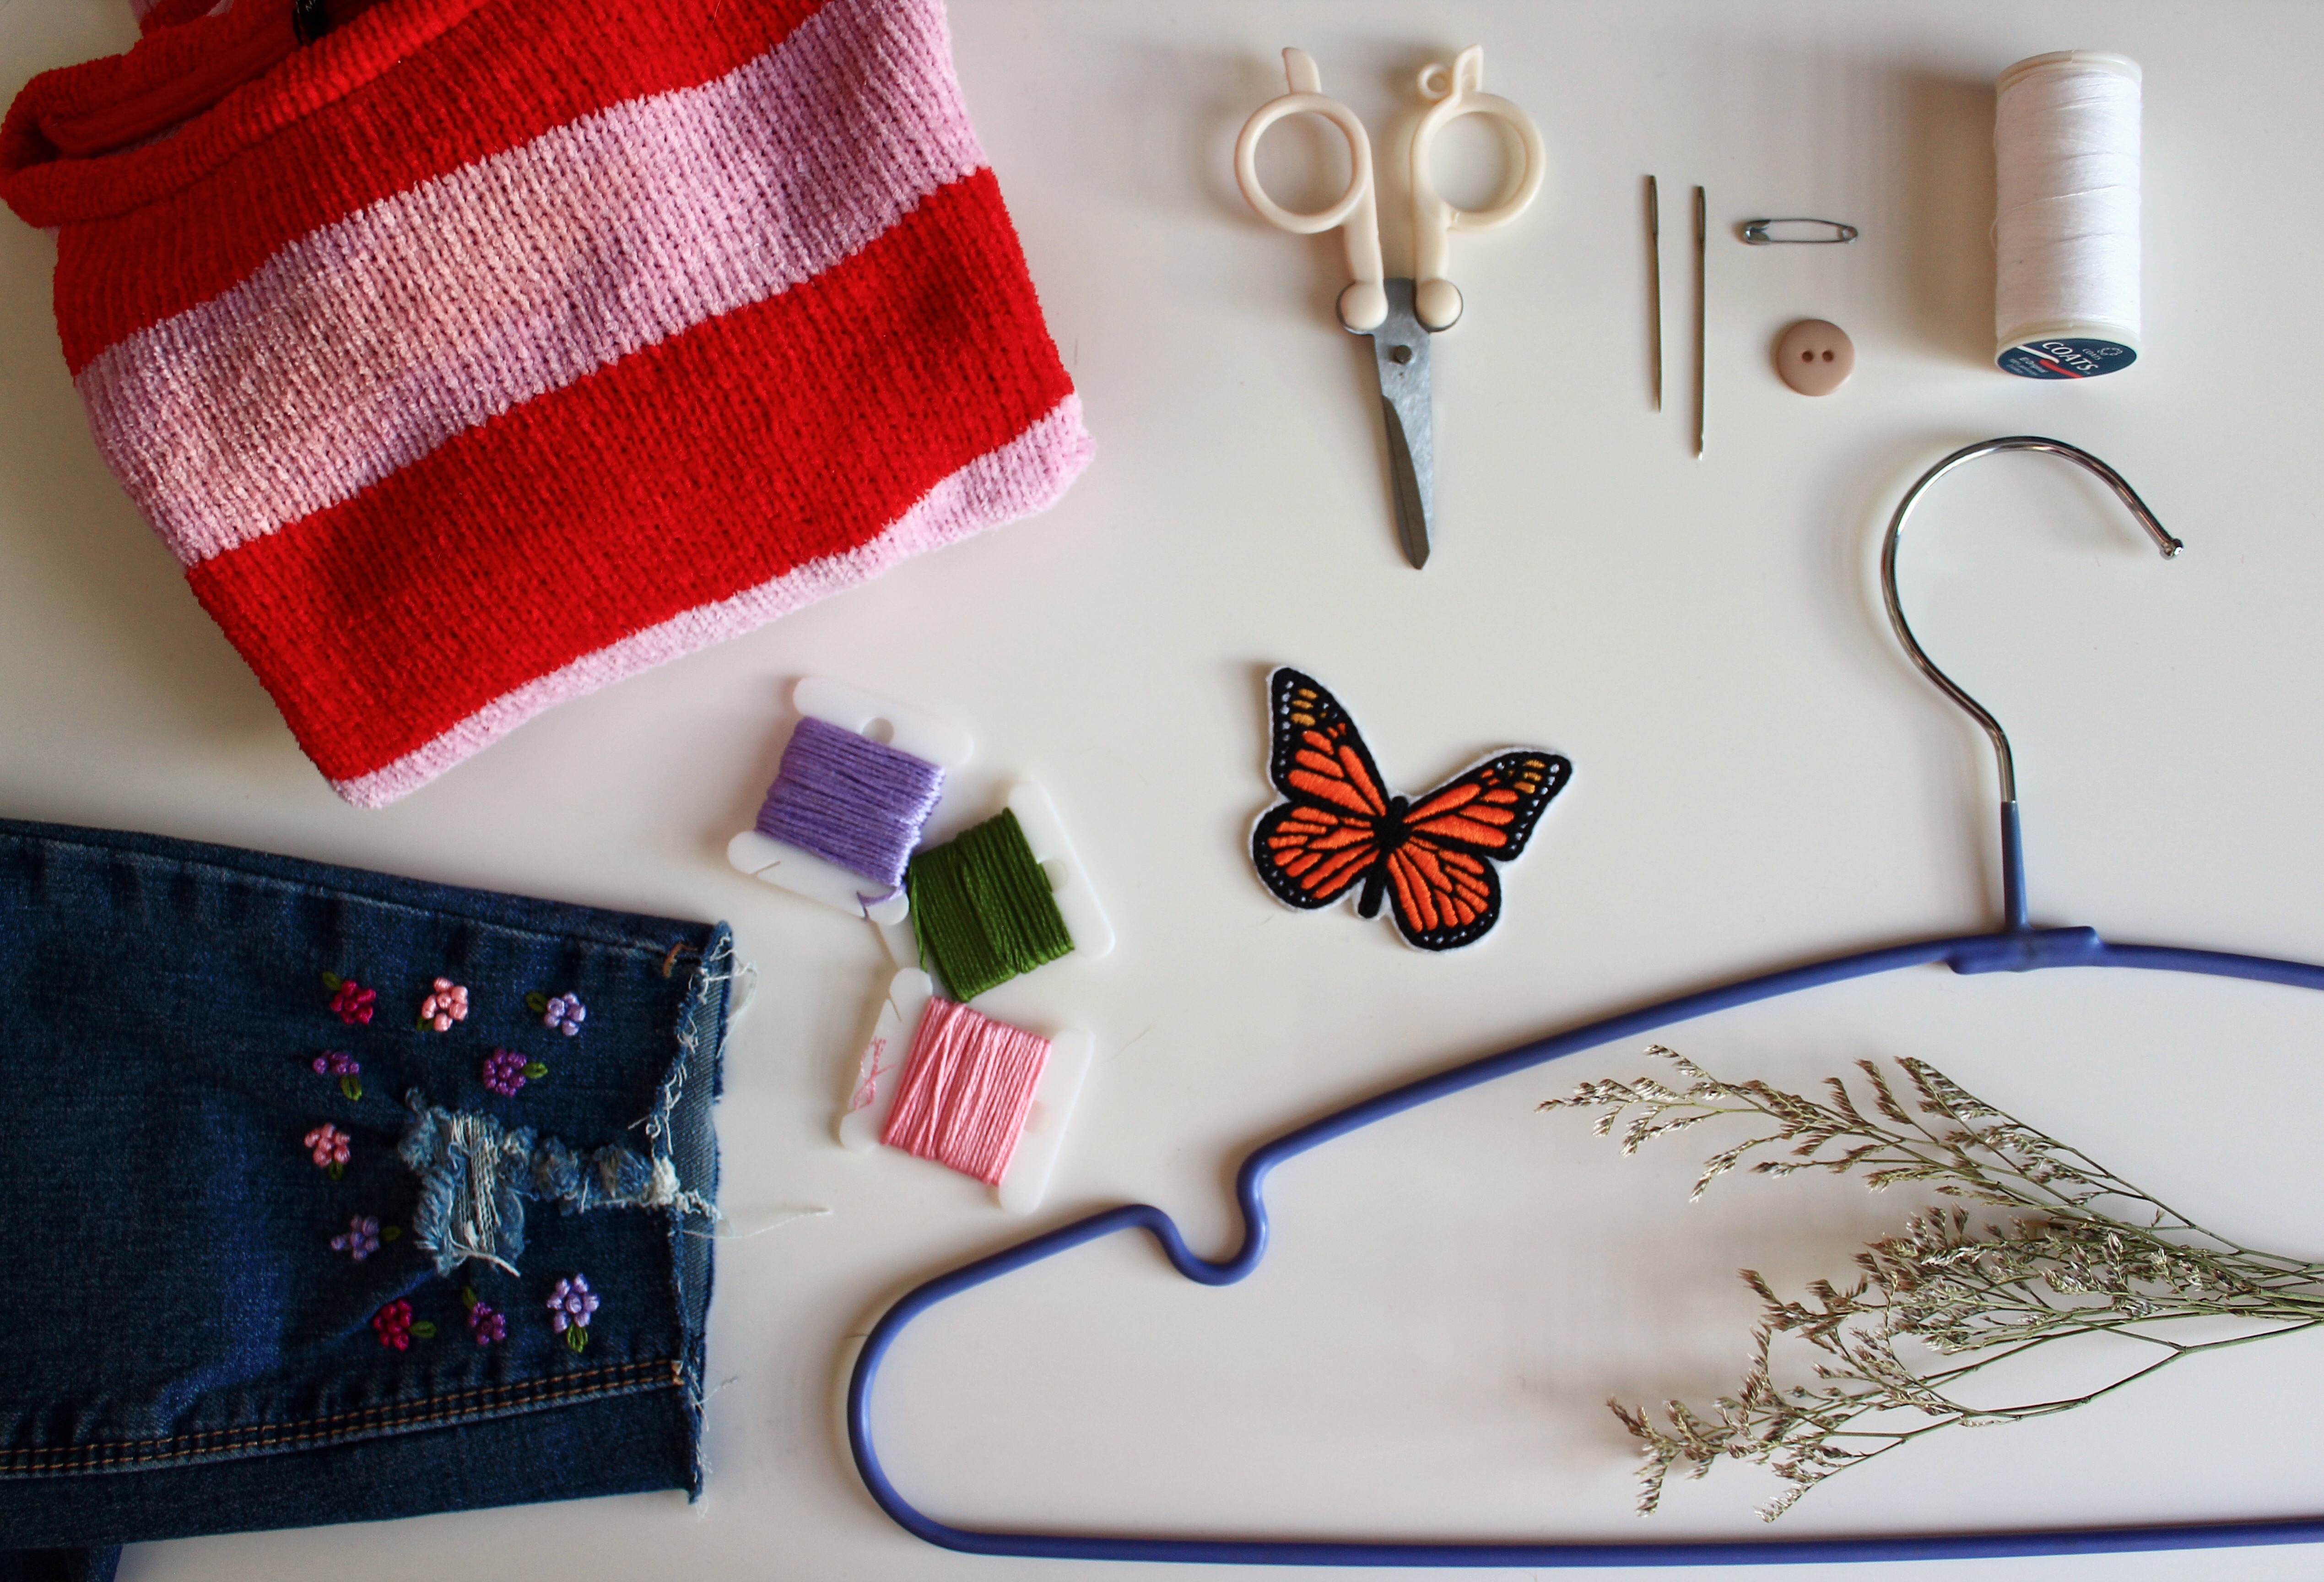
Taking care of your clothes is an investment in the longer term. If you care for your wardrobe, make sure it lasts you longer. Mend, dye, repair, clean, store are some of the things you can do in order to restore life to your clothing.
Our garments wear out for the simple fact of being worn. We can’t avoid it, but one thing we can do is help them continue looking brand new. Furthermore, keeping them like this will also make your appearance better. If your garments are good your outfit will be on point.
These are 8 ideas of how you can prolong the life of your garments:
1. Mend Holes
There are several ways to mend a hole; like using patches, embroidery, or simply sewing it together.
My favorite is the embroidery, you make it useful and fun!
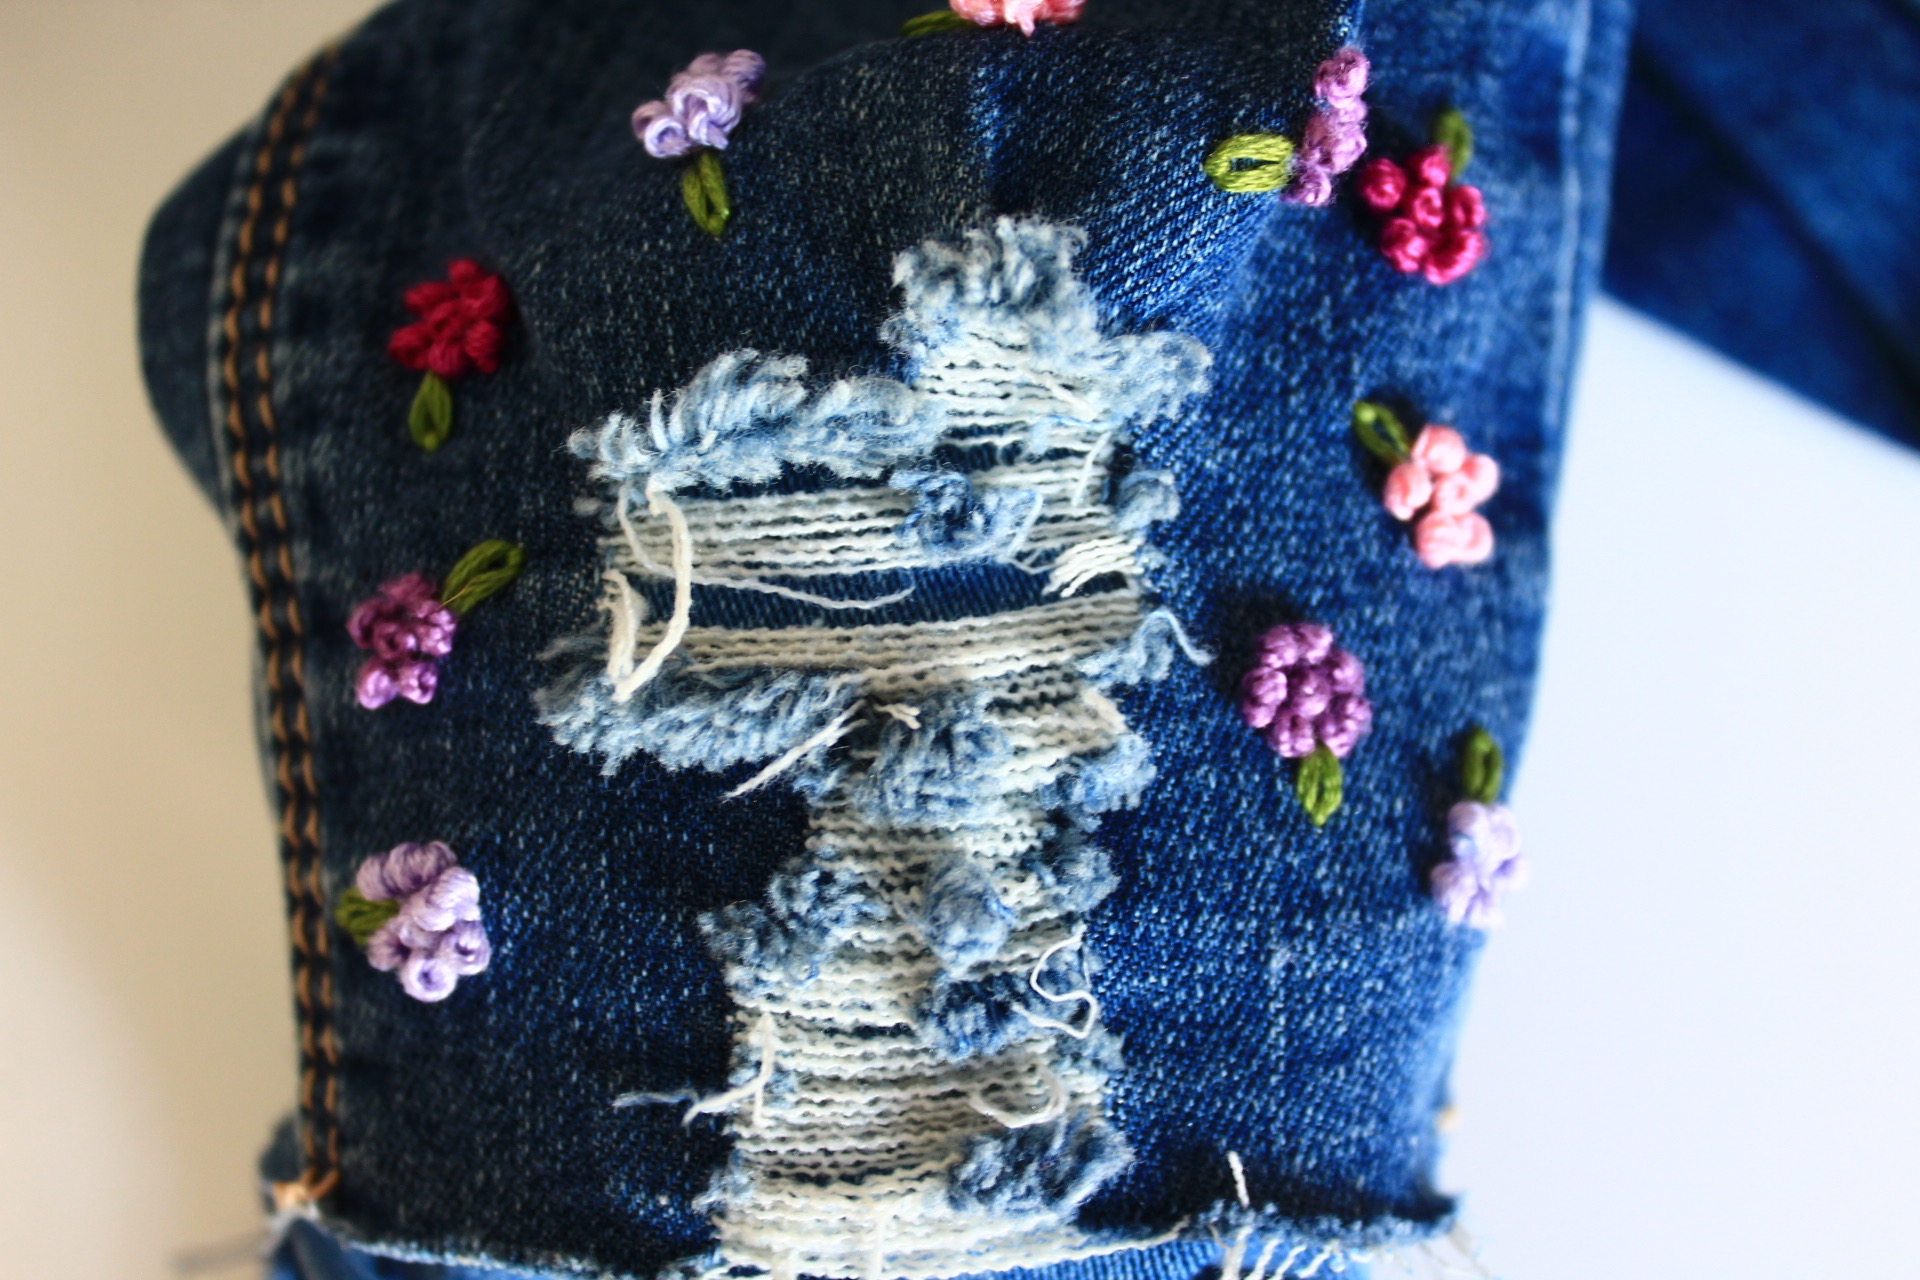
Here’s an example of a pair of jeans I had and mended the hole.
I wanted to do two things, cover the hole and embroider something. To cover the hole, I cut from a piece of denim fabric I had, a square the size of the hole and sew it from the inside. As you could see in the picture below, using a fabric the same color of the jeans, makes it look like there is nothing covering it. And to add a little fun, I embroidered some flowers around.
2. Remove stains or bad scents
A lot of the times we’ve thrown away our clothes because they have a stain. I’ve done it, but then I realized that by just removing the stain my clothing was still wearable.
We recommend to remove the stain as soon as possible. The quicker you treat the stain, the easier this will be to take out. I definitely prefer using natural ingredients to treat them.
Here’s a list of the ingredients you’ll need to remove these different stains.
Ingredient — Removes
- Baking soda — Coffee or blood
- Lemon juice — Rust stains, ink, or underarm yellowing (sweat)
- Distilled white vinegar — Underarm yellowing, grass, or ketchup
- Hydrogen Peroxide (white clothes) — Blood, underarm yellowing, or nail polish
- Cornstarch — Oil or grease
- Salt — Red wine or blood
- Rubbing Alcohol — Lipstick
3. Wash them correctly
Every fiber has different reactions to temperature and to water. If you want your garment to stay like it is, and not deform, you’ll have to pay attention to the Care label.
Before any process, check the care label, every garment has different components.
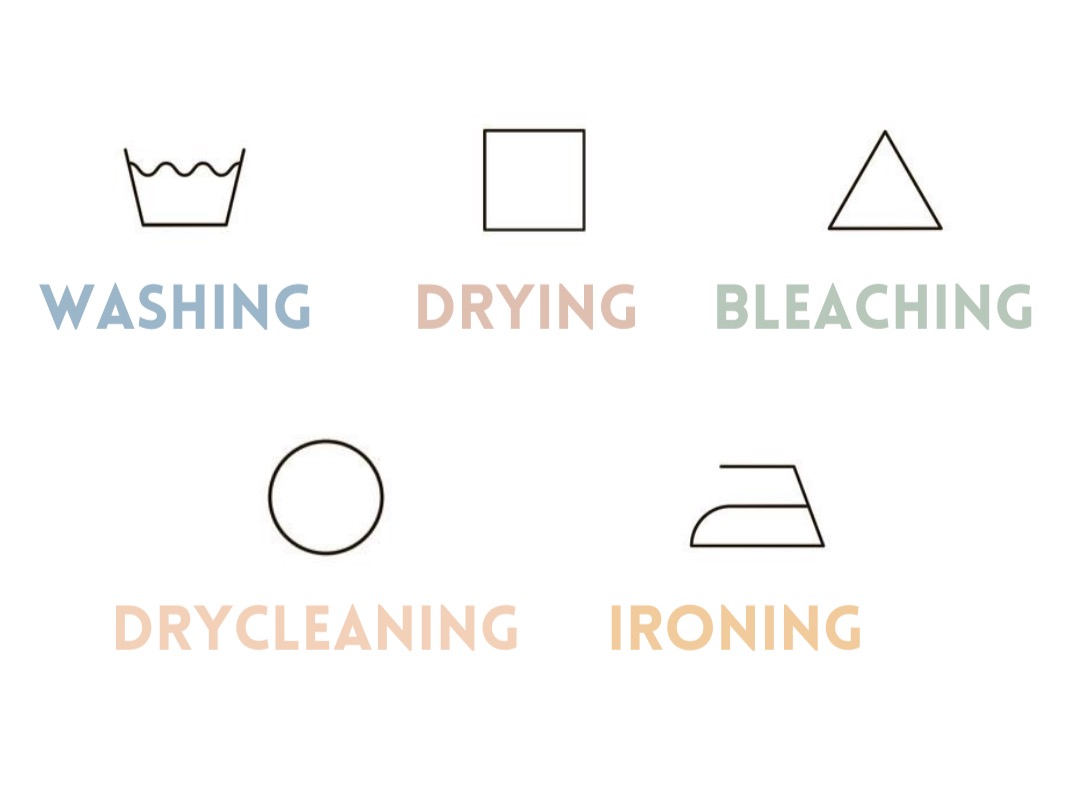
Here’s a really complete laundry guide to care symbols. It will help you learn how to read the symbols.
The first step will be, separating your clothes by colors.
Then check for delicate fibers like silk; they use cold water, and gently centrifuged or even special treatments like dry cleaning.
Machine wash with warm water. Iron with medium-low heat, polyester melts at high heat. Tumble dry on low heat or air dry. be careful, with garments that aren’t pre-shrunk.
For dark and bright colors use cold water and you might want to flip it inside out, to prevent decoloring.
Baking soda and White vinegar are great natural softeners and perfect to remove odors. Add 1/2 cup of baking soda to your laundry load and your clothes will come out soft and free of odors. Add 1/2 cup of white vinegar to have white, bright, and soft clothes.
Most of the time these are the instructions you’ll have to follow, for these different fabrics:
COTTON
Machine washable. Cotton items that are preshrunk may be washed in hot water for white, warm, or cold water for dark colors. Bleach to white cotton wash loads to remove stains. Iron with high temperature. Over drying cotton, will encourage shrinkage.
DENIM (cotton)
Machine washable with cold or warm water, cold water will protect the color. Iron with high heat. Tumble dry at low heat.
LINEN
It depends but most of the time it will need dry clean. If it’s machine washable or hand wash use tempered water. Iron linen from the inside out, using steam at a hot iron setting or use a damp cloth. Air drying is better.
HEMP
Machine wash with cold water. Iron with high heat, when it’s still damp.
SILK
Dry clean or Hand wash with tempered water. Use products for delicate fabrics. Iron with warm heat. If tumble dry is needed, use low heat. Never twist to dry, spread flat, or on a hanger. Don’t expose to sunlight.
WOOL
It could be Dry cleaned or hand washed. If machine washable, use cold water, and if it’s combined with other fibers use warm water. Use gentle detergent. Iron with low heat. Lay flat to air dry.
ACRYLIC — NYLON
Machine wash with warm water. Iron with low heat.
POLYESTER
Machine wash with warm water. Iron with medium-low heat, polyester melts at high heat. Tumble dry on low heat or air dry.
RAYON
Dry clean or hand wash. Iron with low temperature. Hang to dry
SPANDEX
Machine wash with cold water. Iron with high heat, when it’s still damp.’s eco-friendly, you’ll be making a lower impact on the planet and of course, you’ll save money. Use natural air and sunlight which works as a natural antiseptic.
4. Dry them correctly
This step is as important as washing. I recommend to always air dry. It is eco-friendly, you’ll be making a lower impact on the planet and of course, you’ll save money. Use natural air and sunlight which works as a natural antiseptic, on some fibers like cotton
Bras and sportswear are better to natural dry.
Also, hanging your clothes to dry will avoid shrinkage.
**I included the drying instructions for the fabrics in the previous section. On the washing care instructions, for some fibers.
5. Storage and Hanging
Protect special pieces like dresses. Hang them with a bag or suit bag so it doesn’t get dusty.
Underwear, like bras, store them extended to avoid deformation.
Keep your knitted sweaters folded to keep their shape.
Store your clothes well folded so they don’t wrinkle.
Don’t hang two items in one hanger, the garment that’s underneath will wrinkle.
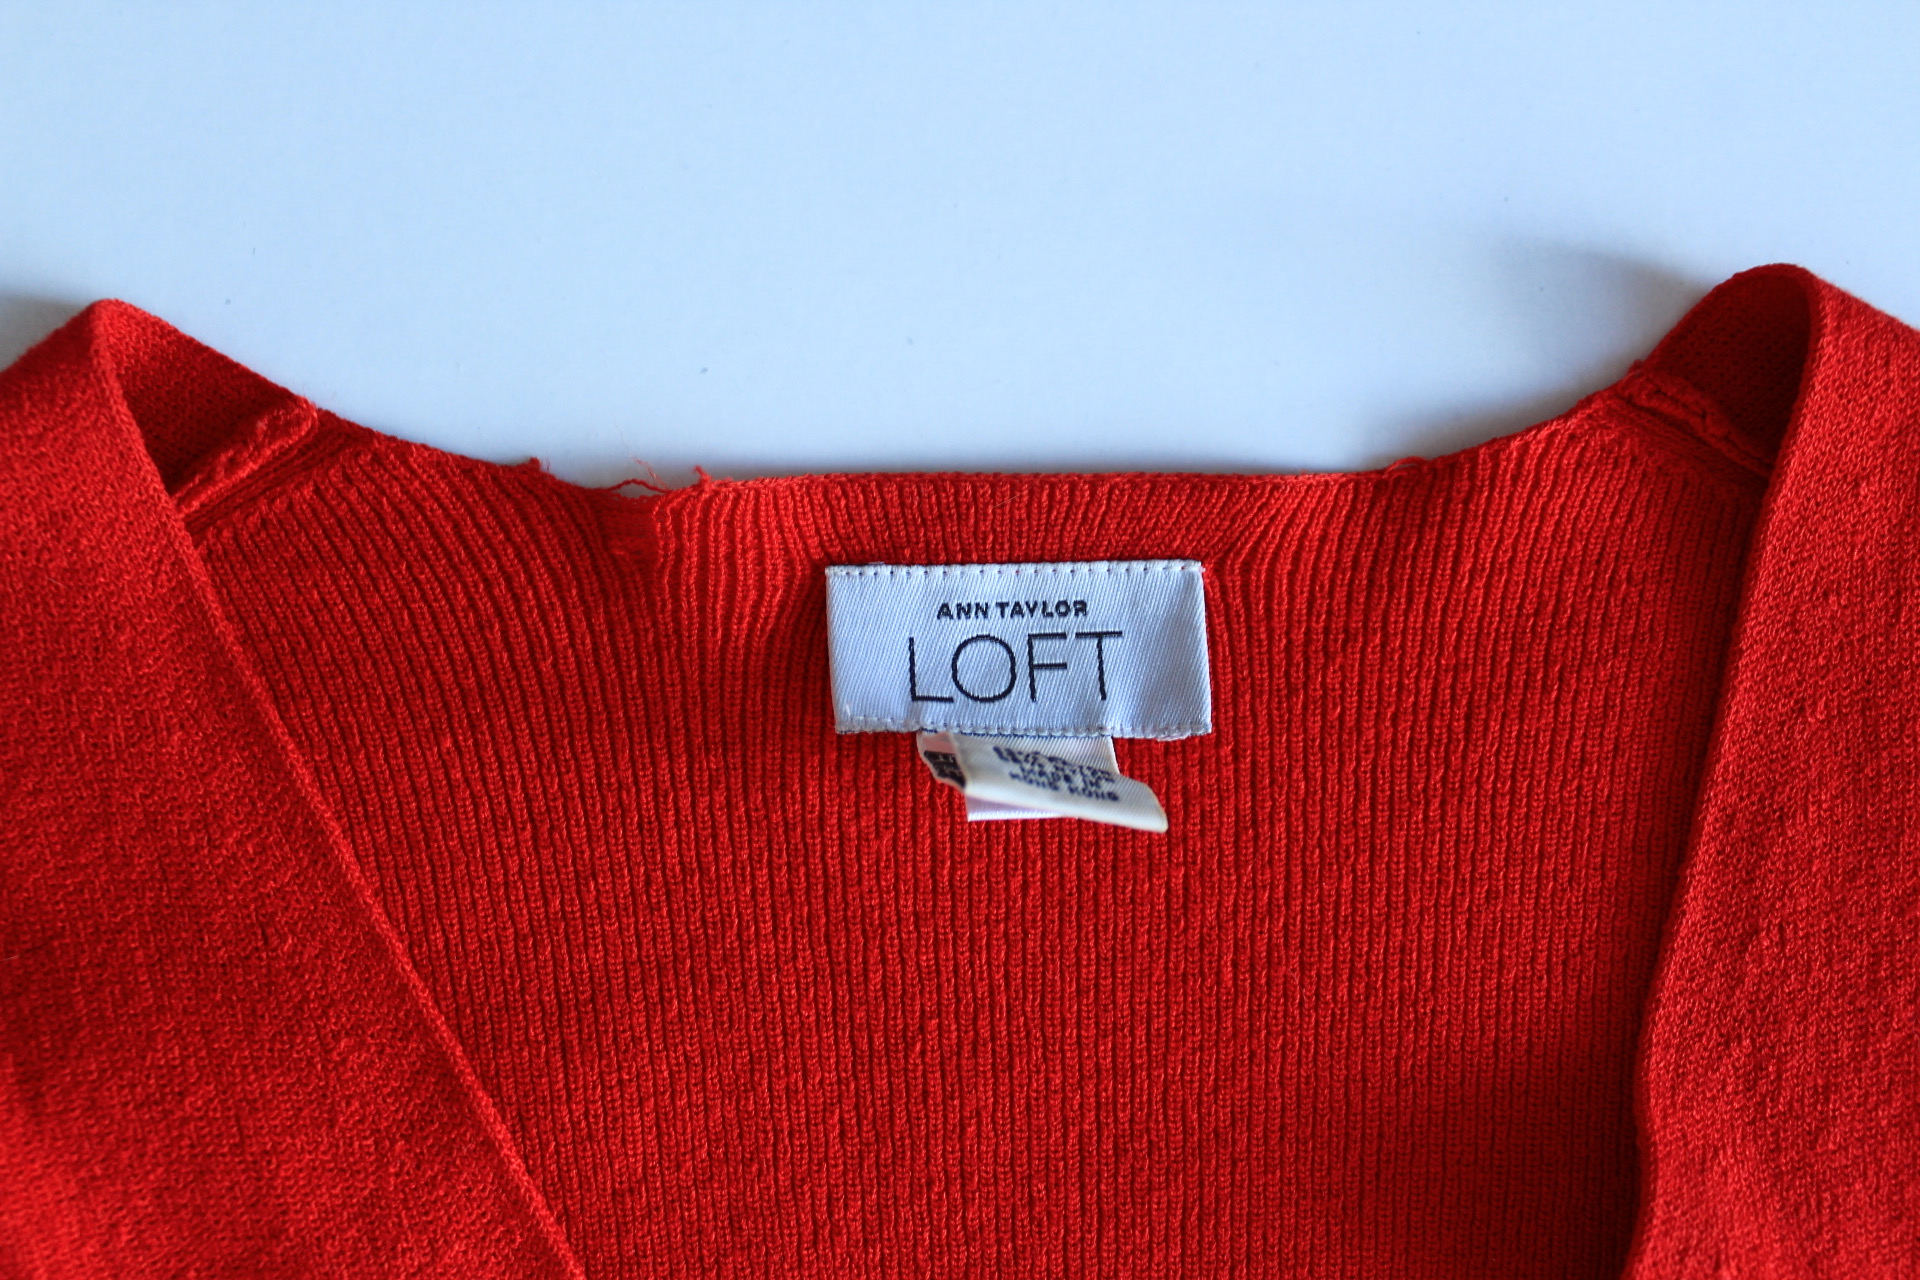
Let me tell you a personal experience… This sweater was my mom’s, she gave it to me but I stored it incorrectly, I hang it instead of folding it and the neckline overstretched! As you can see here, it’s about to break. But I couldn’t stop using it, I love the color so much. Don’t make the same mistake I made.
6. Re-dye them
If a garment has lost its color you can dye them again or better change its color. Using different pigments to make look just as new.
There are Natural o Synthetic dyes. Some natural pigments are berries, turmeric, onion skins, tea, coffee, flower petals. And the synthetic pigments are the ones you find at the stores, in a bottle as a liquid, or in an envelope as powder. These are more potent, but they contaminate more as they already include chemical ingredients like the fixatives.
For each material the process of dyeing it’s different.
For example natural fibers like cotton, the process is easier. You can use both methods the natural and the chemical. For a natural method, you’ll need your pigment, a “mordant” like salt or vinegar, and hot water. The mordant is used as a fixative to make sure the color stays, if you don’t use anything the color might end up in a light sade or with no color at all. I found these helpful instructions on how to dye natural fabrics, I’ll leave you the link here.
Some fabrics you can dye easily are:
-
-
- Cotton
- Linen
- Viscose
- Denim
- Flax
- Jute
- Silk
- Wool
-
And for synthetic fibers, it’s not possible to dye them at home. At least not the fabrics that are composed of 100% synthetic fibers.
Some of these fabrics are:
-
-
- Polyester
- Acrylic
- Acetate
- Nylon
- Rayon
- Spandex
-
But, if you have a garment with blended fibers, you will be able to dye it if the higher percentage is a natural fiber. For example, 60% Cotton/40% Polyester or 70% Viscose/30% Polyester. The greater the percentage of the natural fiber, the deeper the shade will be.
I found this RIT dyer that will help you to do the job, but for fabric blends that contain more than 35% of Synthetic Fibers. *Not sponsored.
7. Remove pilling
Pill: it’s a small ball of fibers that forms on a piece of cloth. It happens when washing and wearing fabrics causes loose fibers to push out from the surface of the cloth.
Fibers such as wool, cotton, polyester, nylon, and acrylic have a tendency to pill the most.
Fabrics made of fiber blends, combining natural and synthetic material, are more susceptible to this as well.
Look for high-end clothing, and tightly knit sweaters, they have less probability to pill.
Nowadays there are several tools to help you get rid of this, like the Pilo Fabric Shaver from Steamery, a little machine that removes the fluff. *Not sponsored. But the sad part is that they are sometimes expensive. Another option is to use a Shaving Razor. First, lay the garment on a flat surface, then pull the fabric near the affected area, and gently shave upward. Finally, remove the remainings with a little piece of tape. Avoid using shaving razors that have moisture strips. Be really careful with this method, you don’t want any holes.
Also if you use liquid detergent, this will help you prevent it. Because with powder detergent you are generating more friction to the fabric.
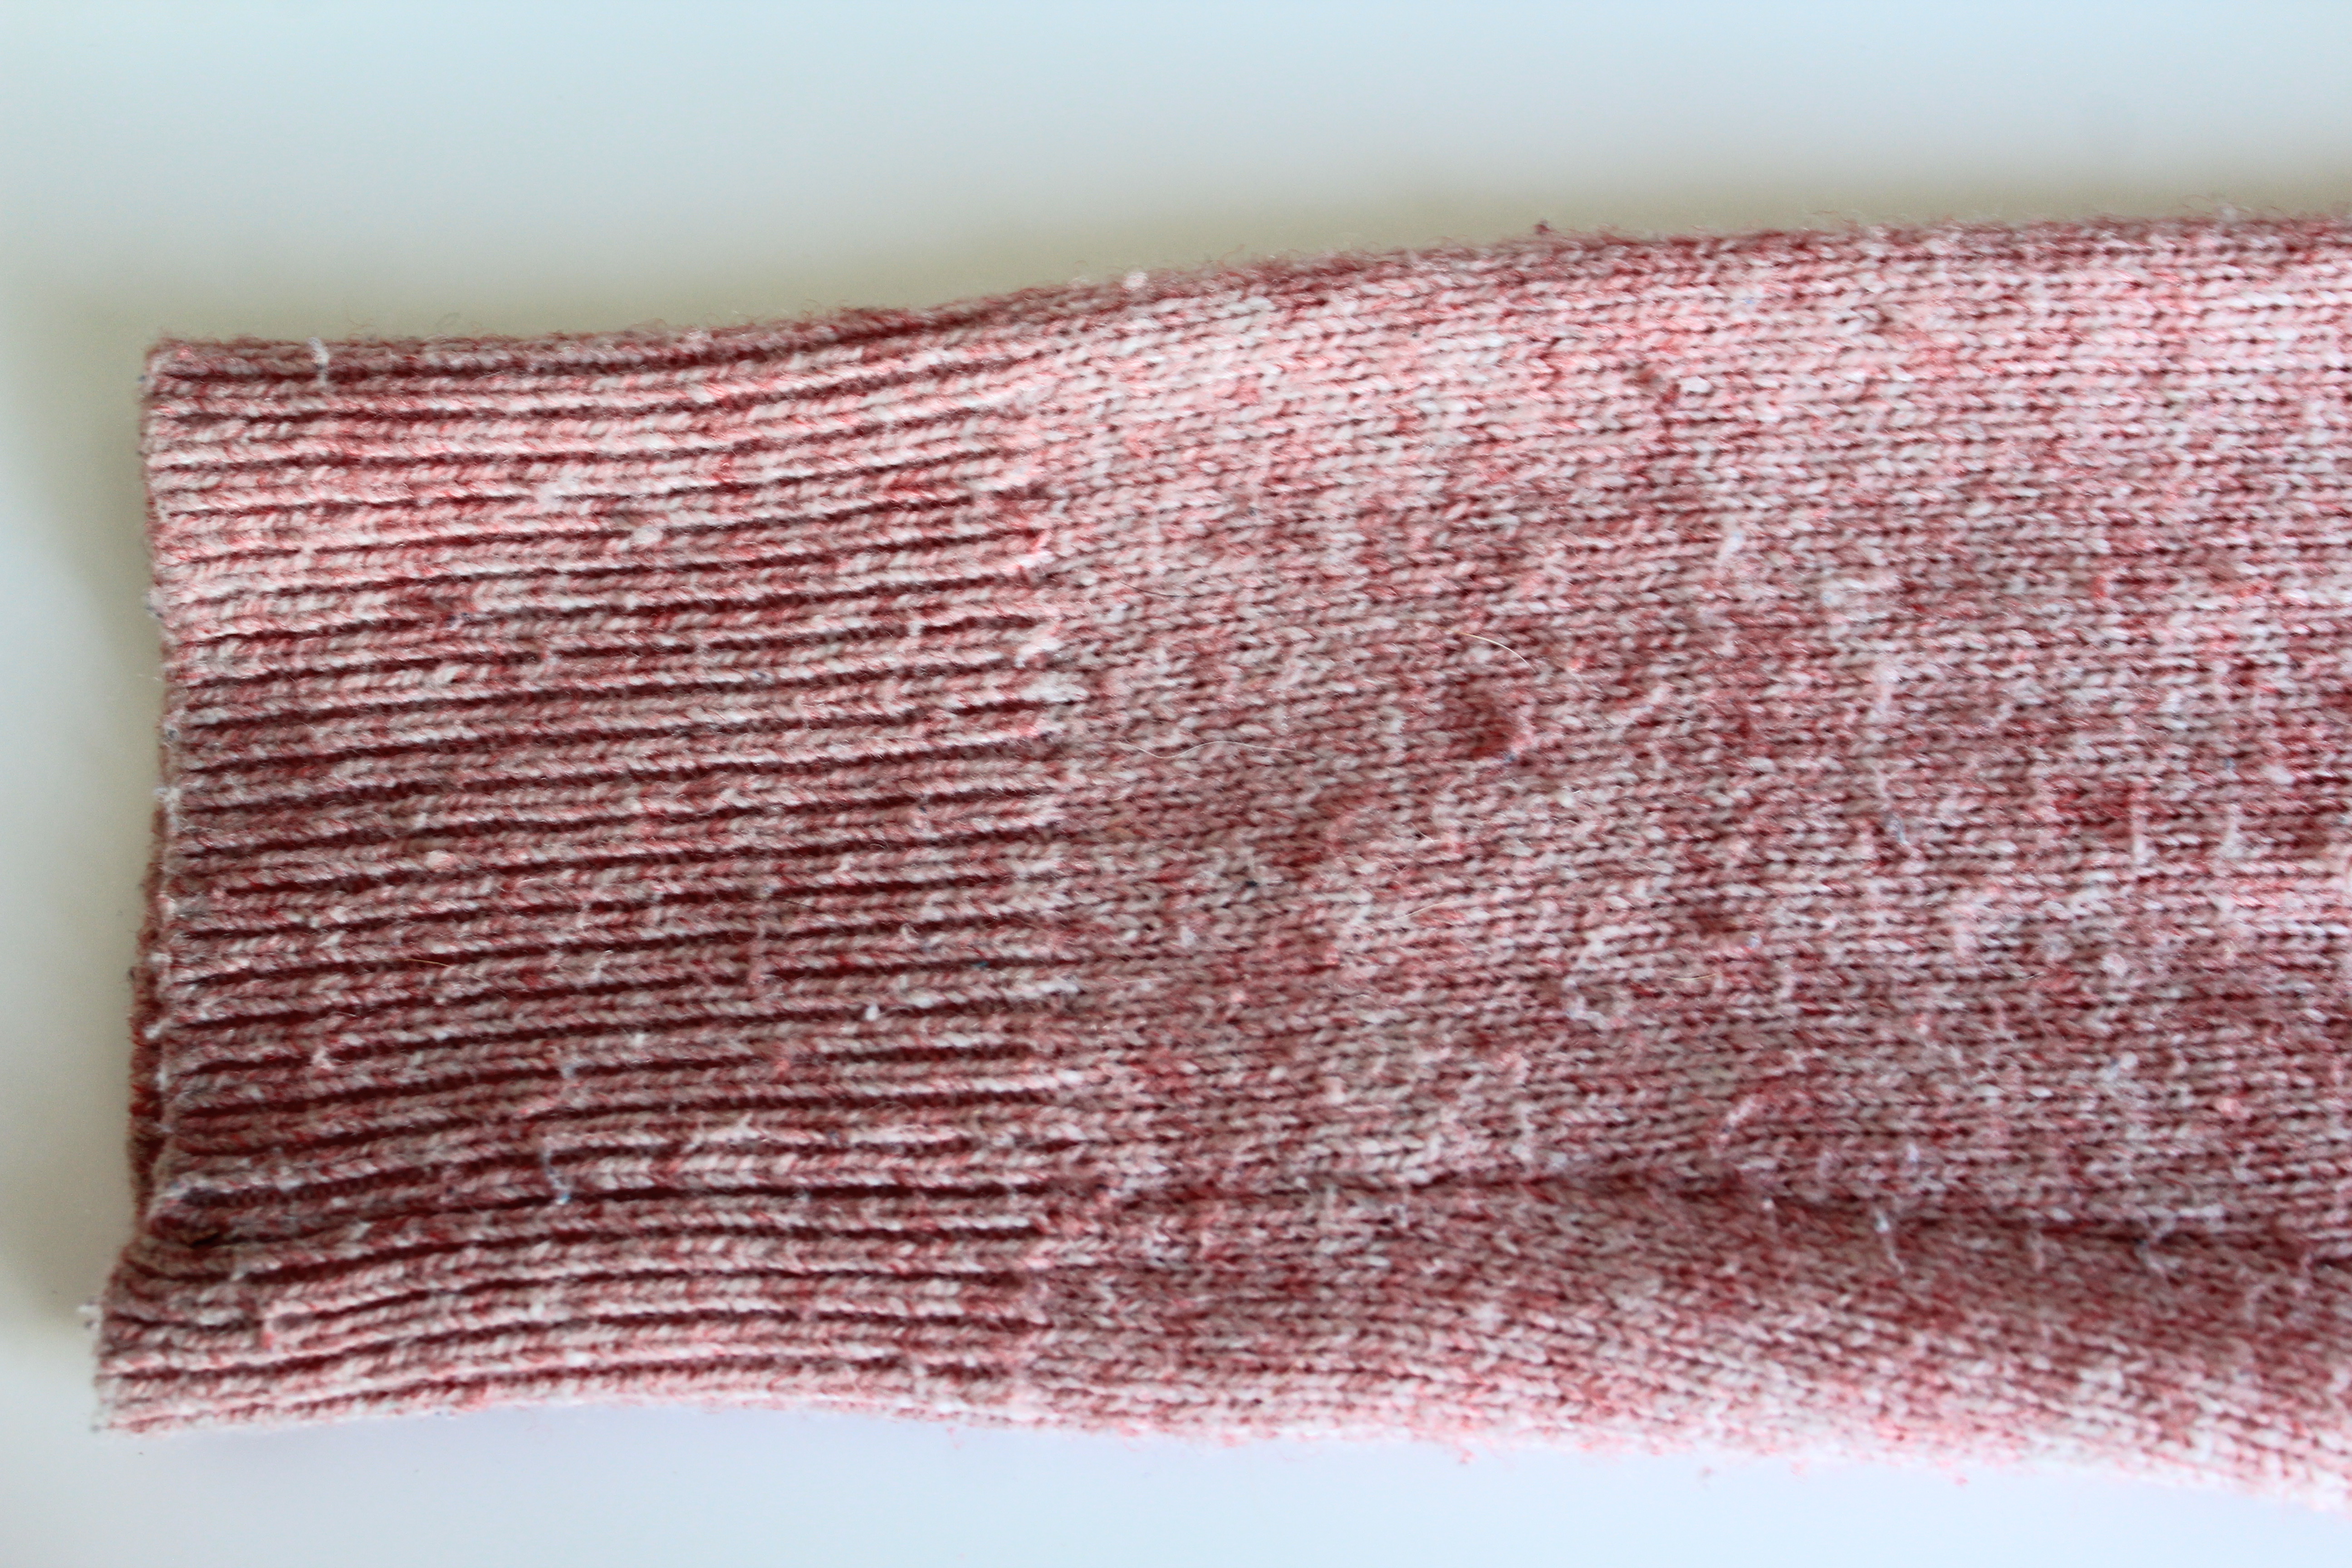
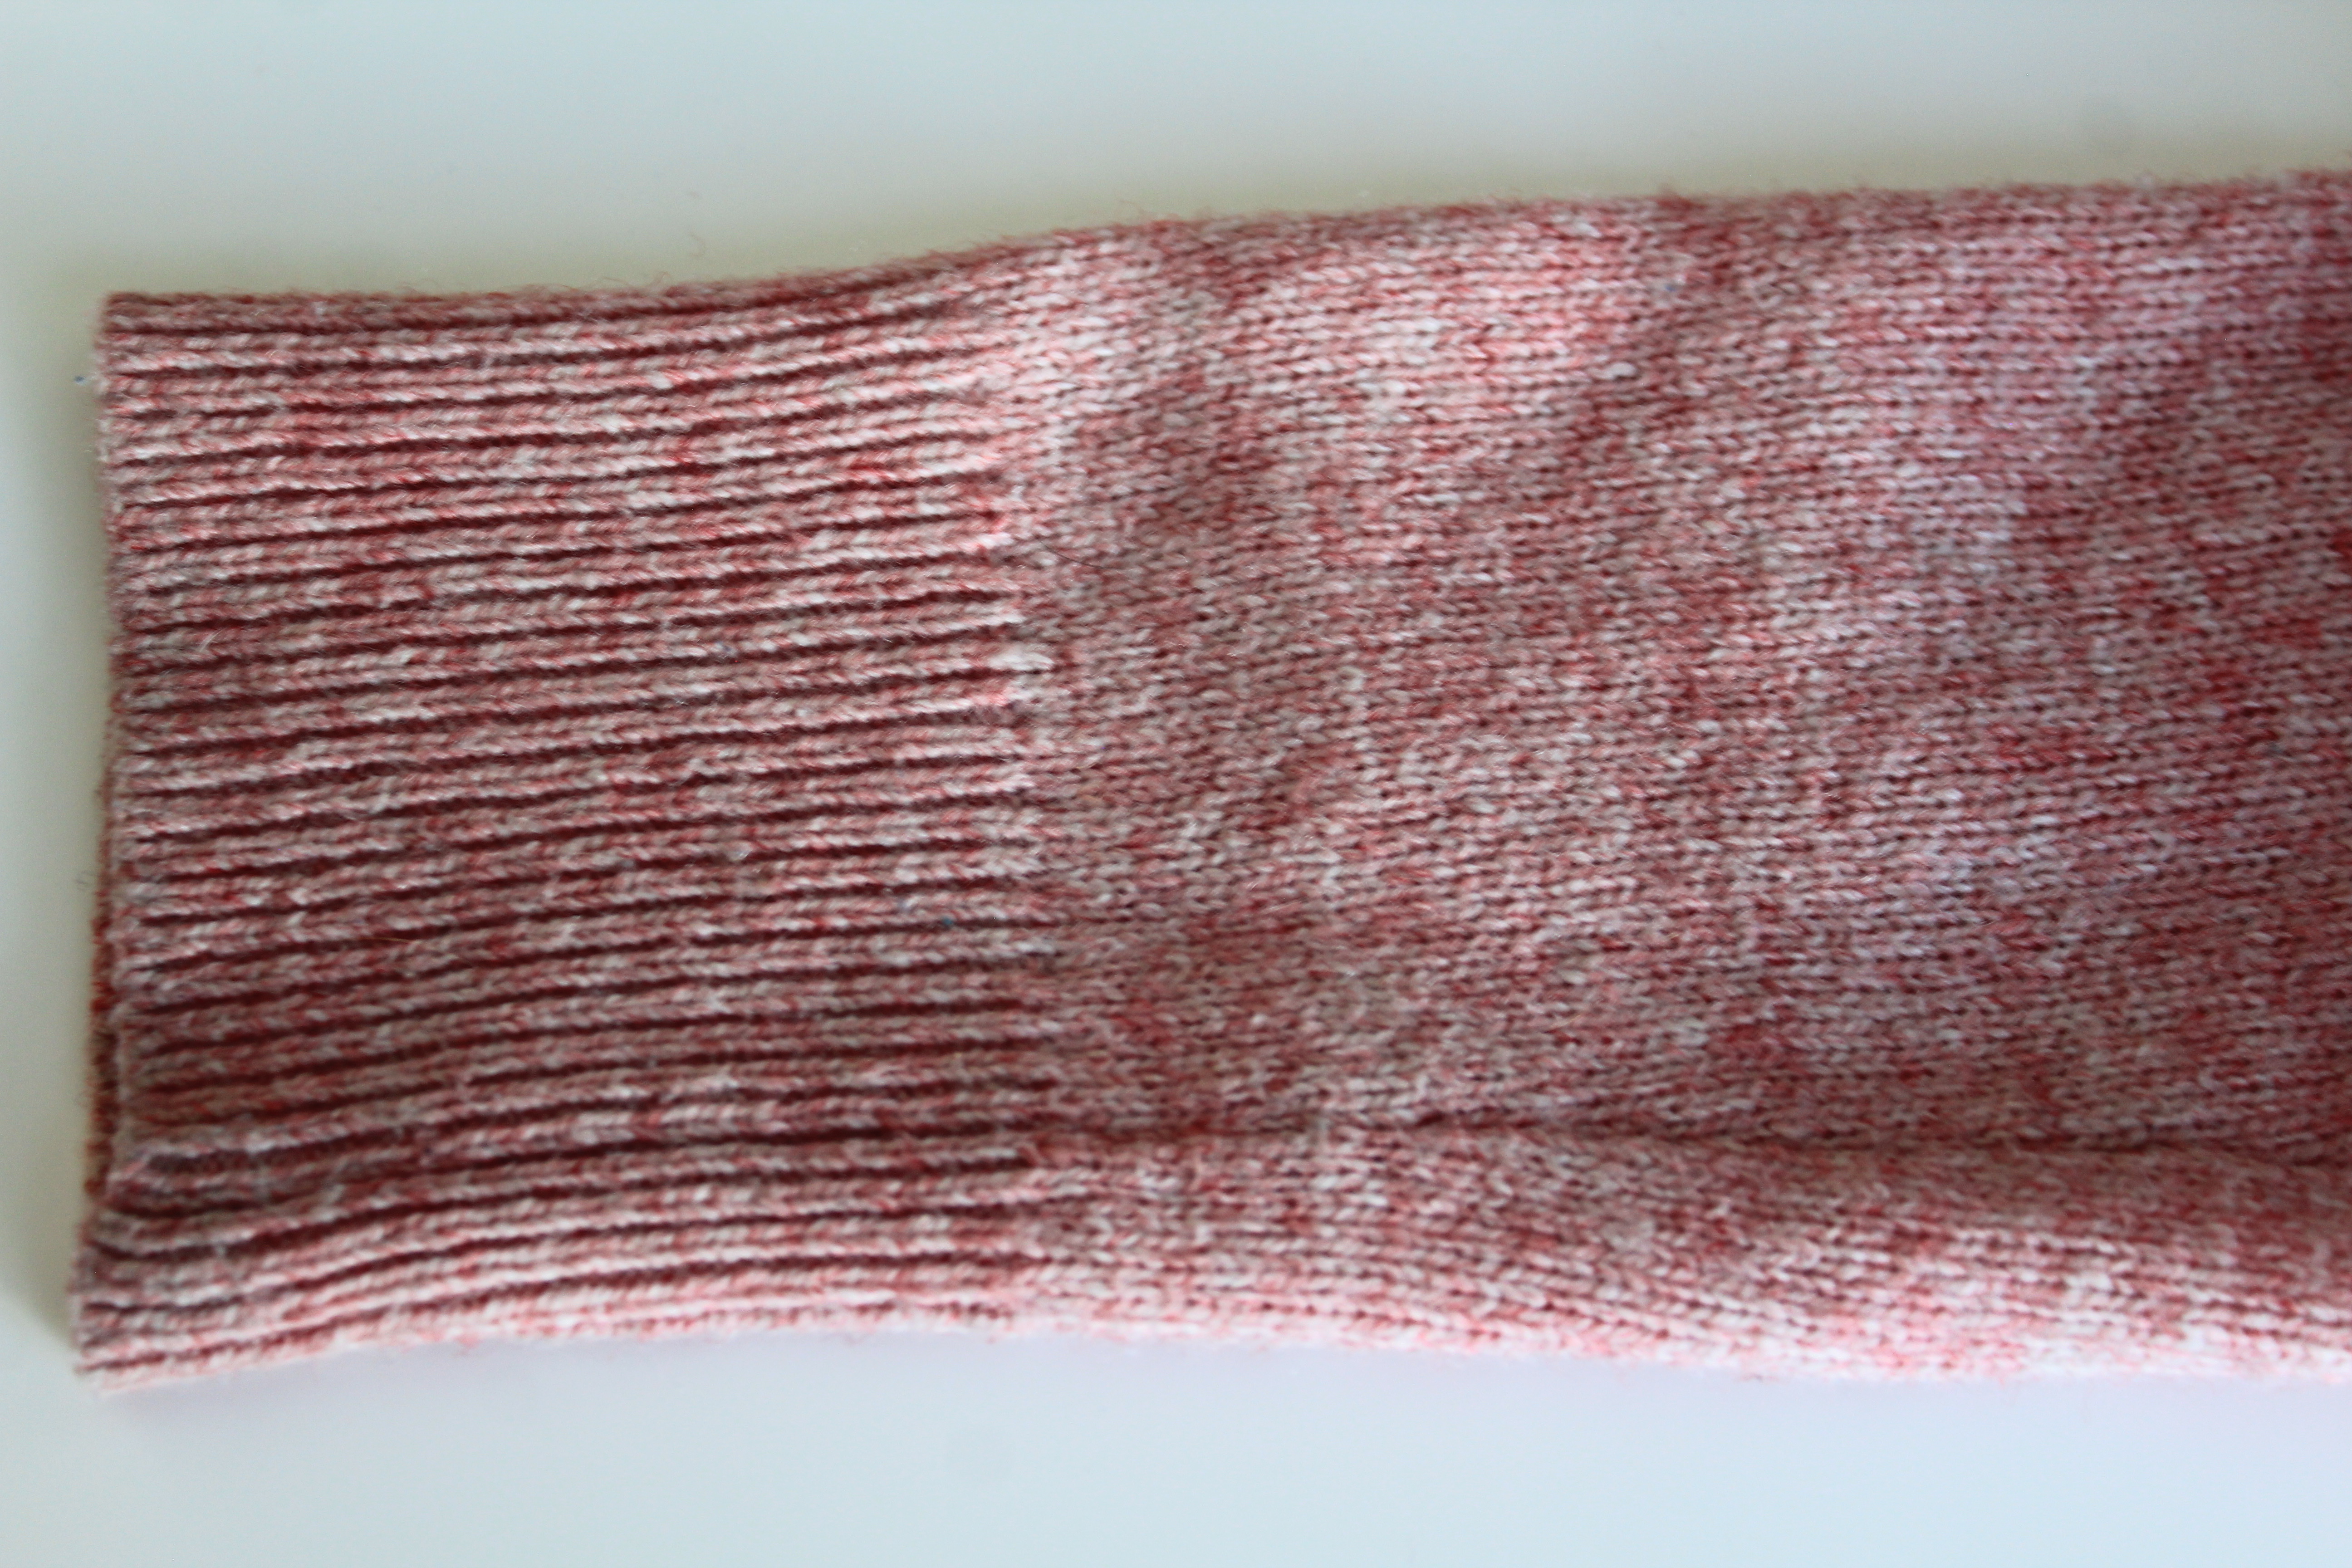
Look at this example of how different your sweaters will look if you take off the pilling.
Before
After
8. Repair buttons
Sewing a fallen button it’s the easiest way to take care of your clothing. It can be simple but to do it right and clean, that’s tricky. Most of the time garments with buttons have a backup attached to them, in case one falls, this is the moment to use it.
Here I teach you a way to sew a button correctly.
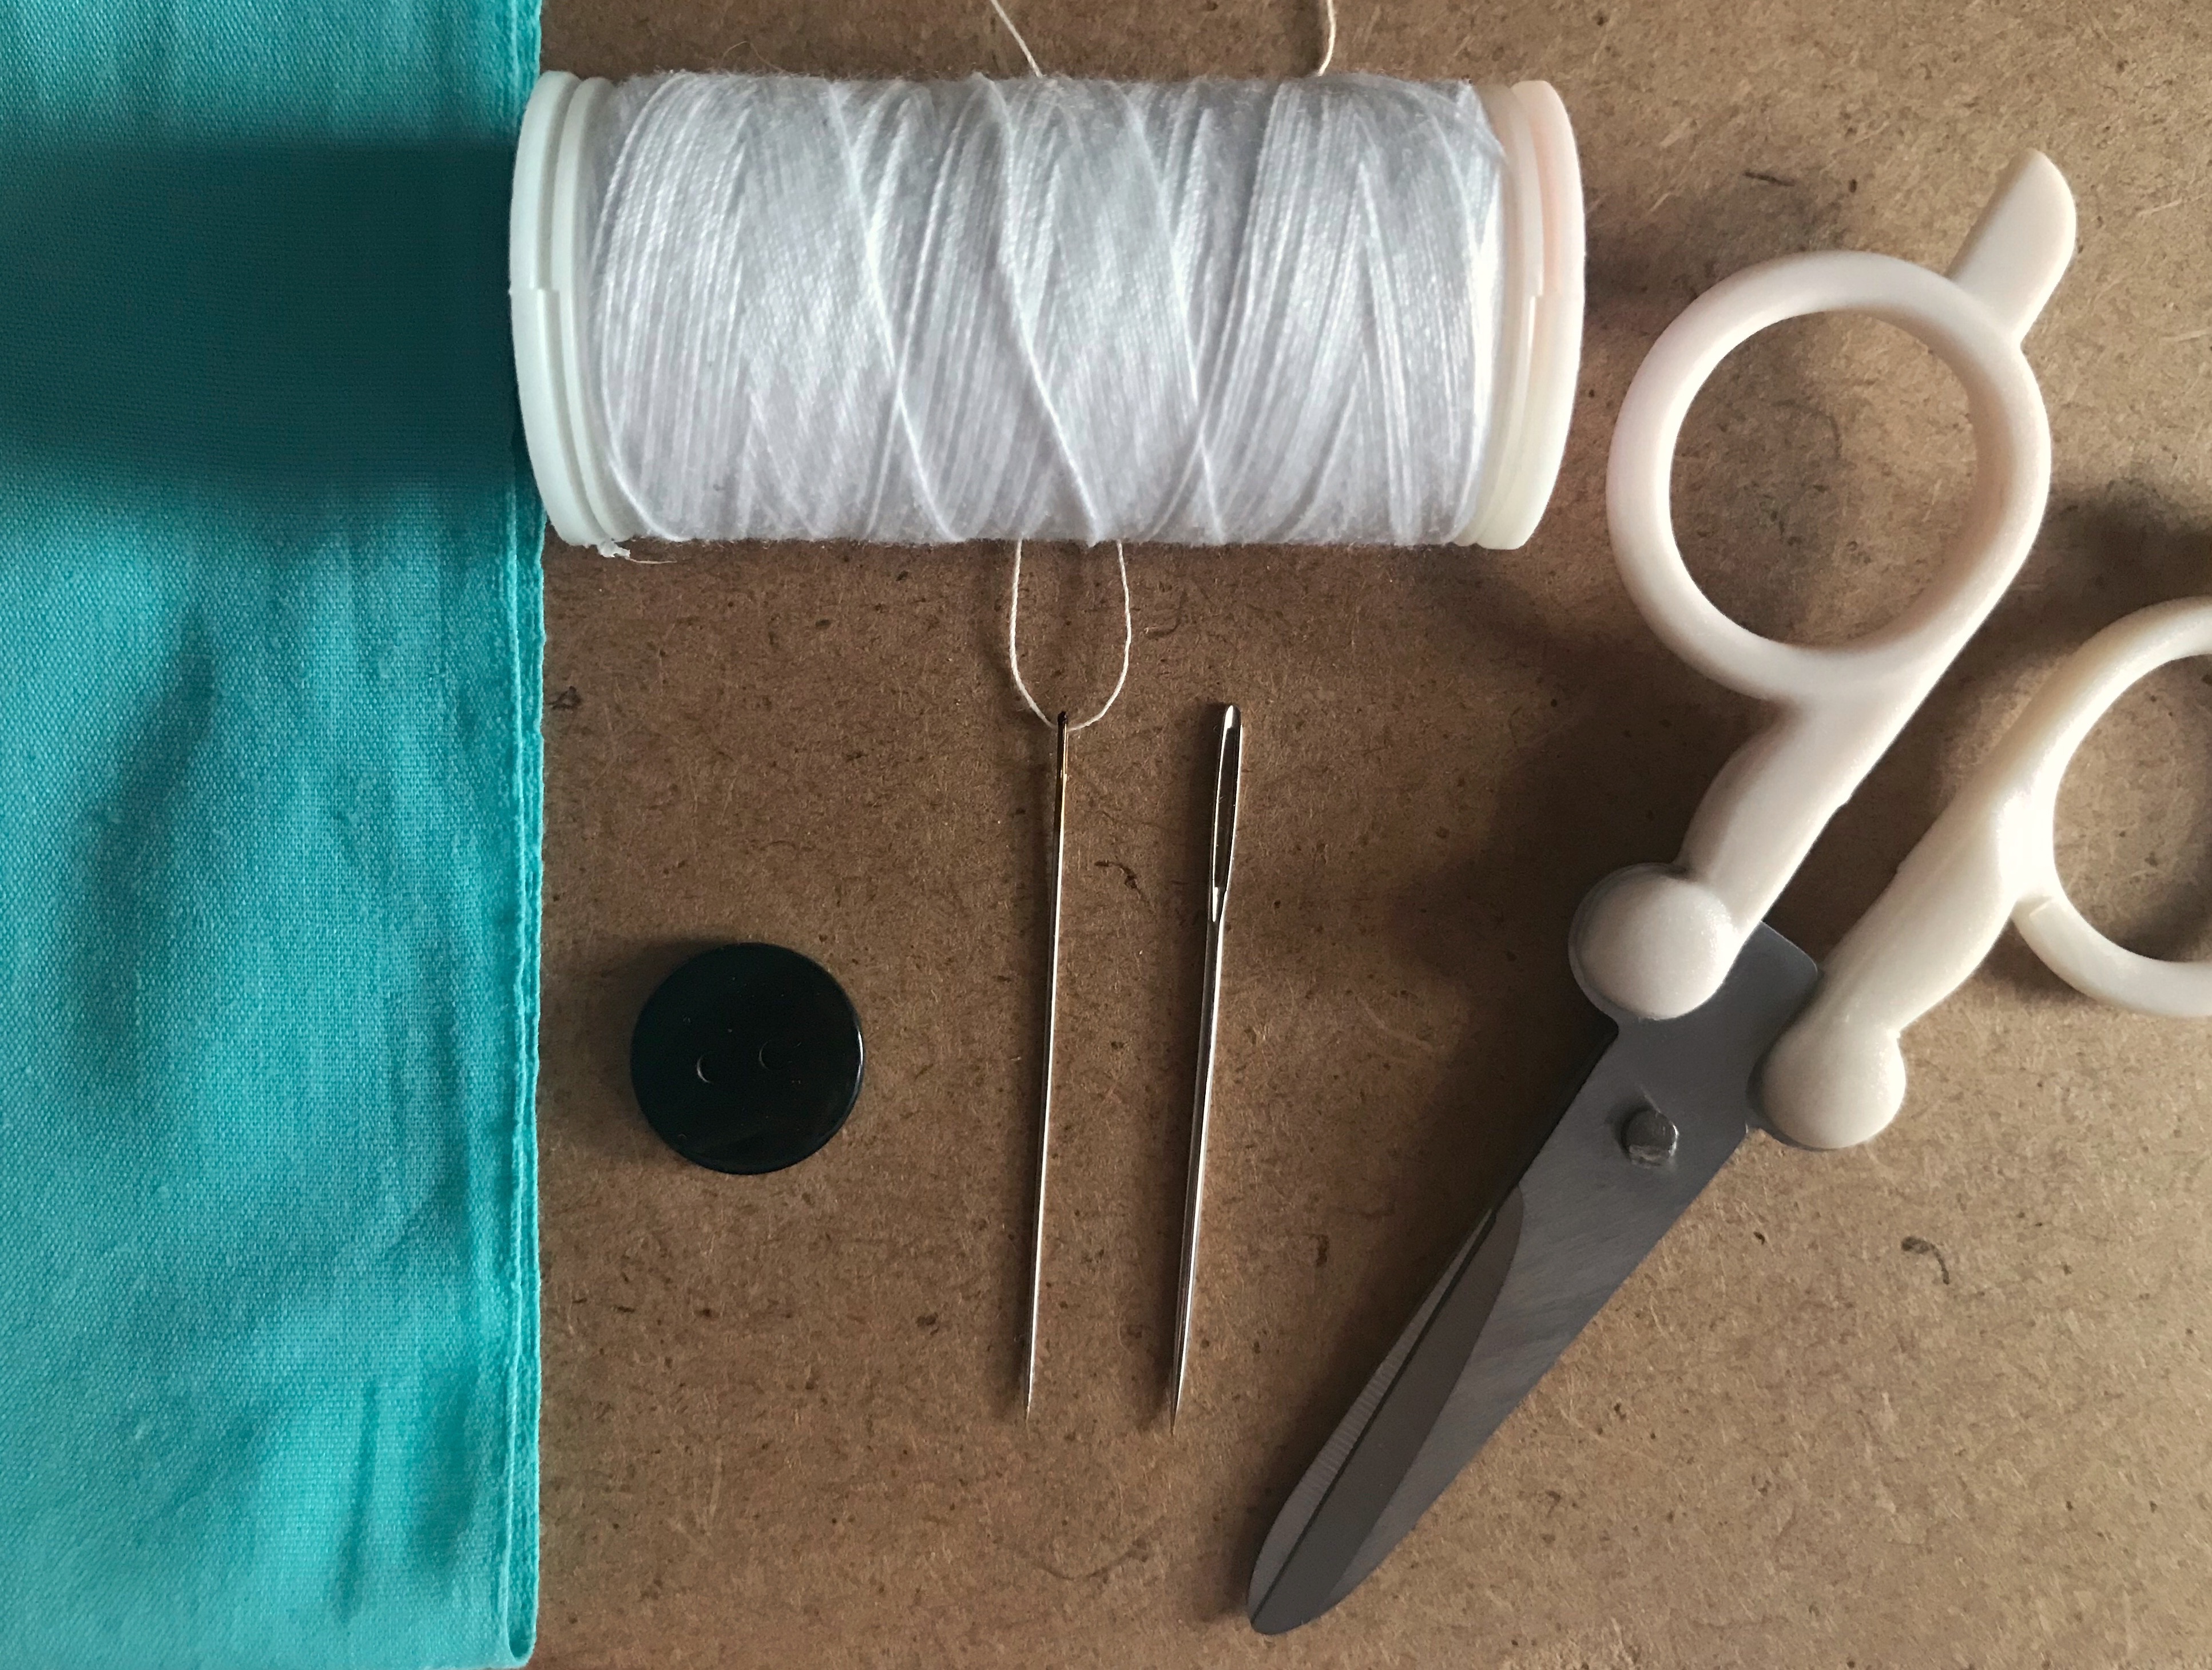
You need:
-
-
- Fallen button or anything similar
- Thread
- Needle
- Chopstick or a thick needle (embroidery needle)
- Garment or fabric
- Scissors
-
First, thread the needle and make a knot at the end. I recommend using the thread double, to make sure it’ll last longer.
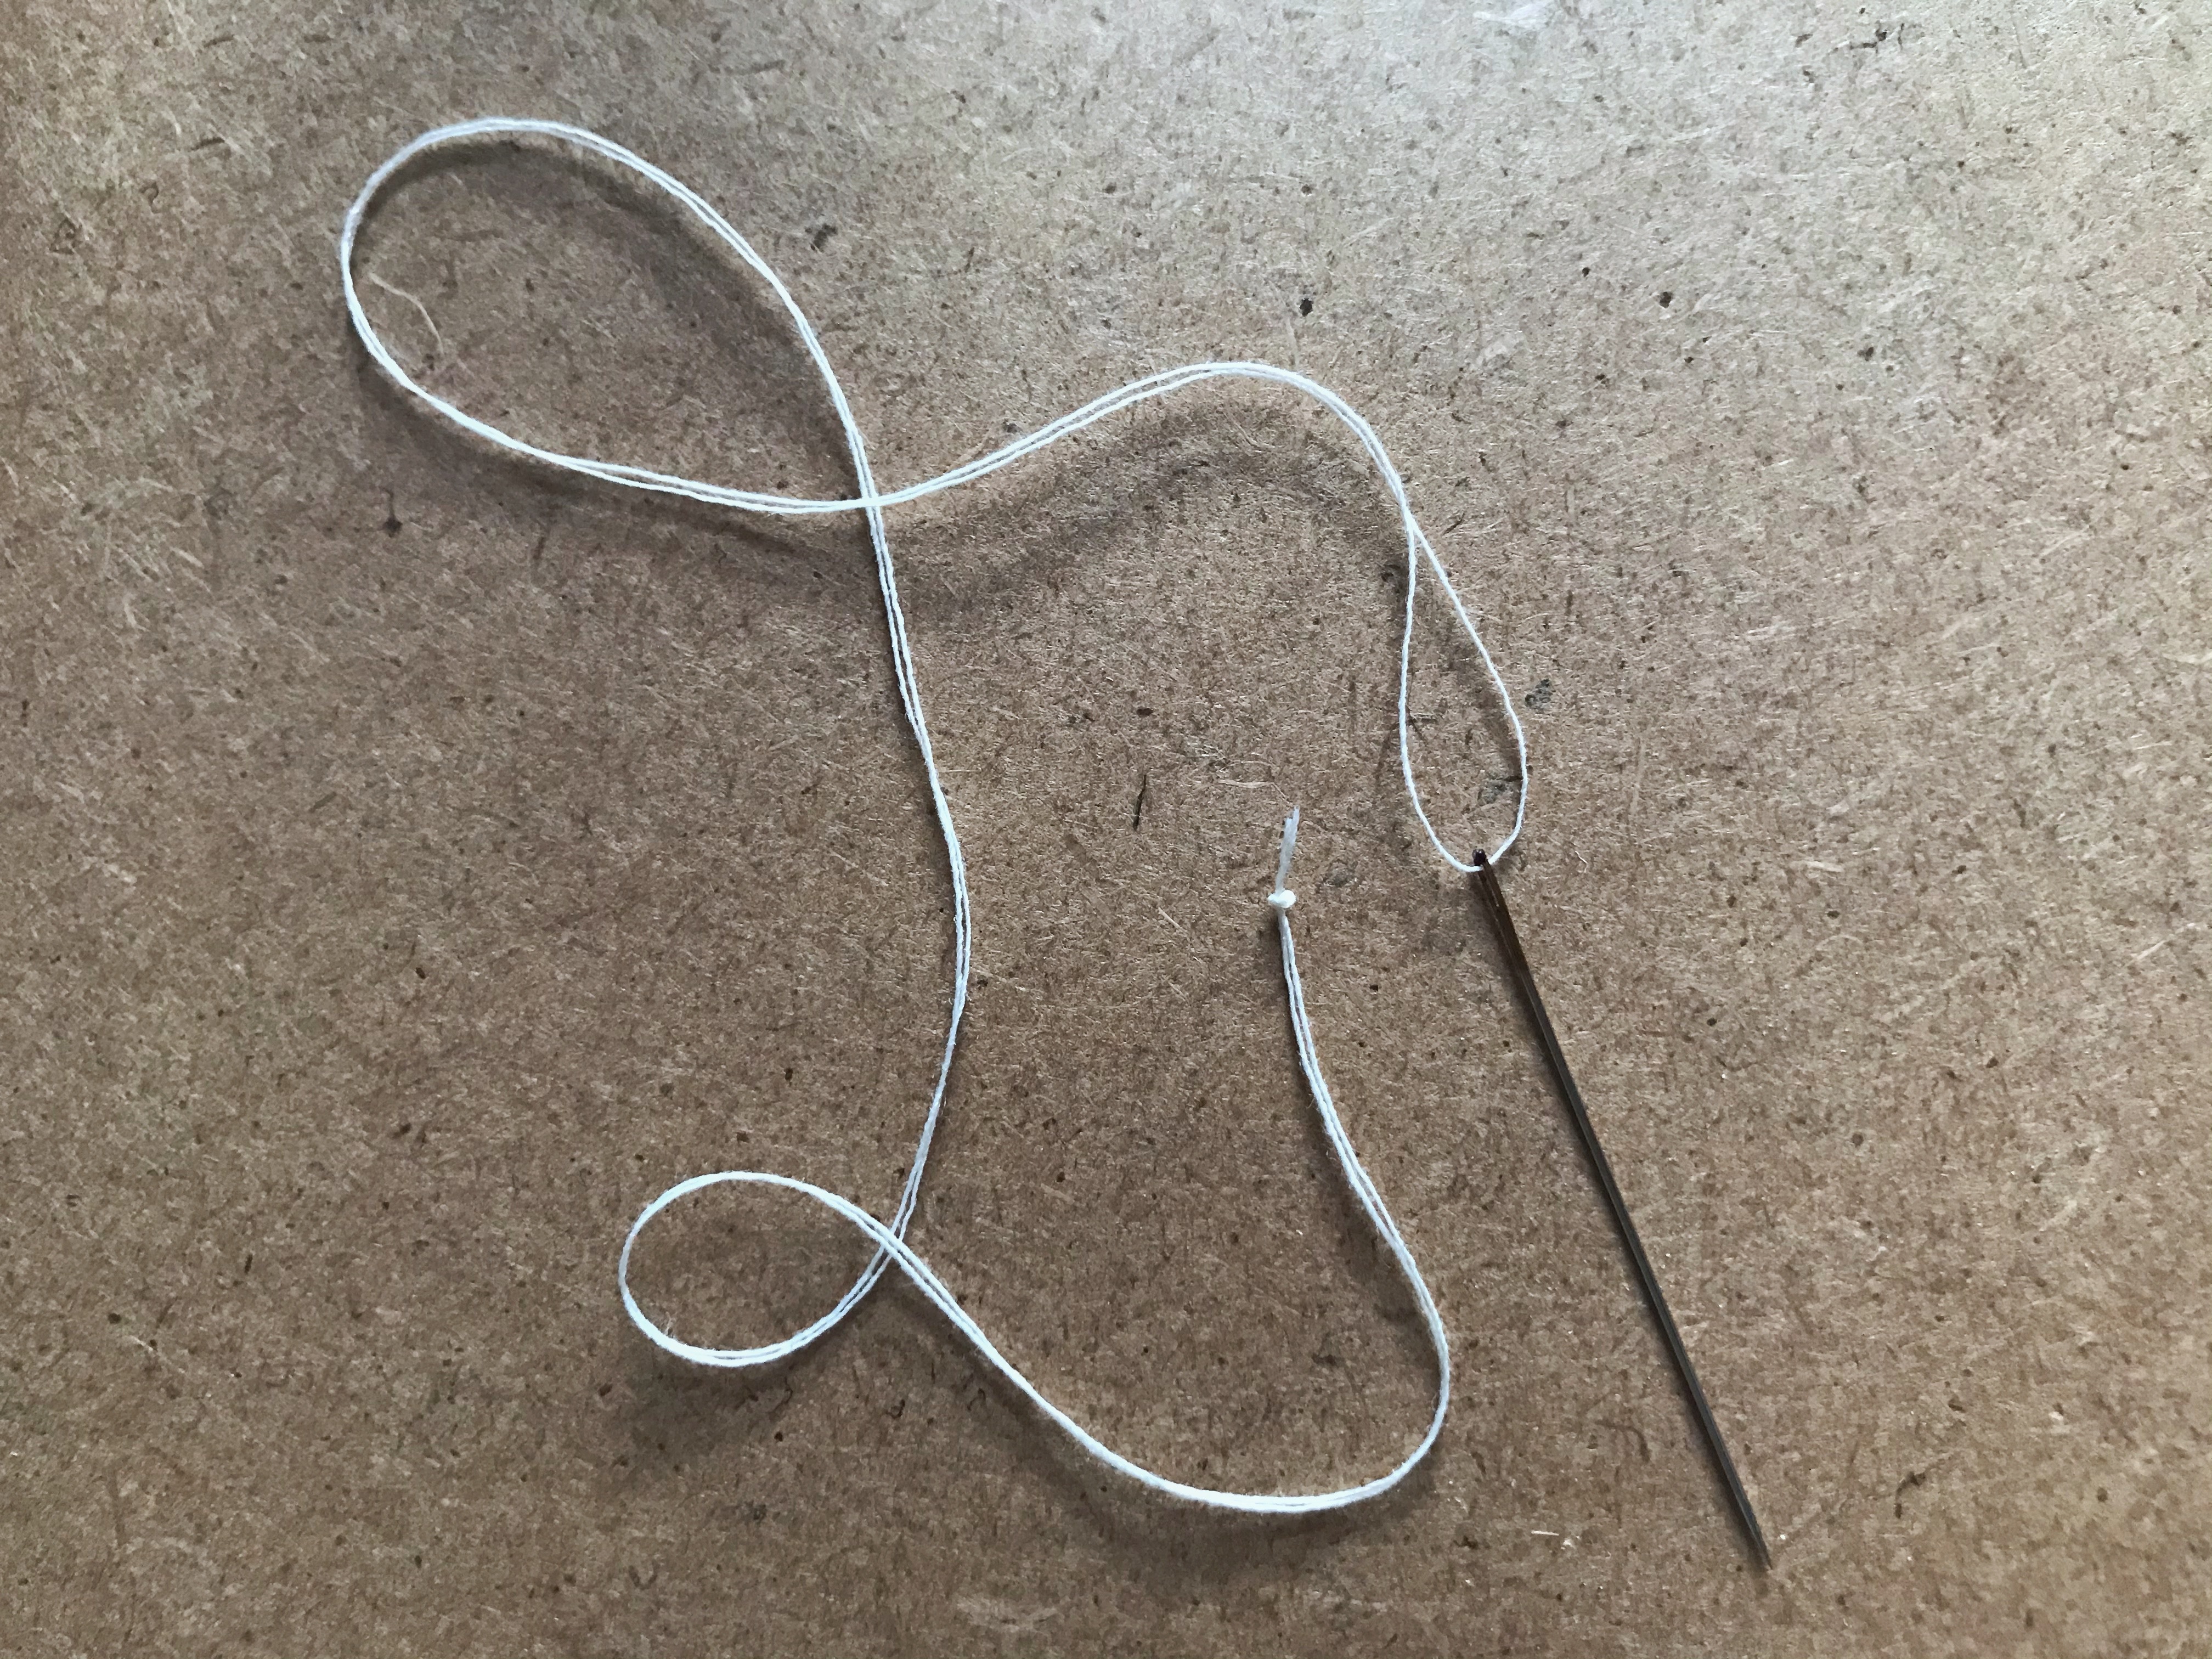
*You won’t need too much thread, let me tell you a little trick I use. Take the threaded needle with your fingers, stretch the thread until you reach your elbow, and cut. This will be the perfect length not too short or too long.
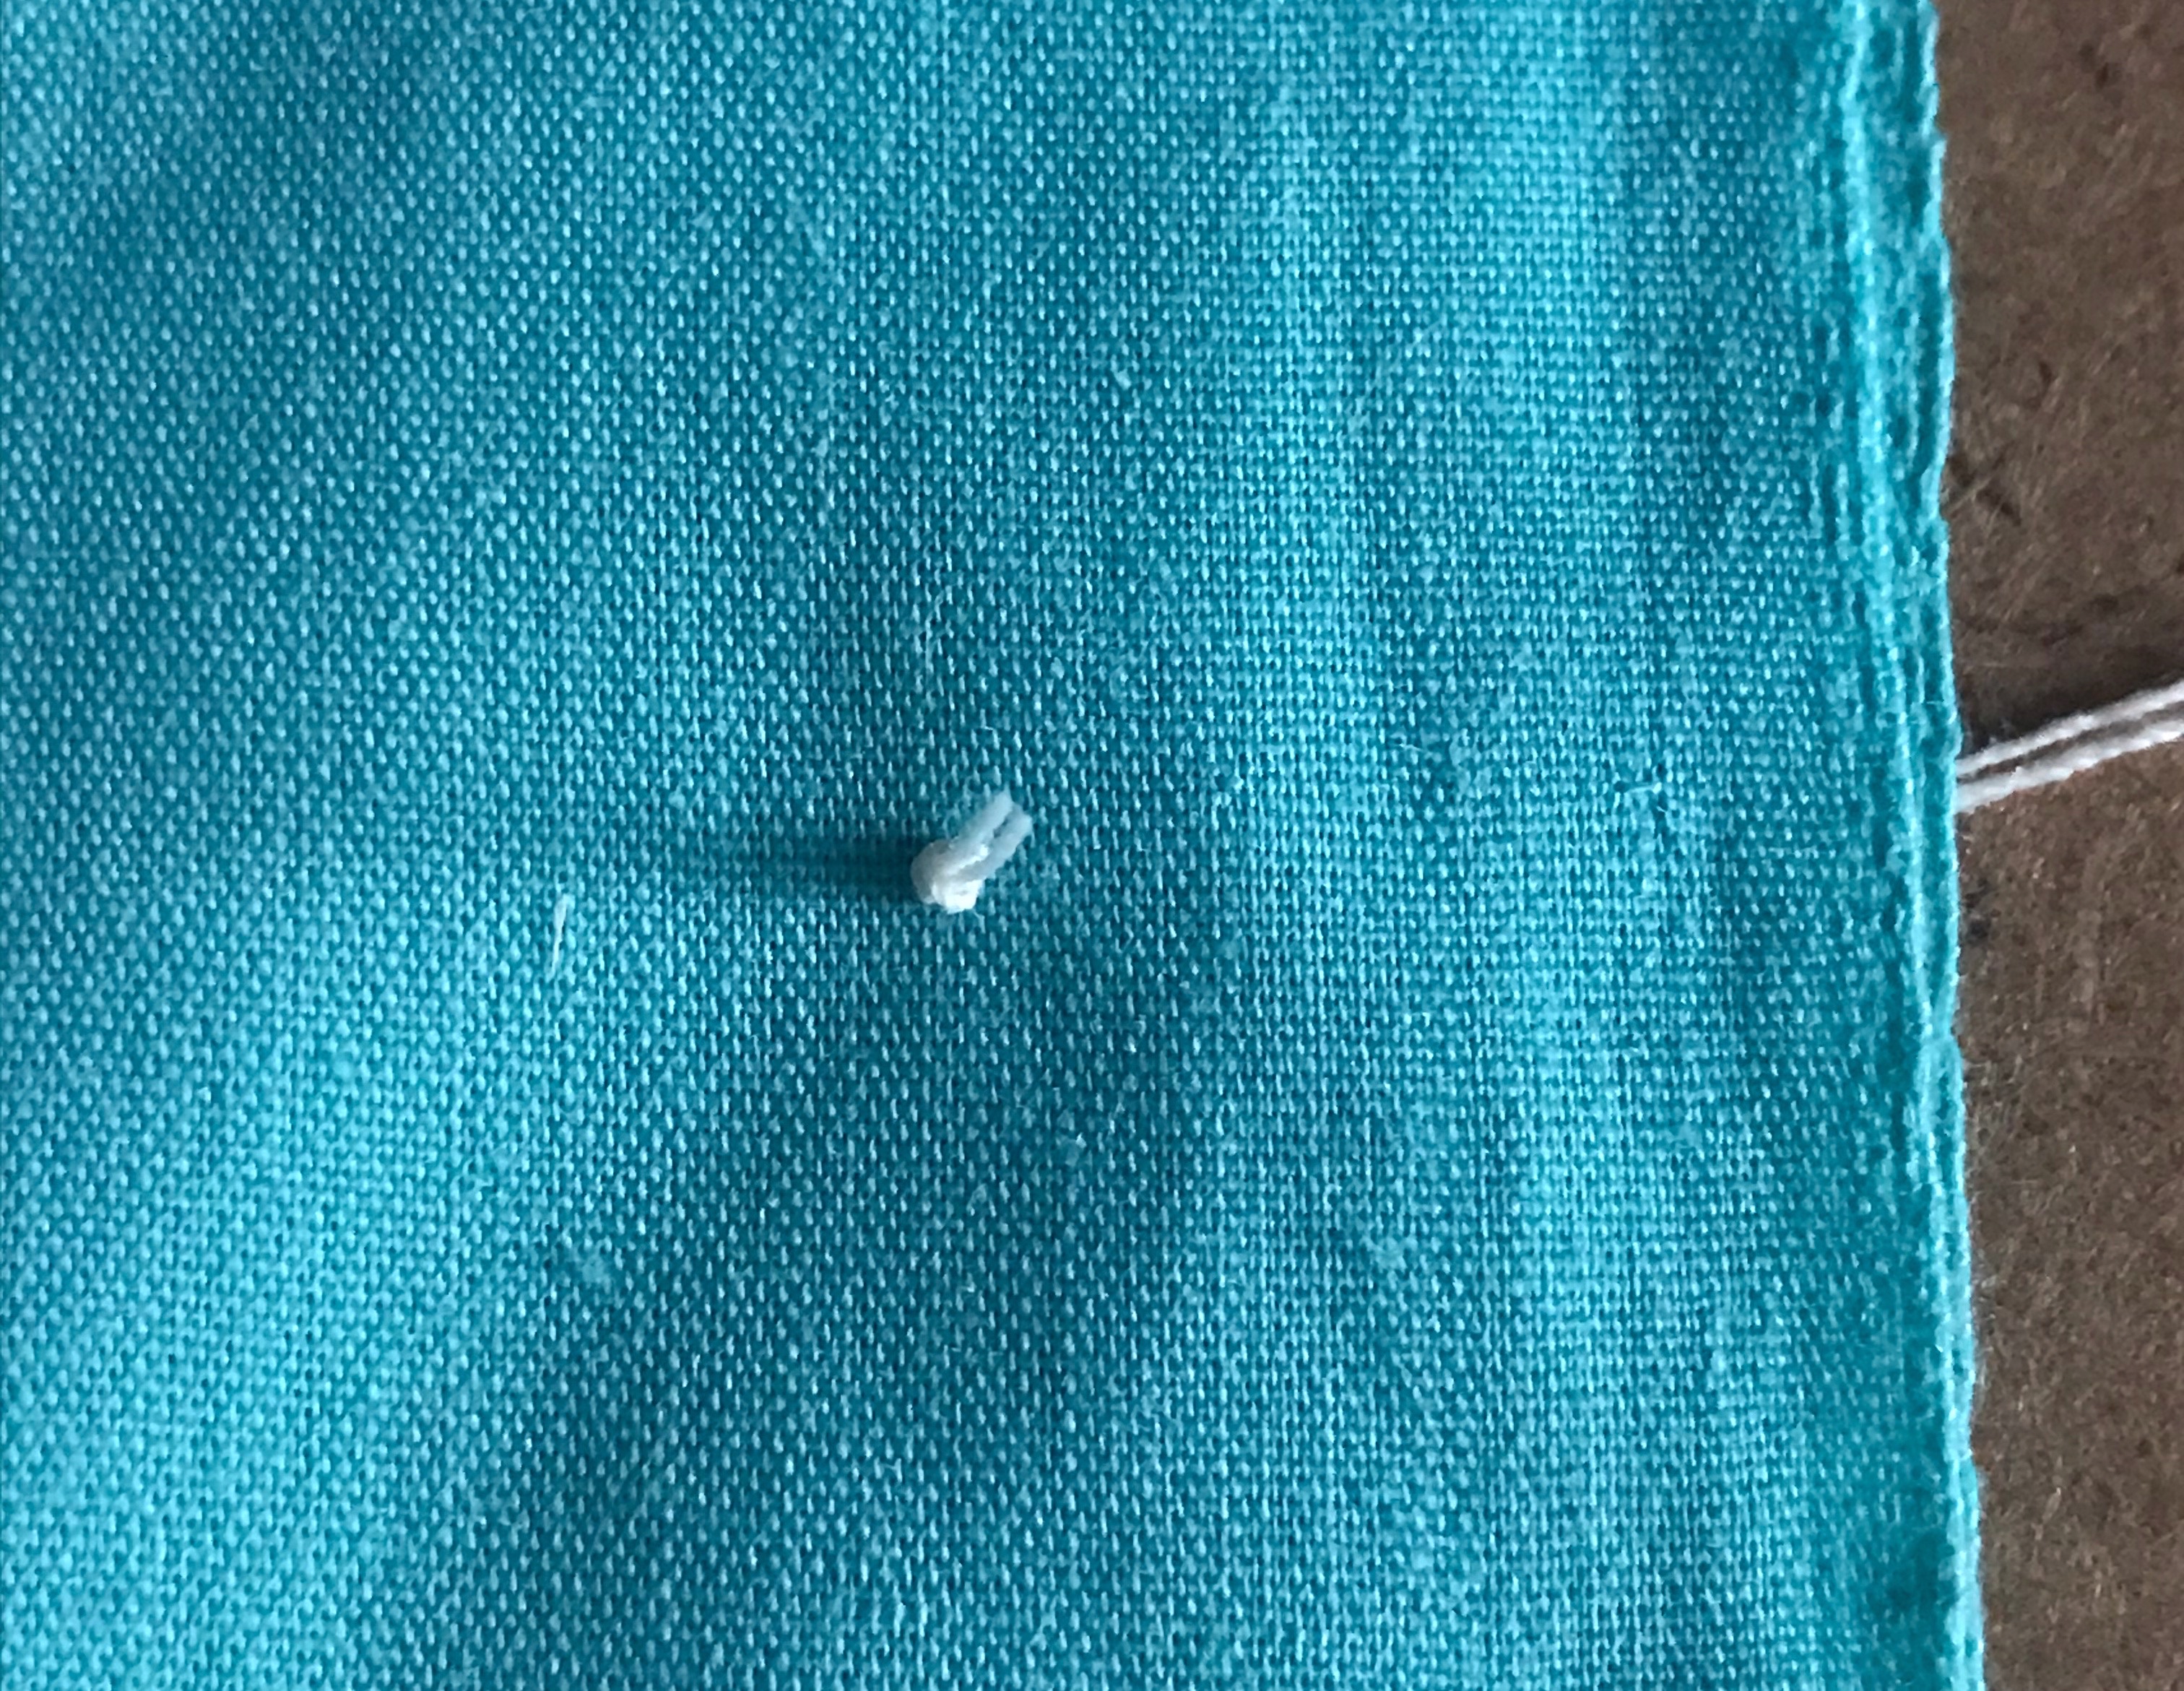
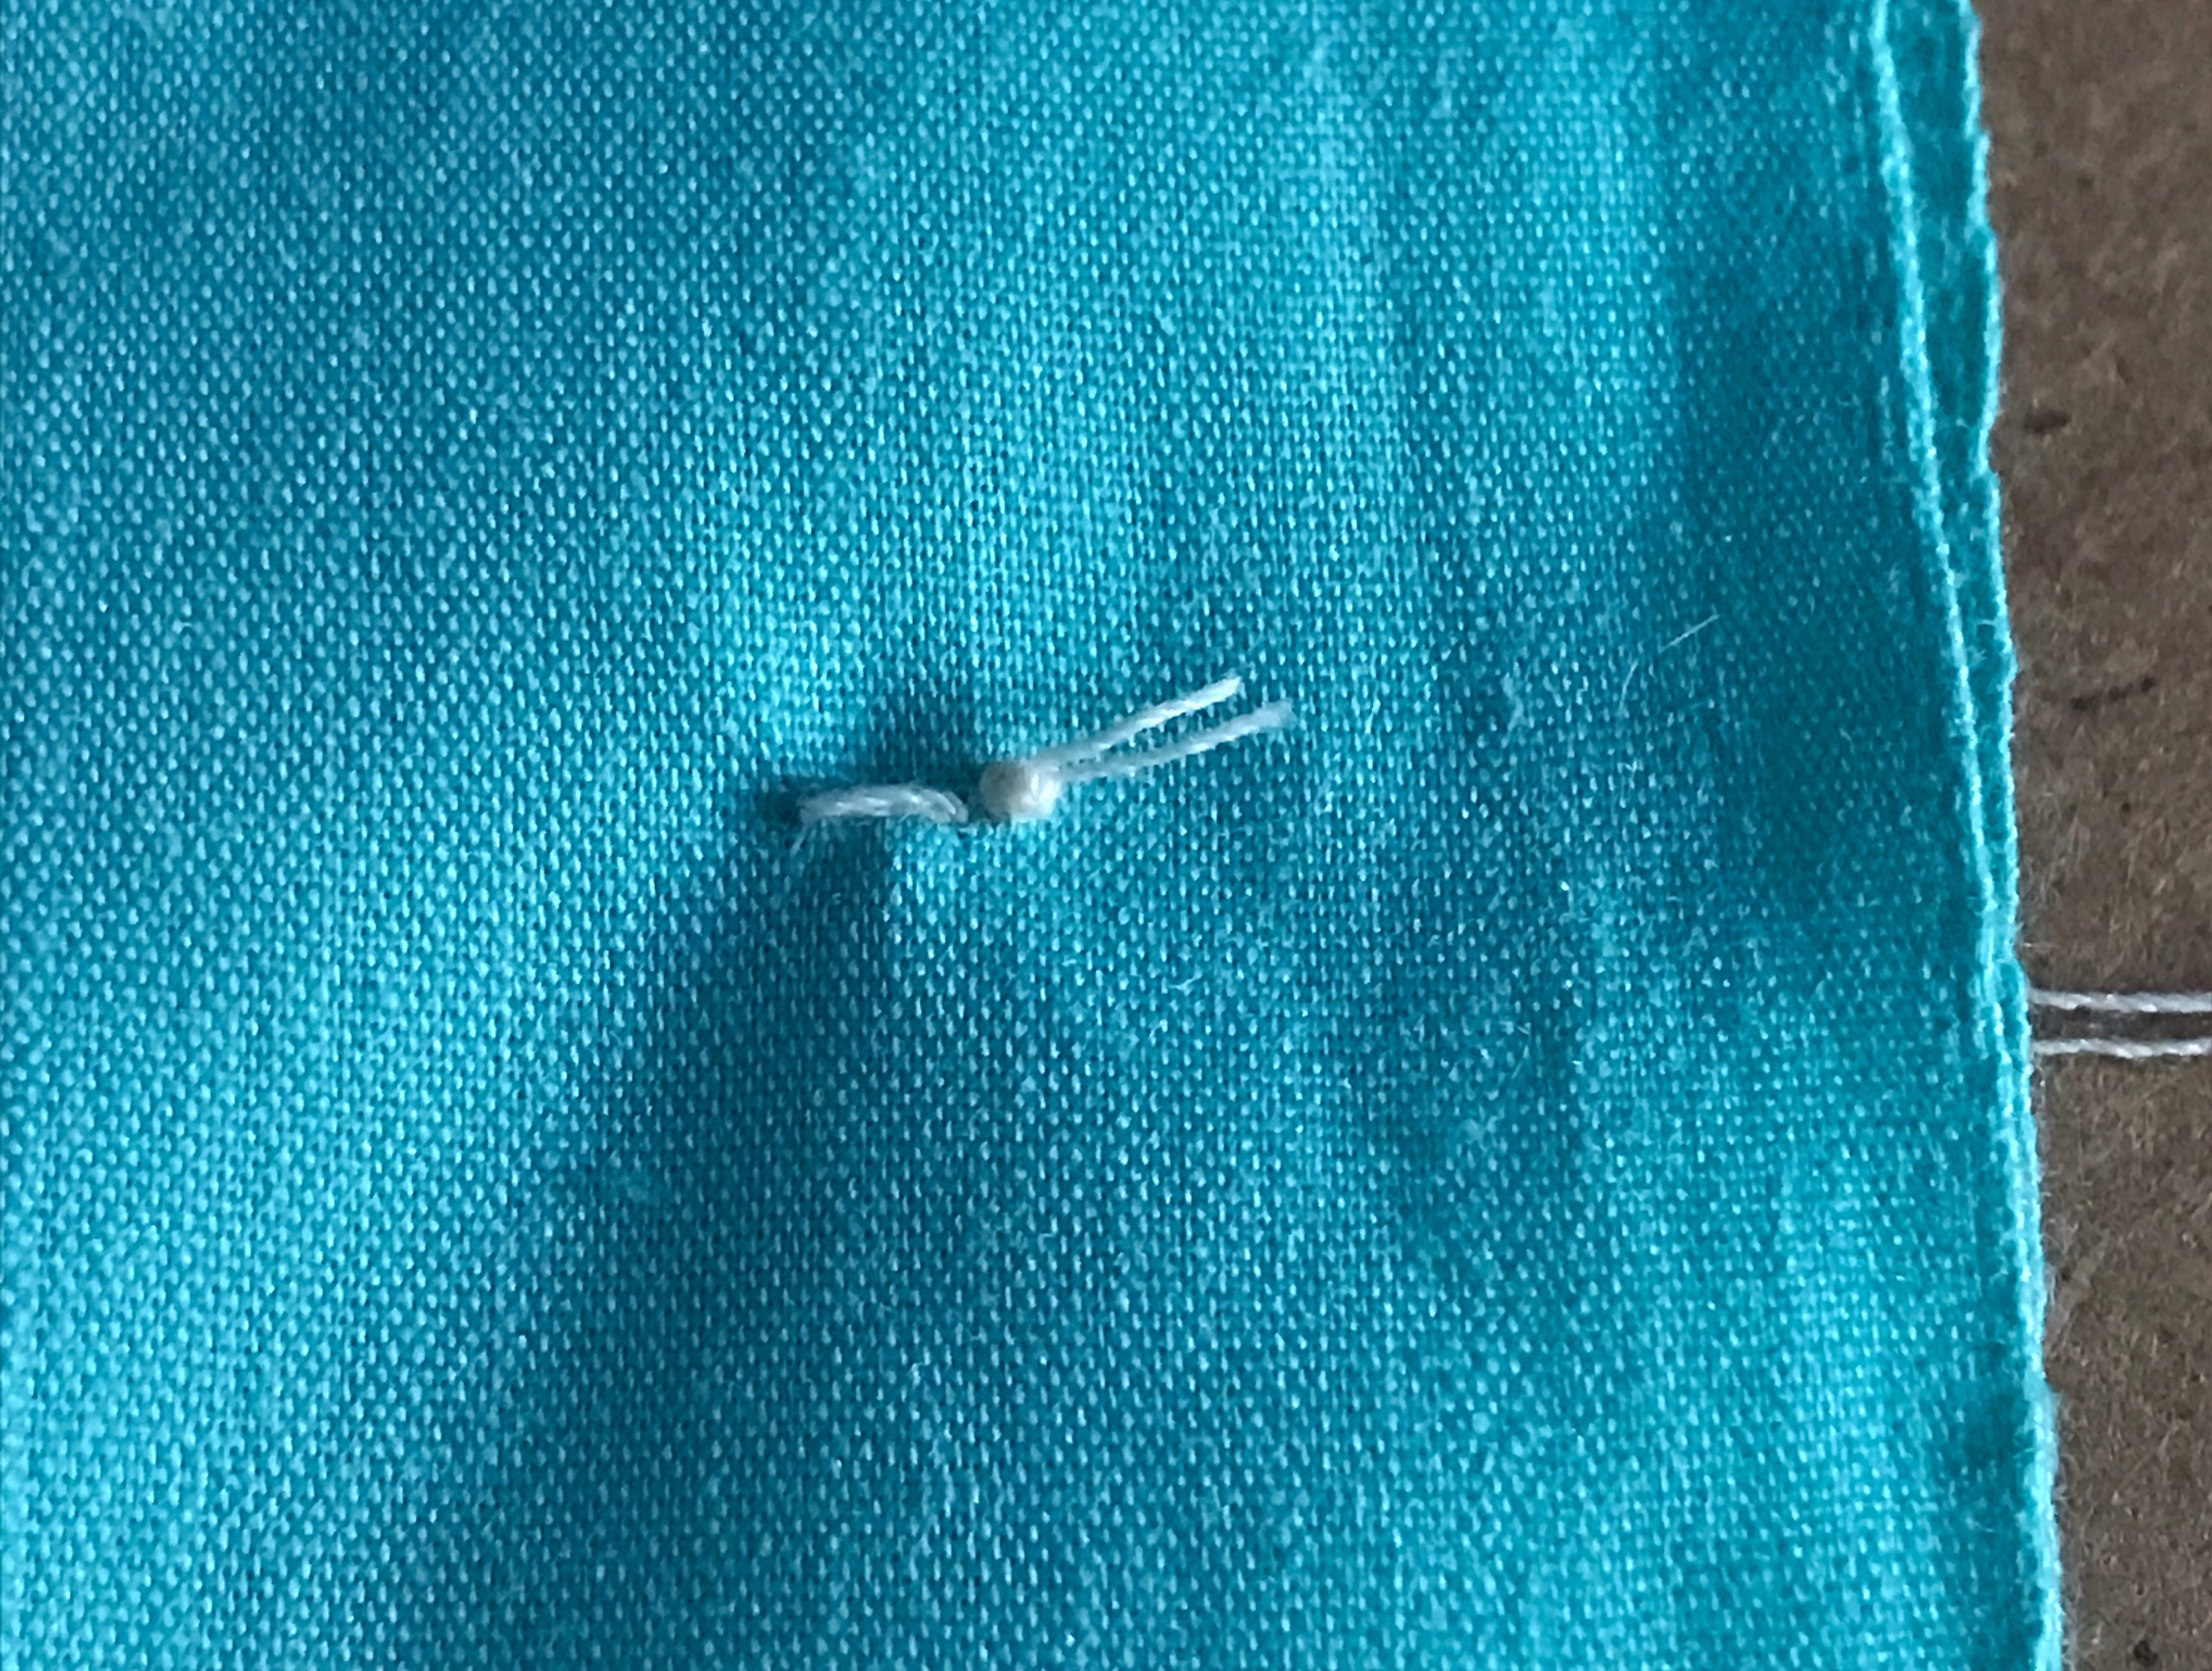
Then, run the needle through the front of the fabric to the back, where the button is supposed to go. This will help you hide the knot with the button. Run it back to front, and then again front to back, to place the button correctly.
Take your button and place it where the mark is, push the needle from the back to the front, and through one hole. Then front to back through the other hole, in this step you need to add the toothpick in between the thread and the button to leave some space. Repeat the same steps one or two more times.
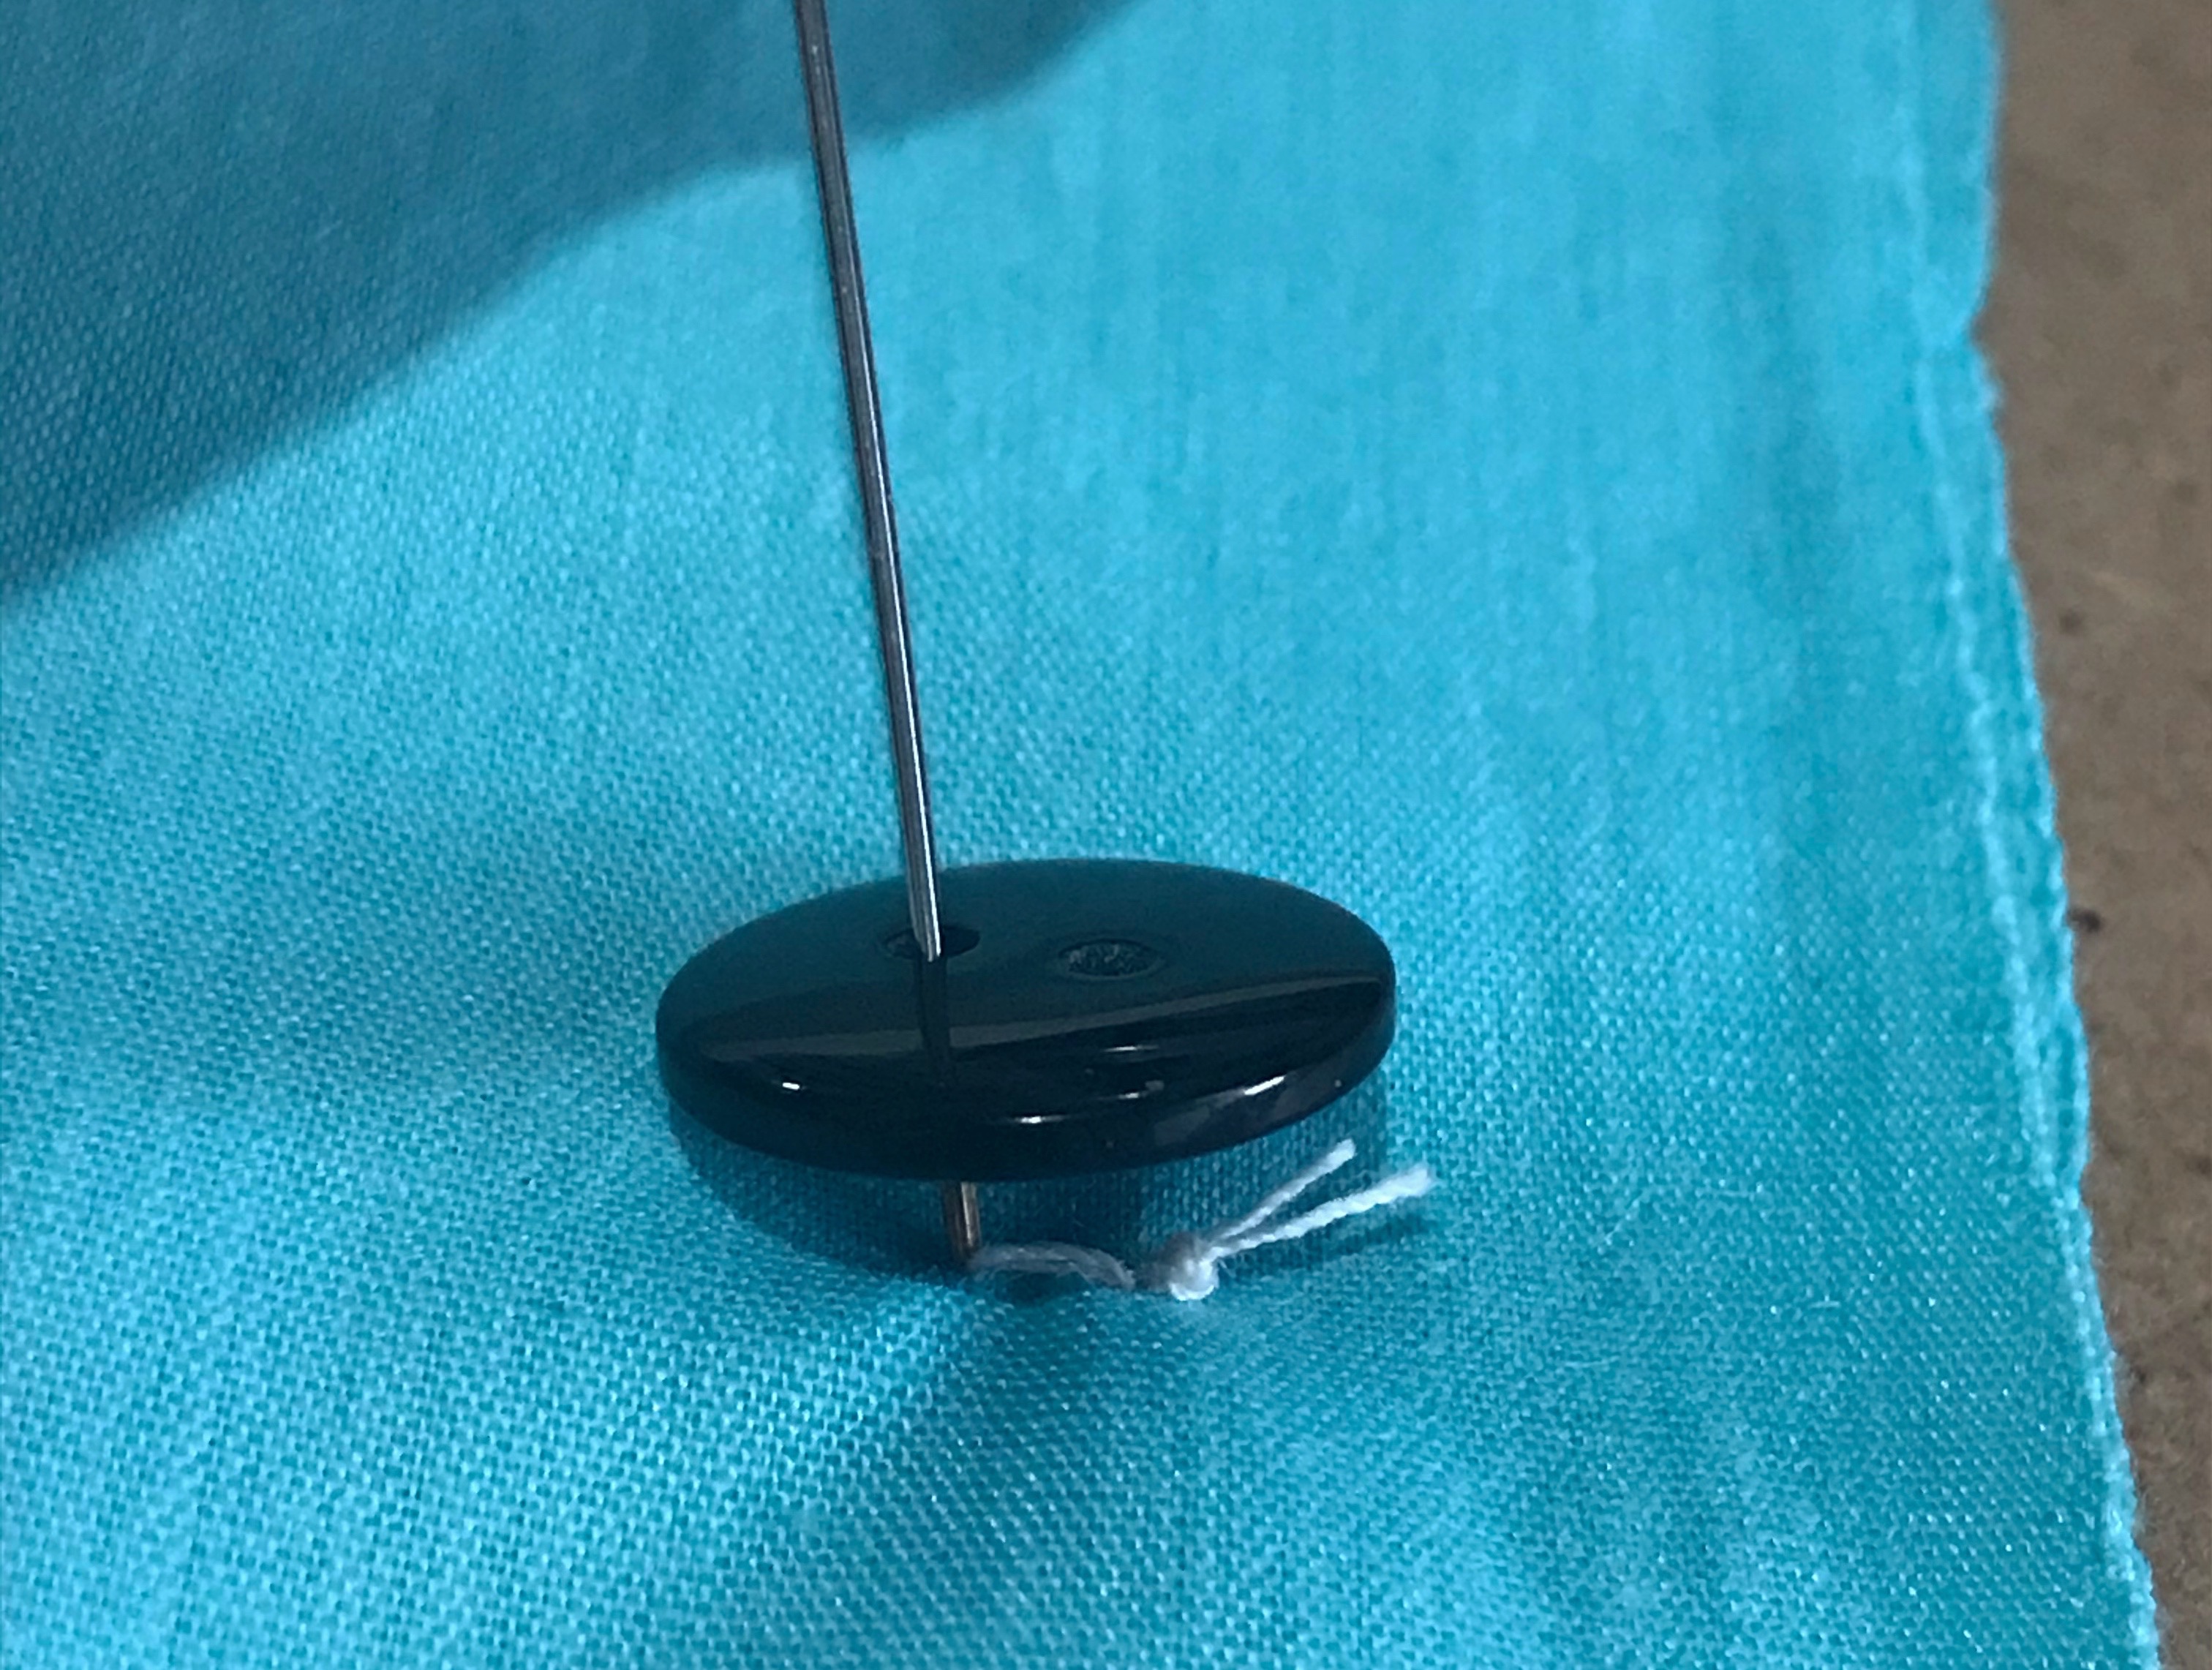
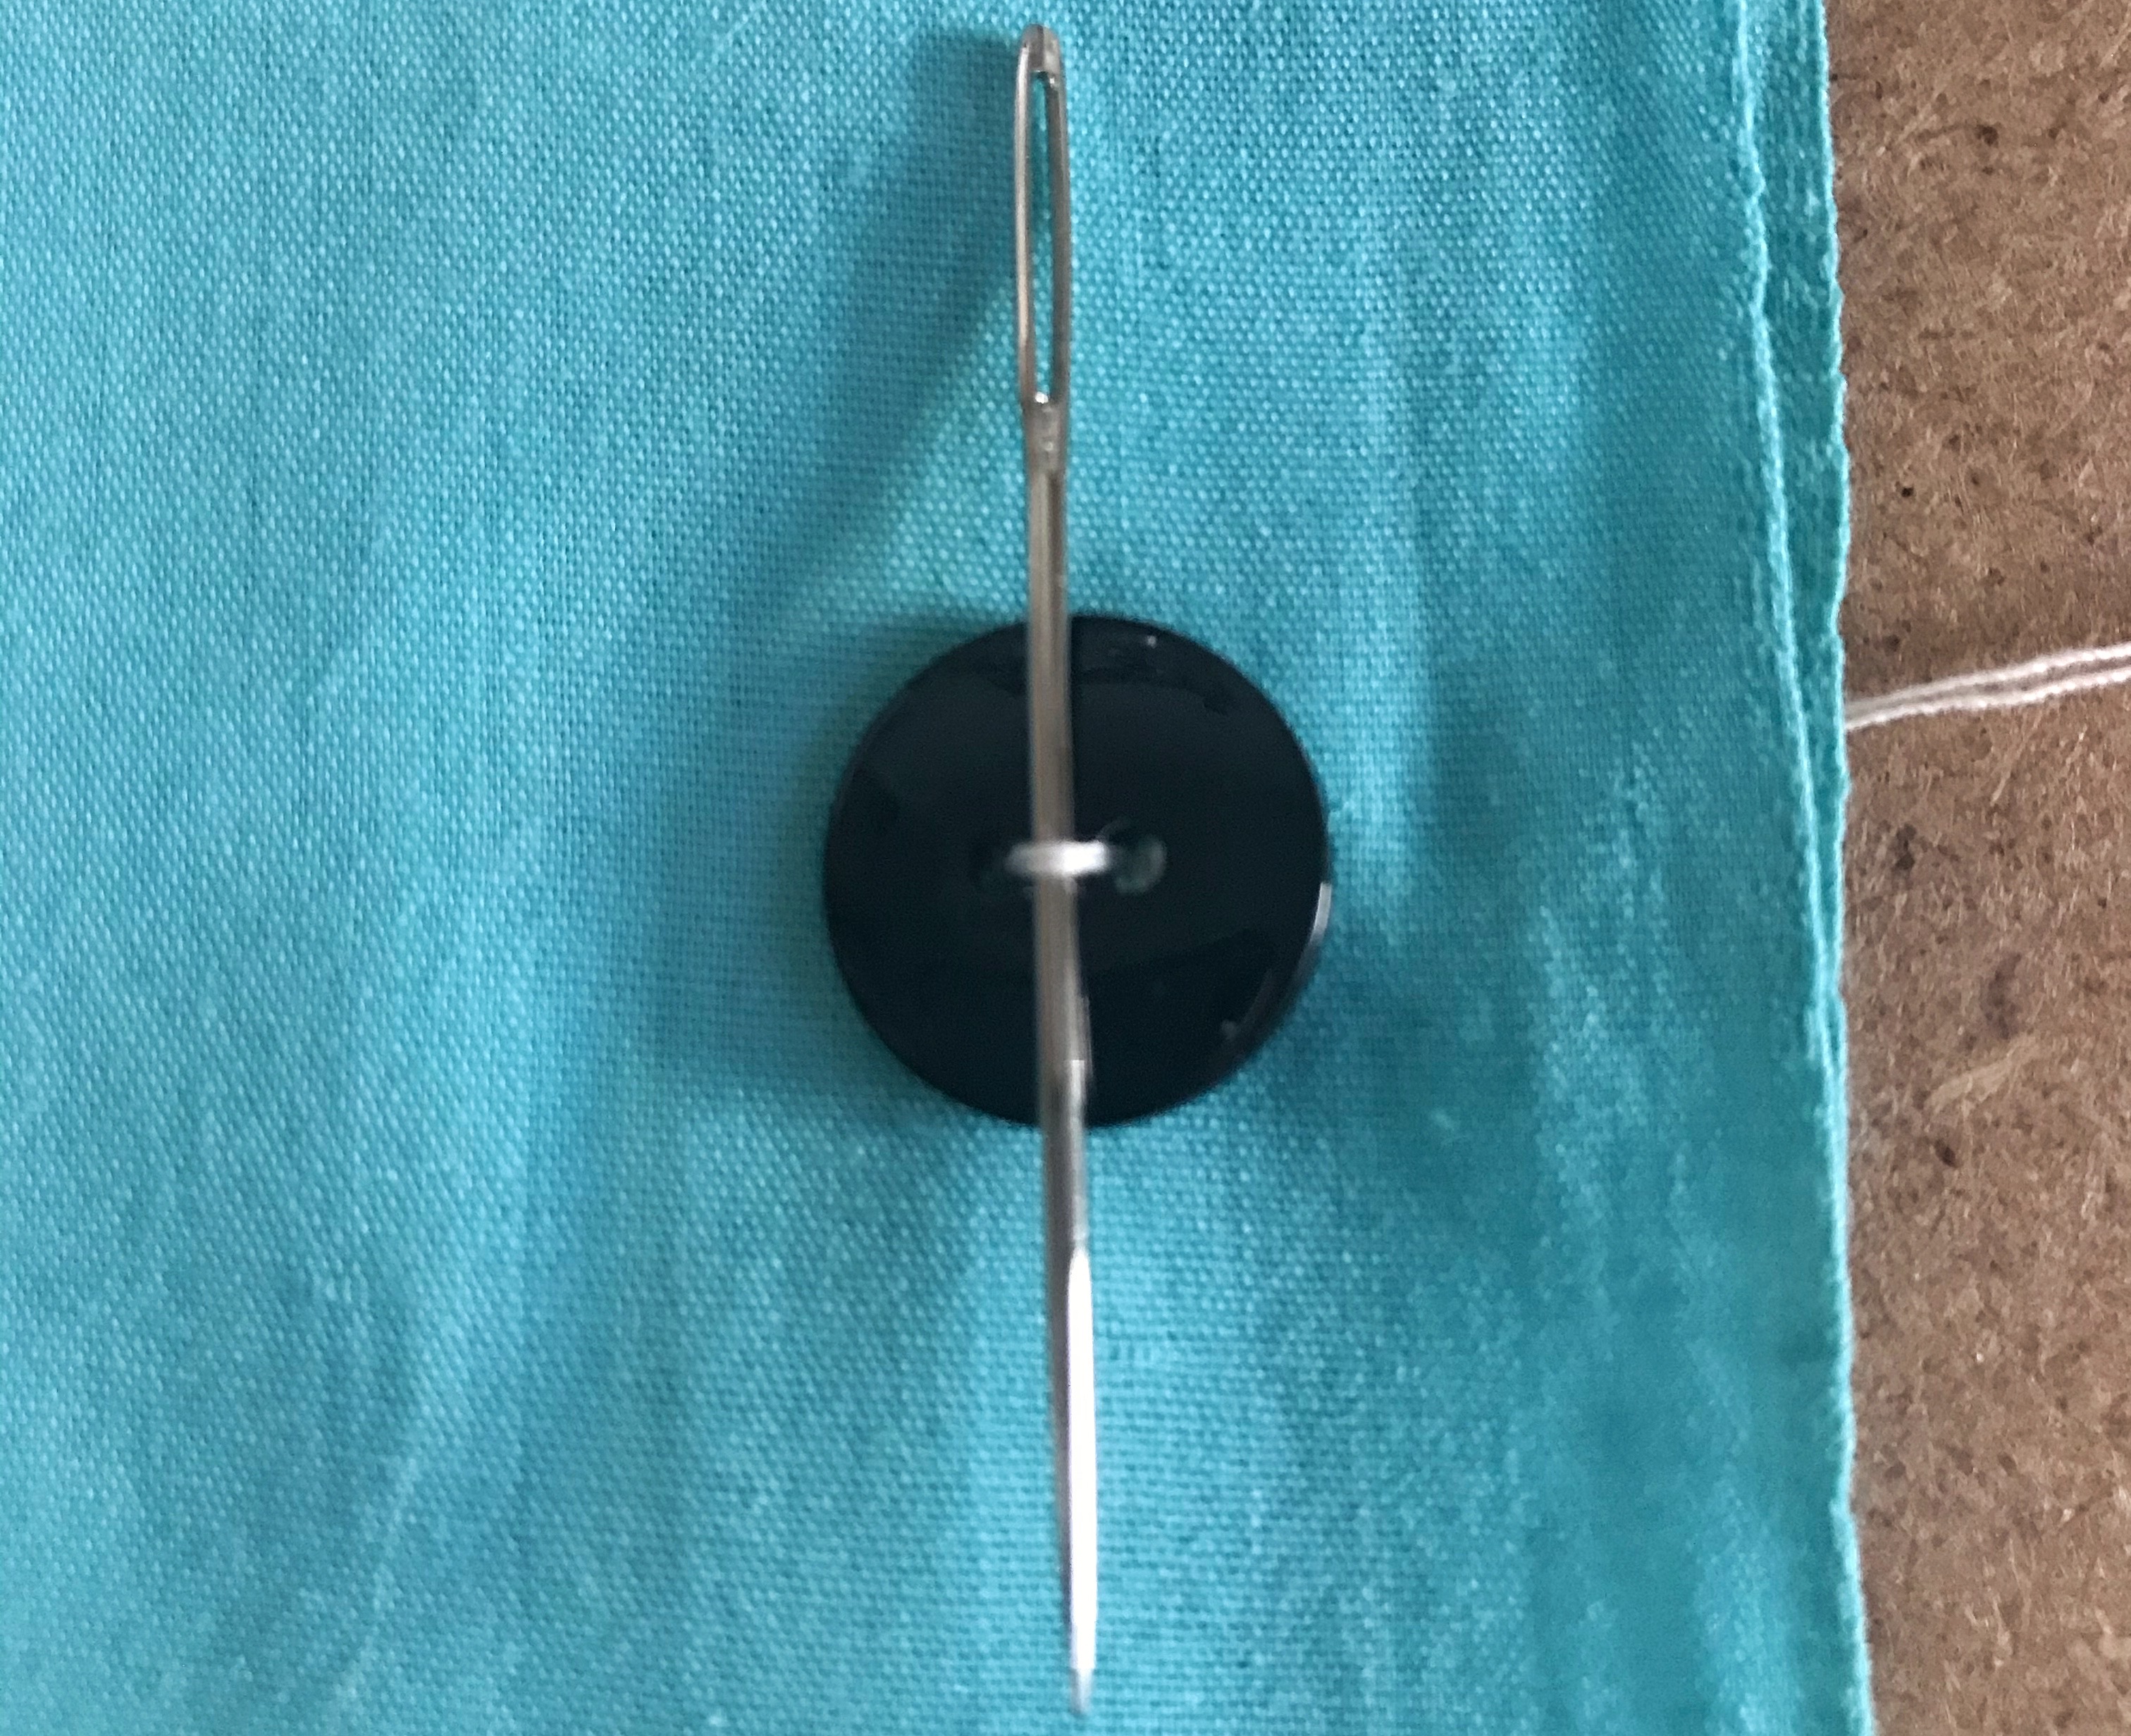
Remove the toothpick or needle.
Then, you need to run the needle from back to front but this time don’t insert it in the hole, turn it aside and bring it out from underneath the button.
With the needle, wrap your thread around, beneath the button, six times. Pull the thread slightly to secure it.
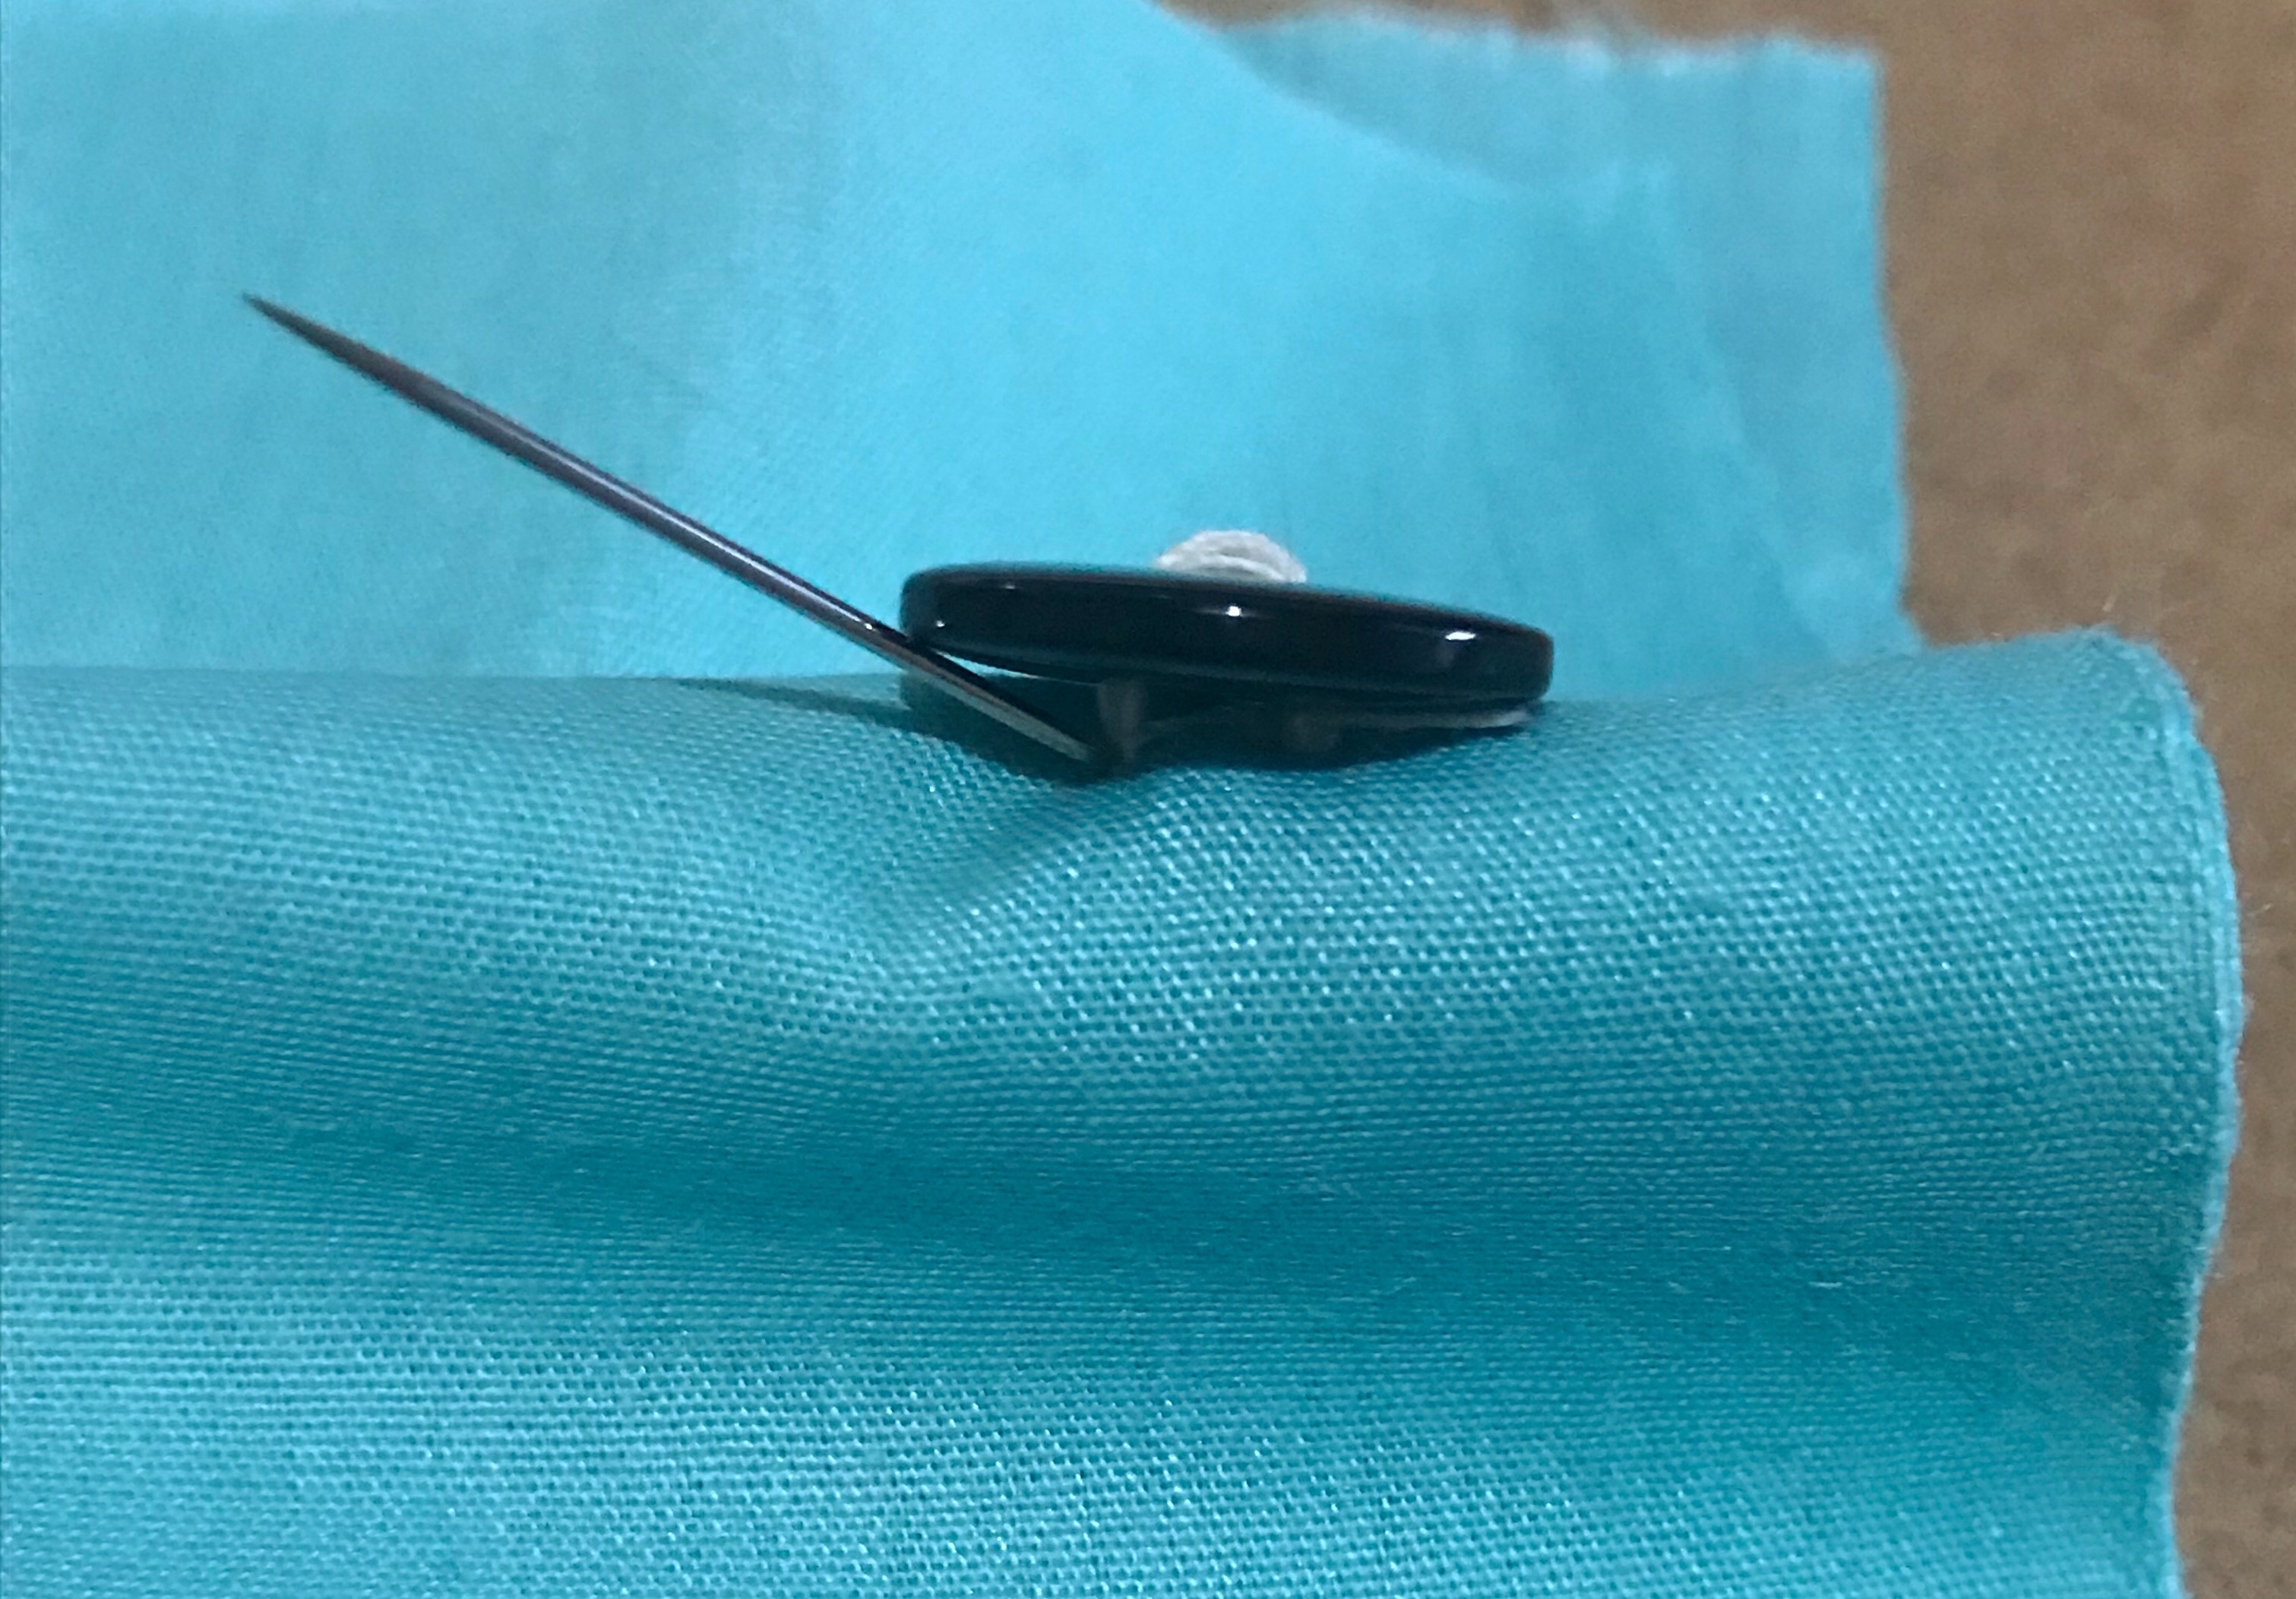
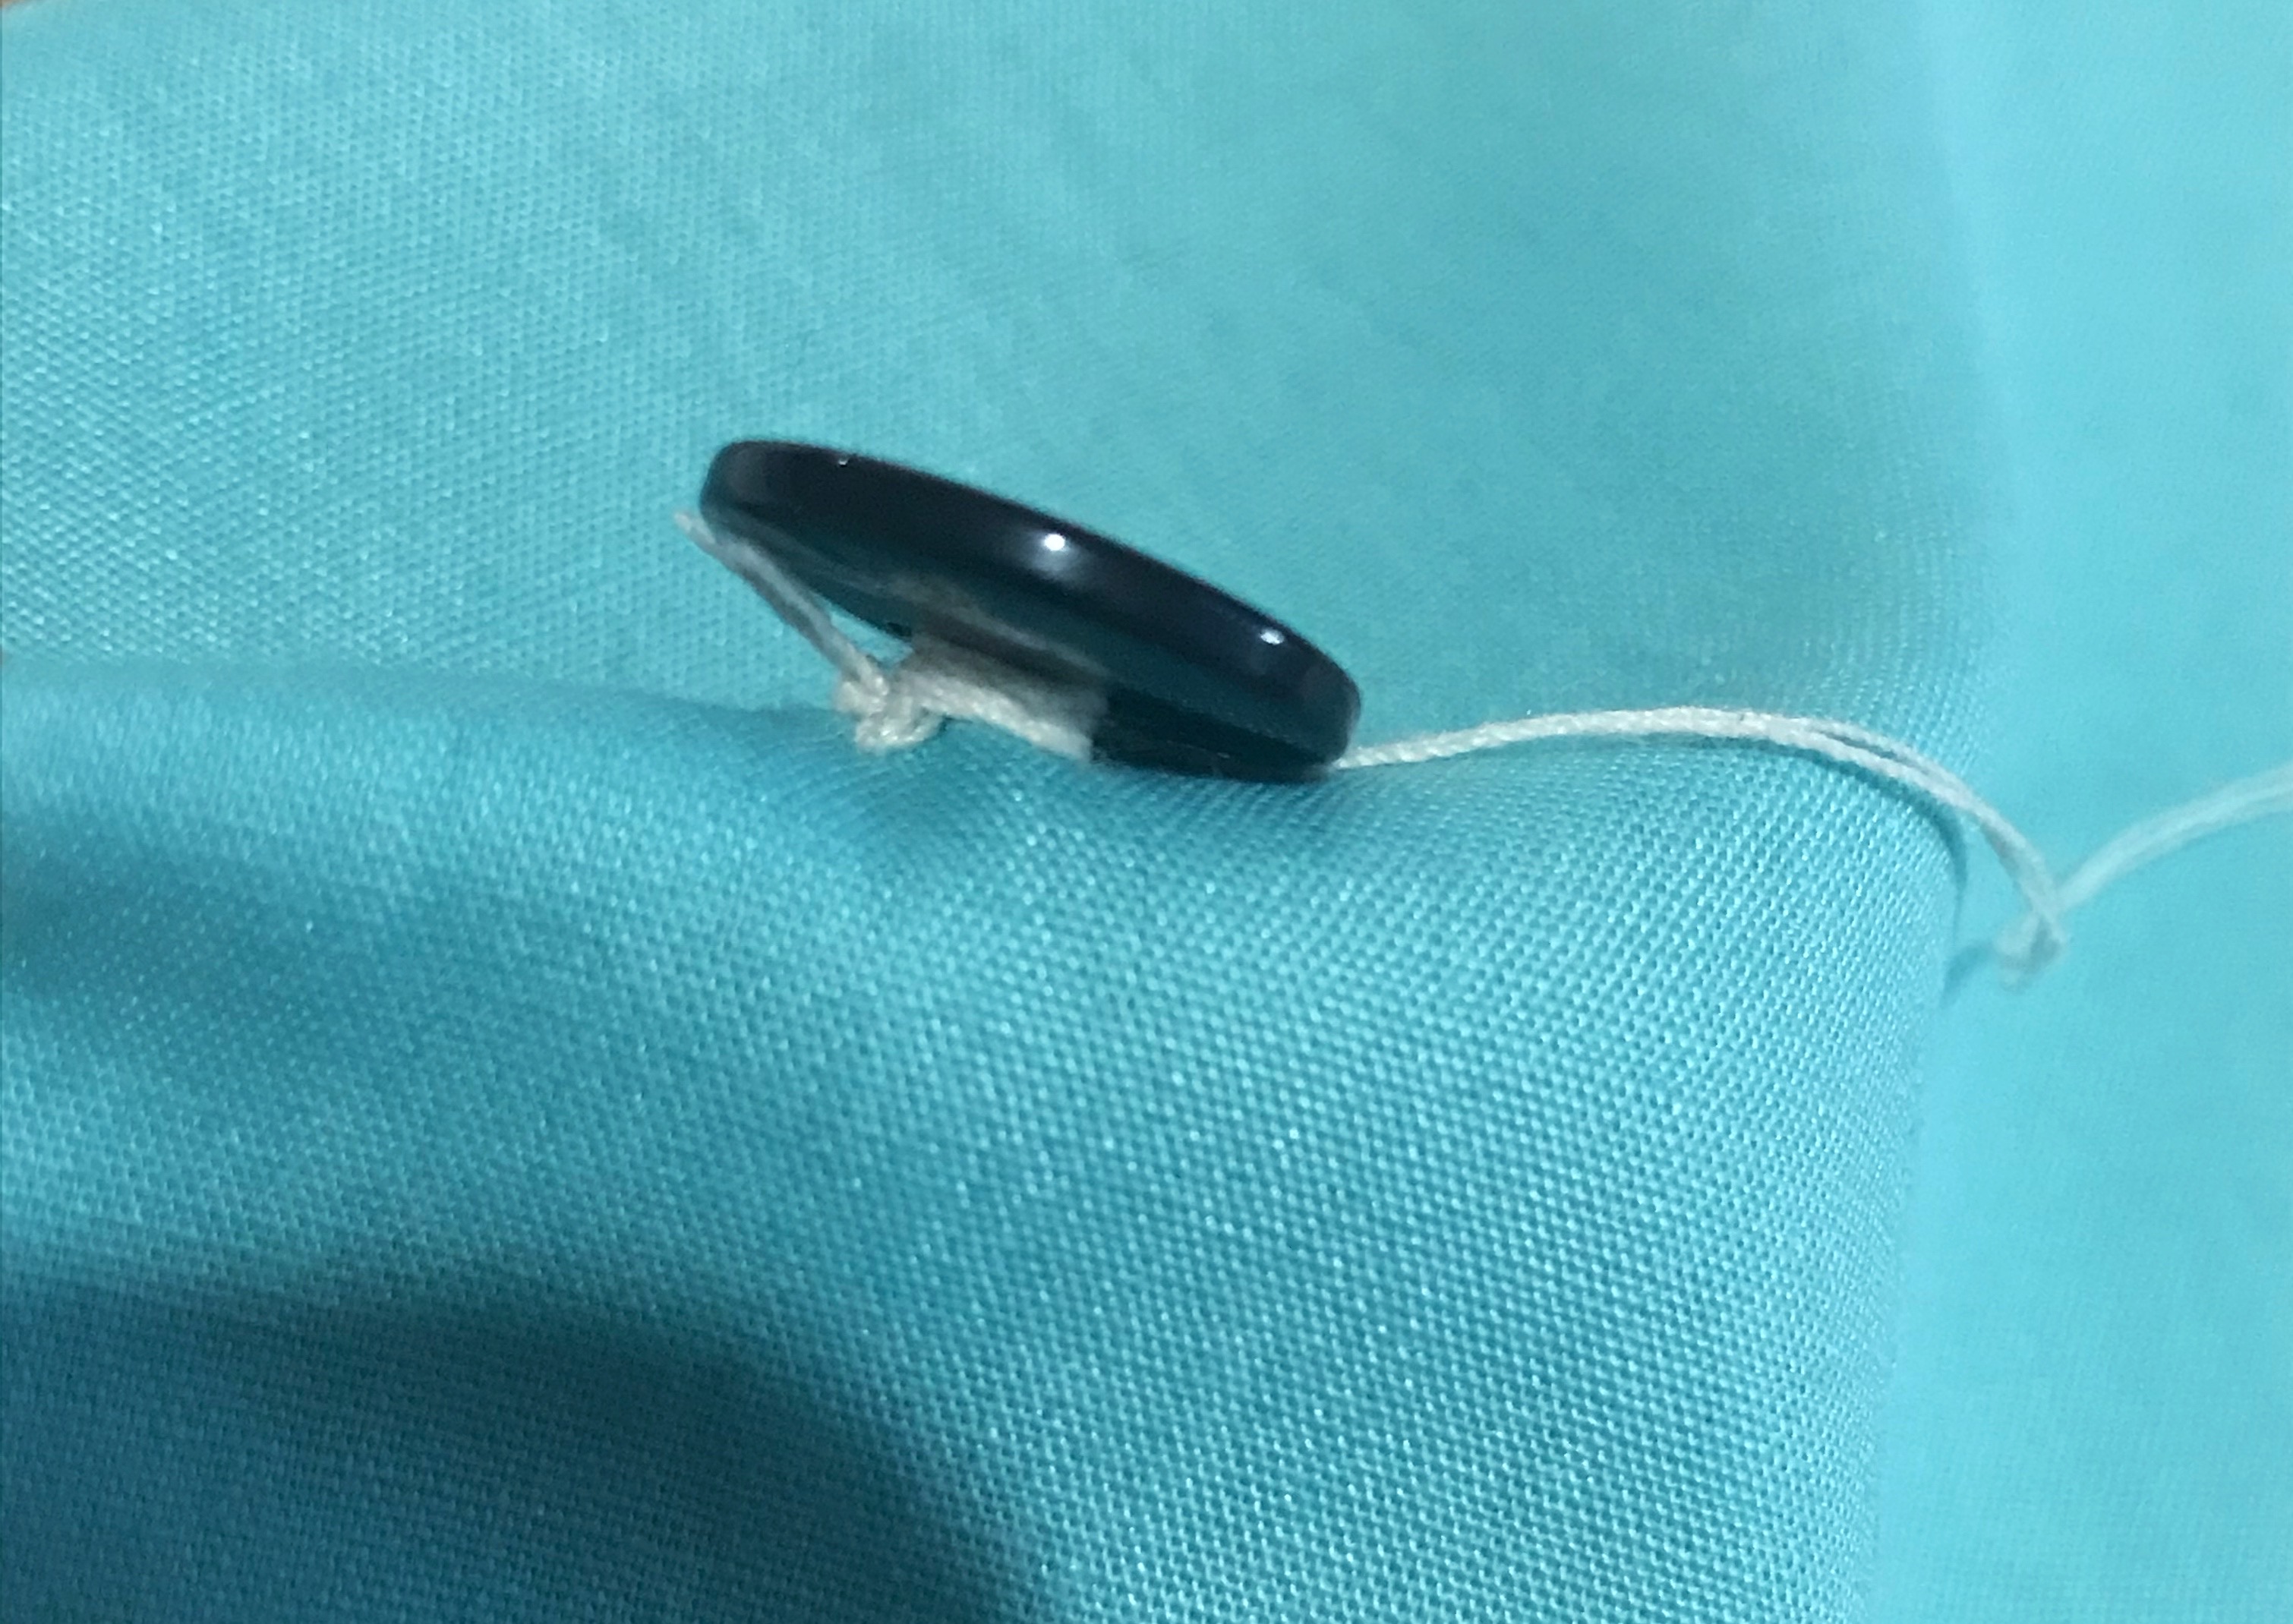
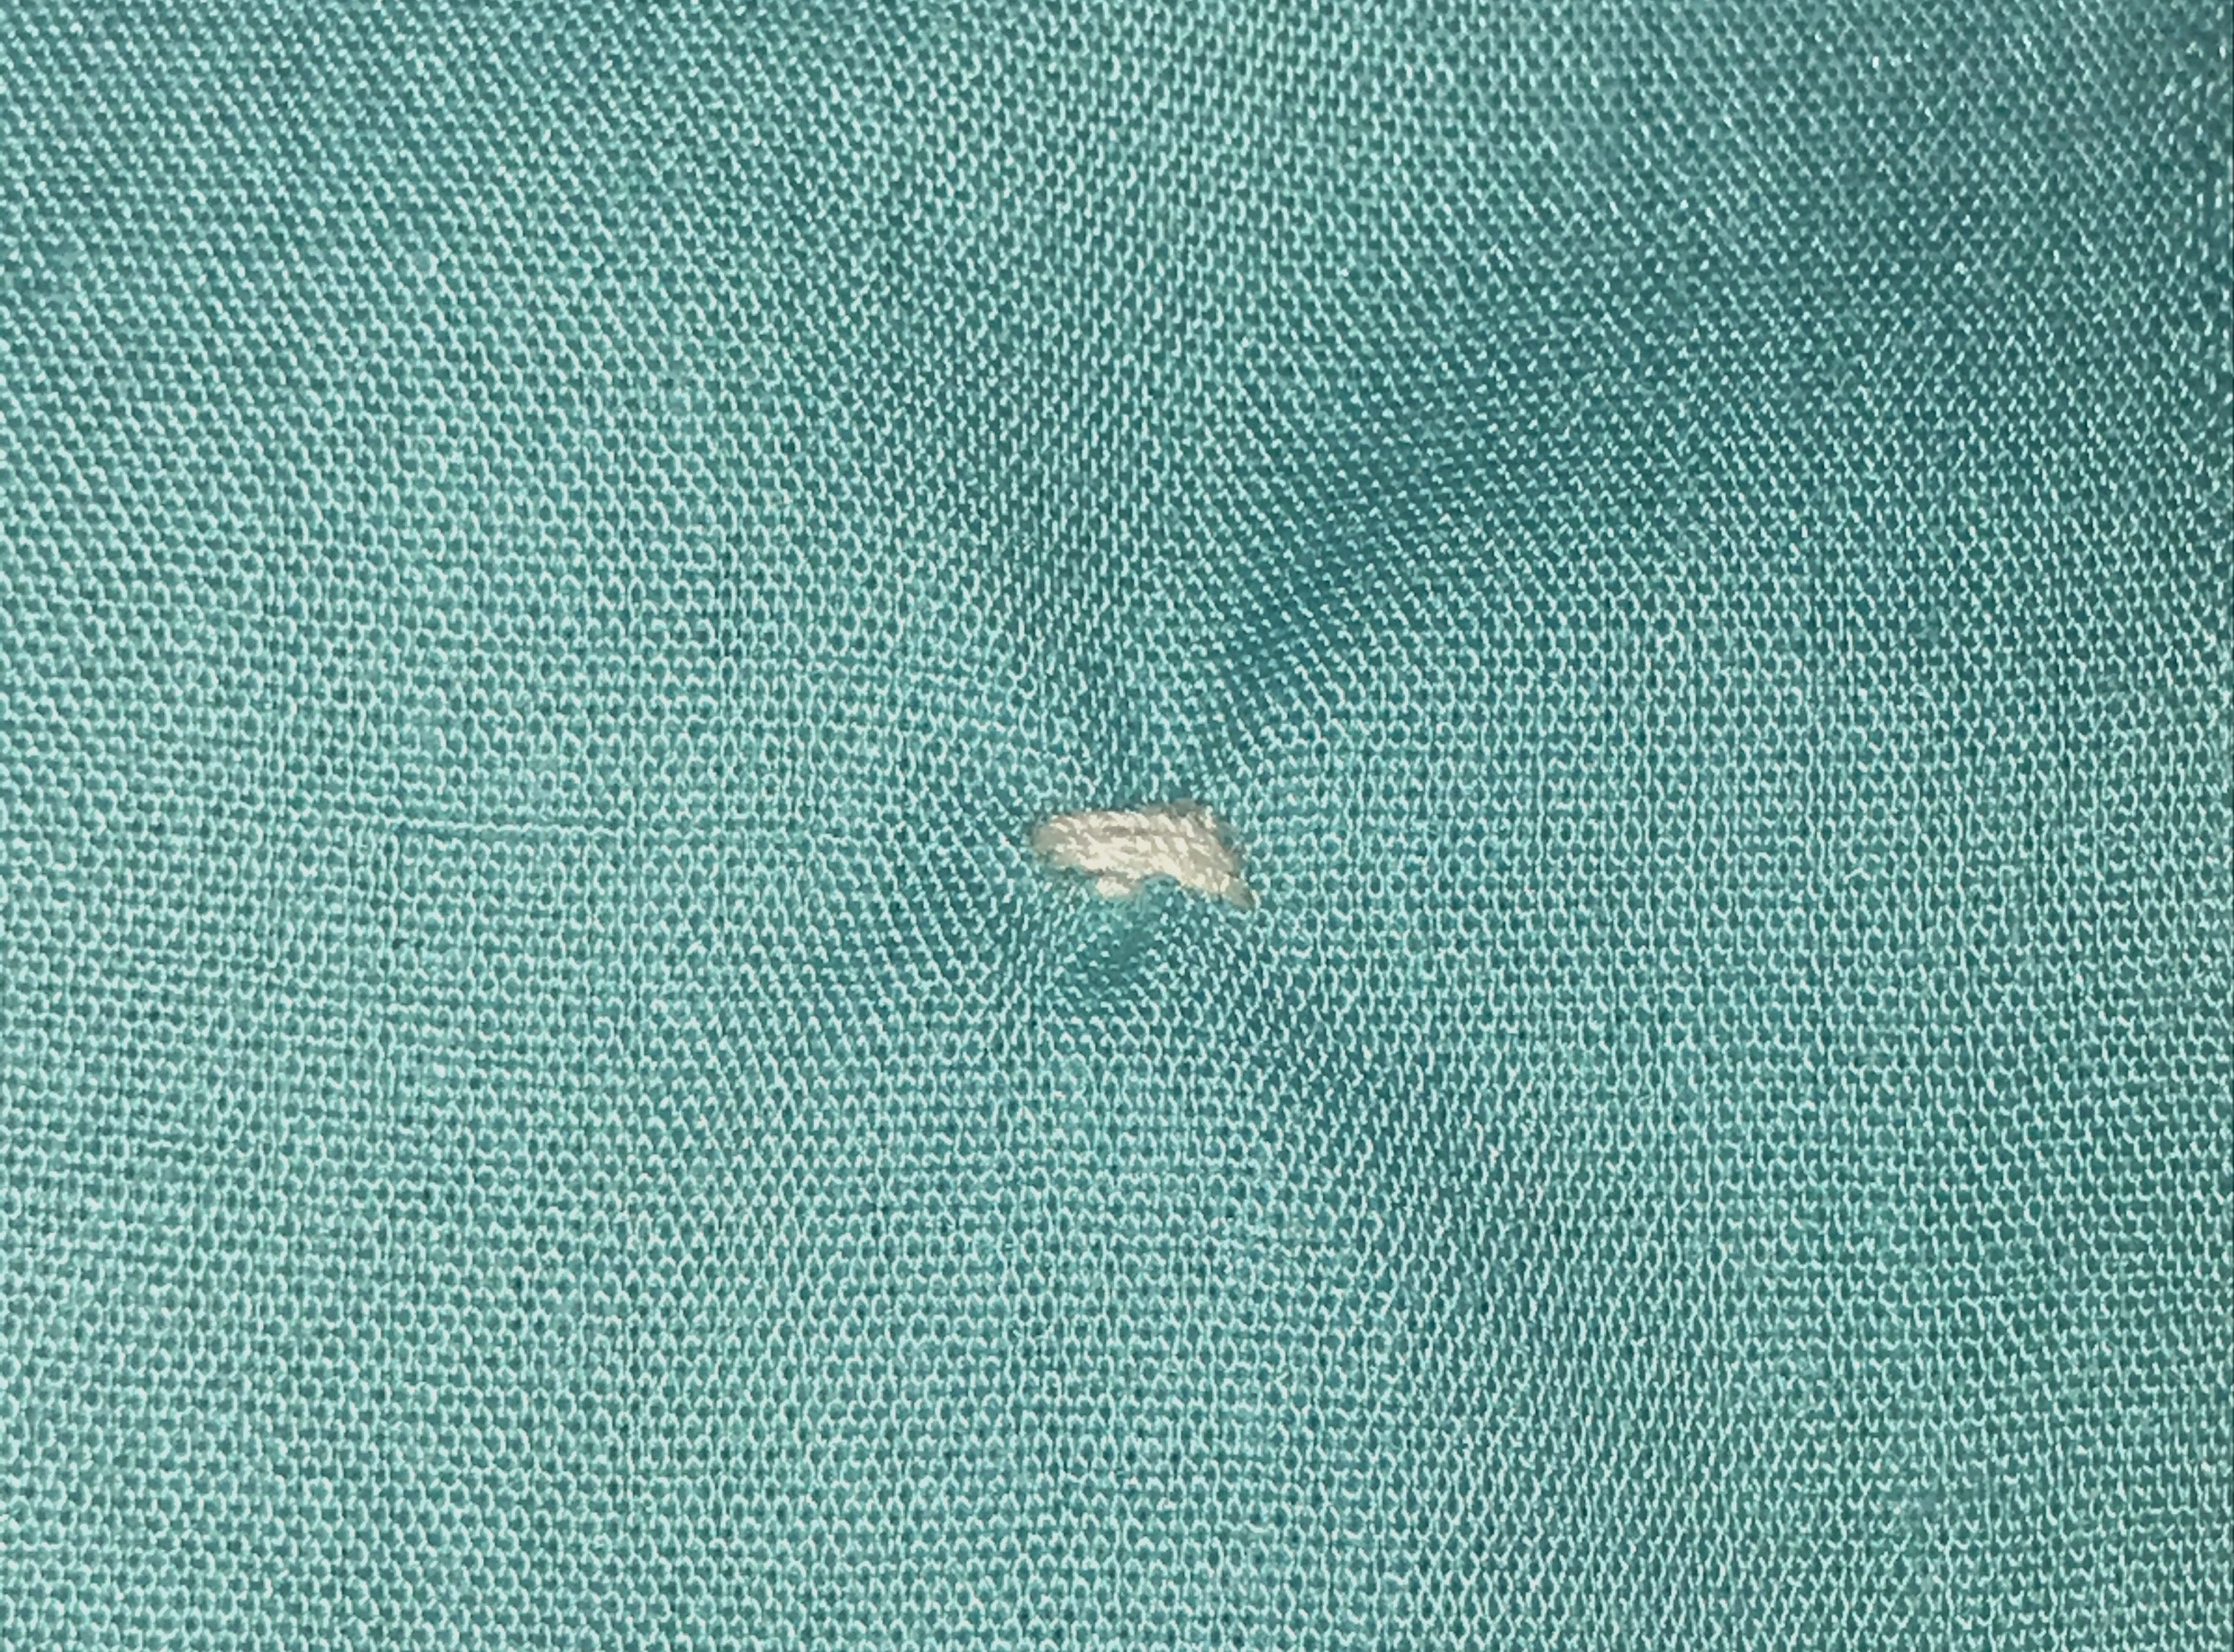
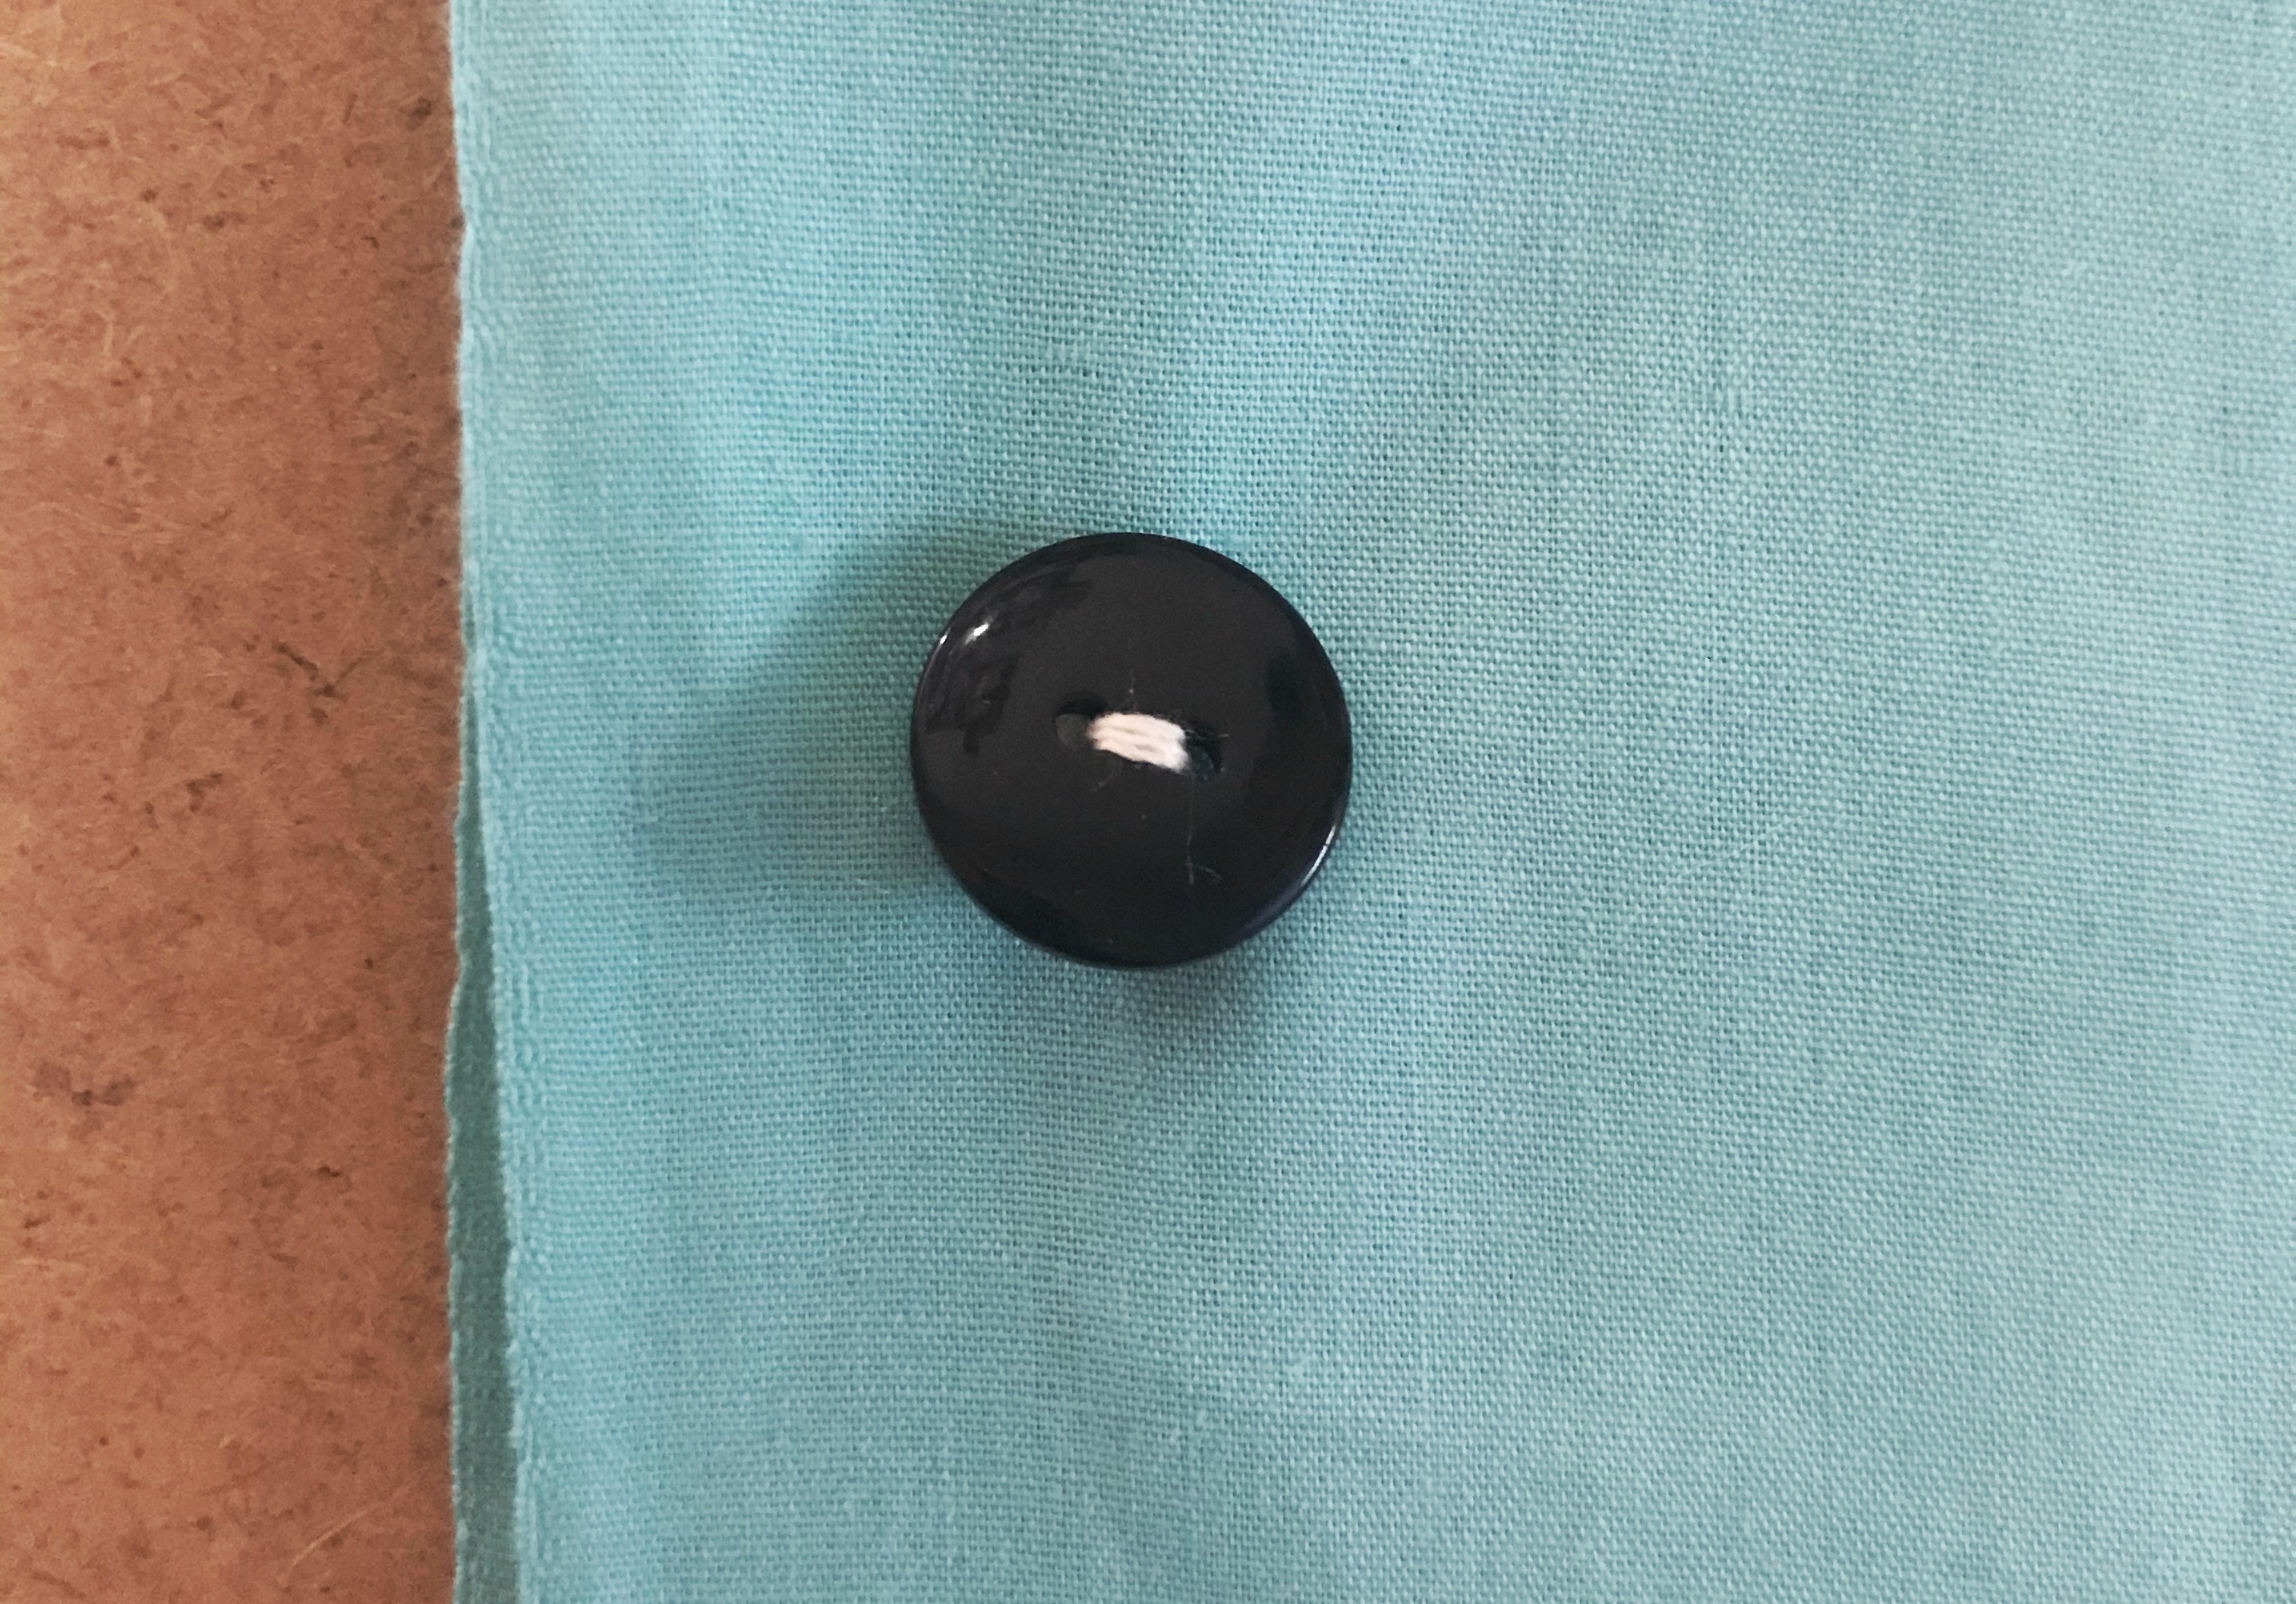
Make a small stitch in the fabric really close to the loops to make the tie off. Finally, tie a double knot and cut the remaining thread.
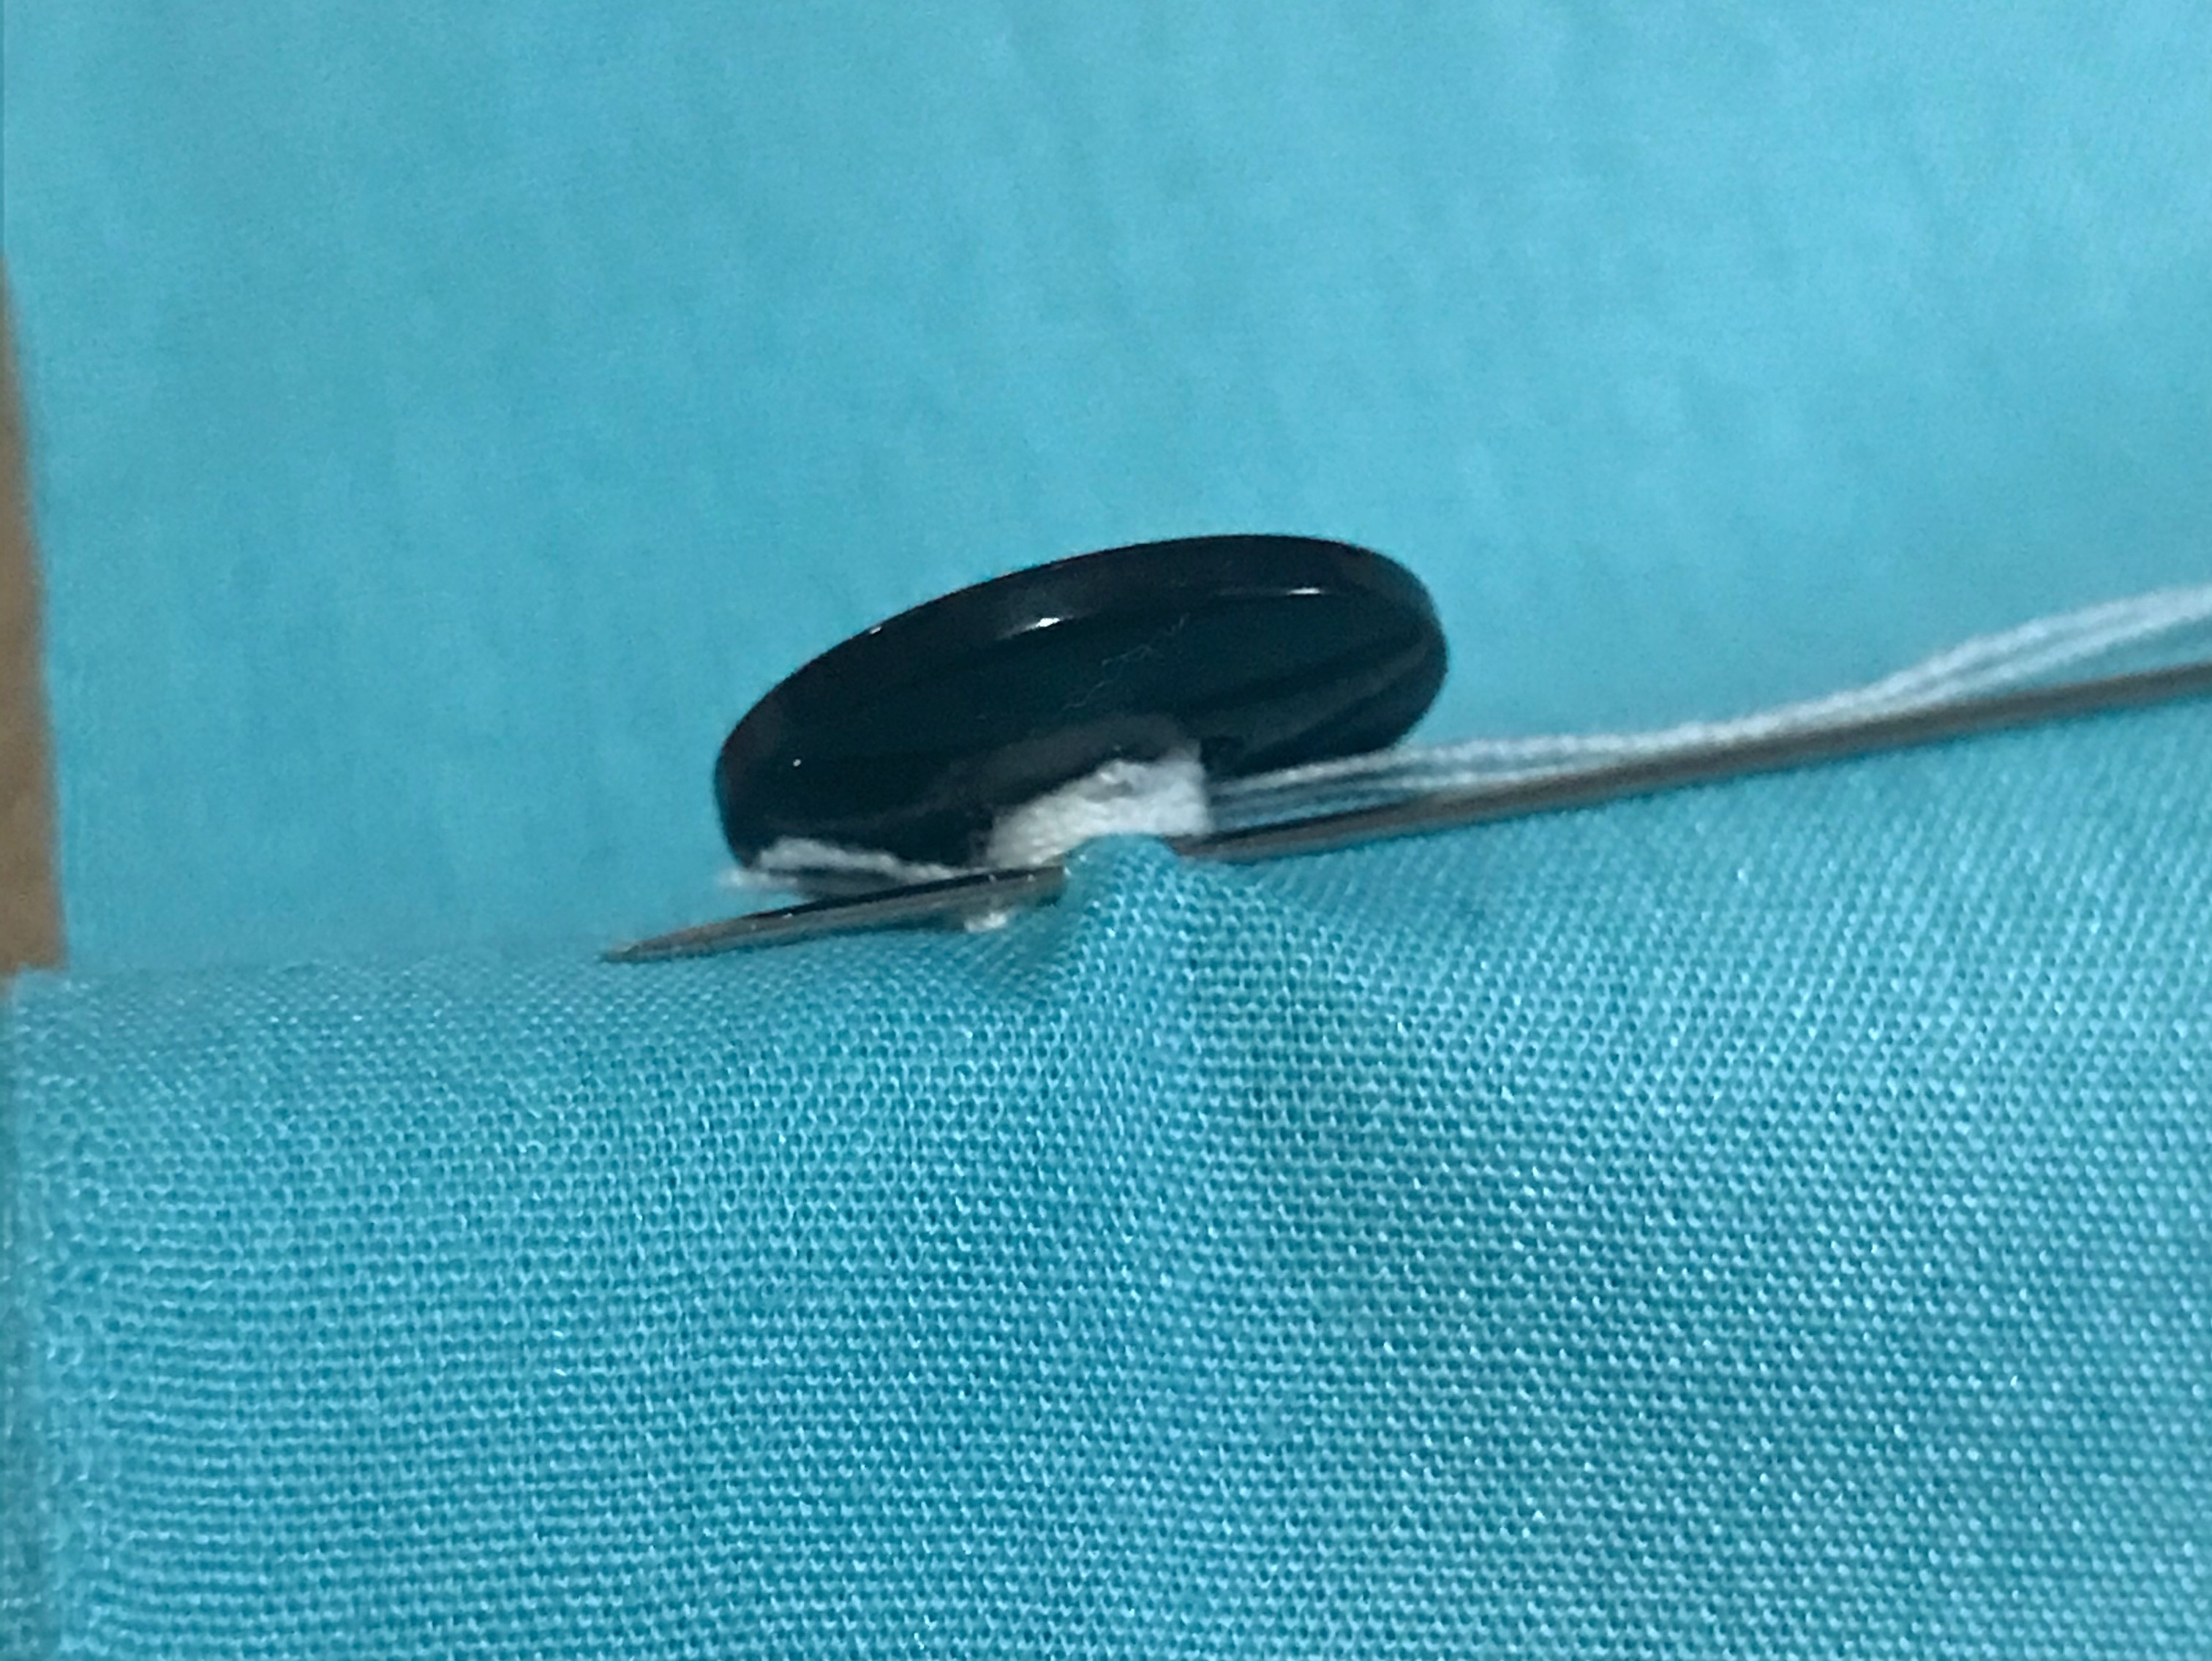
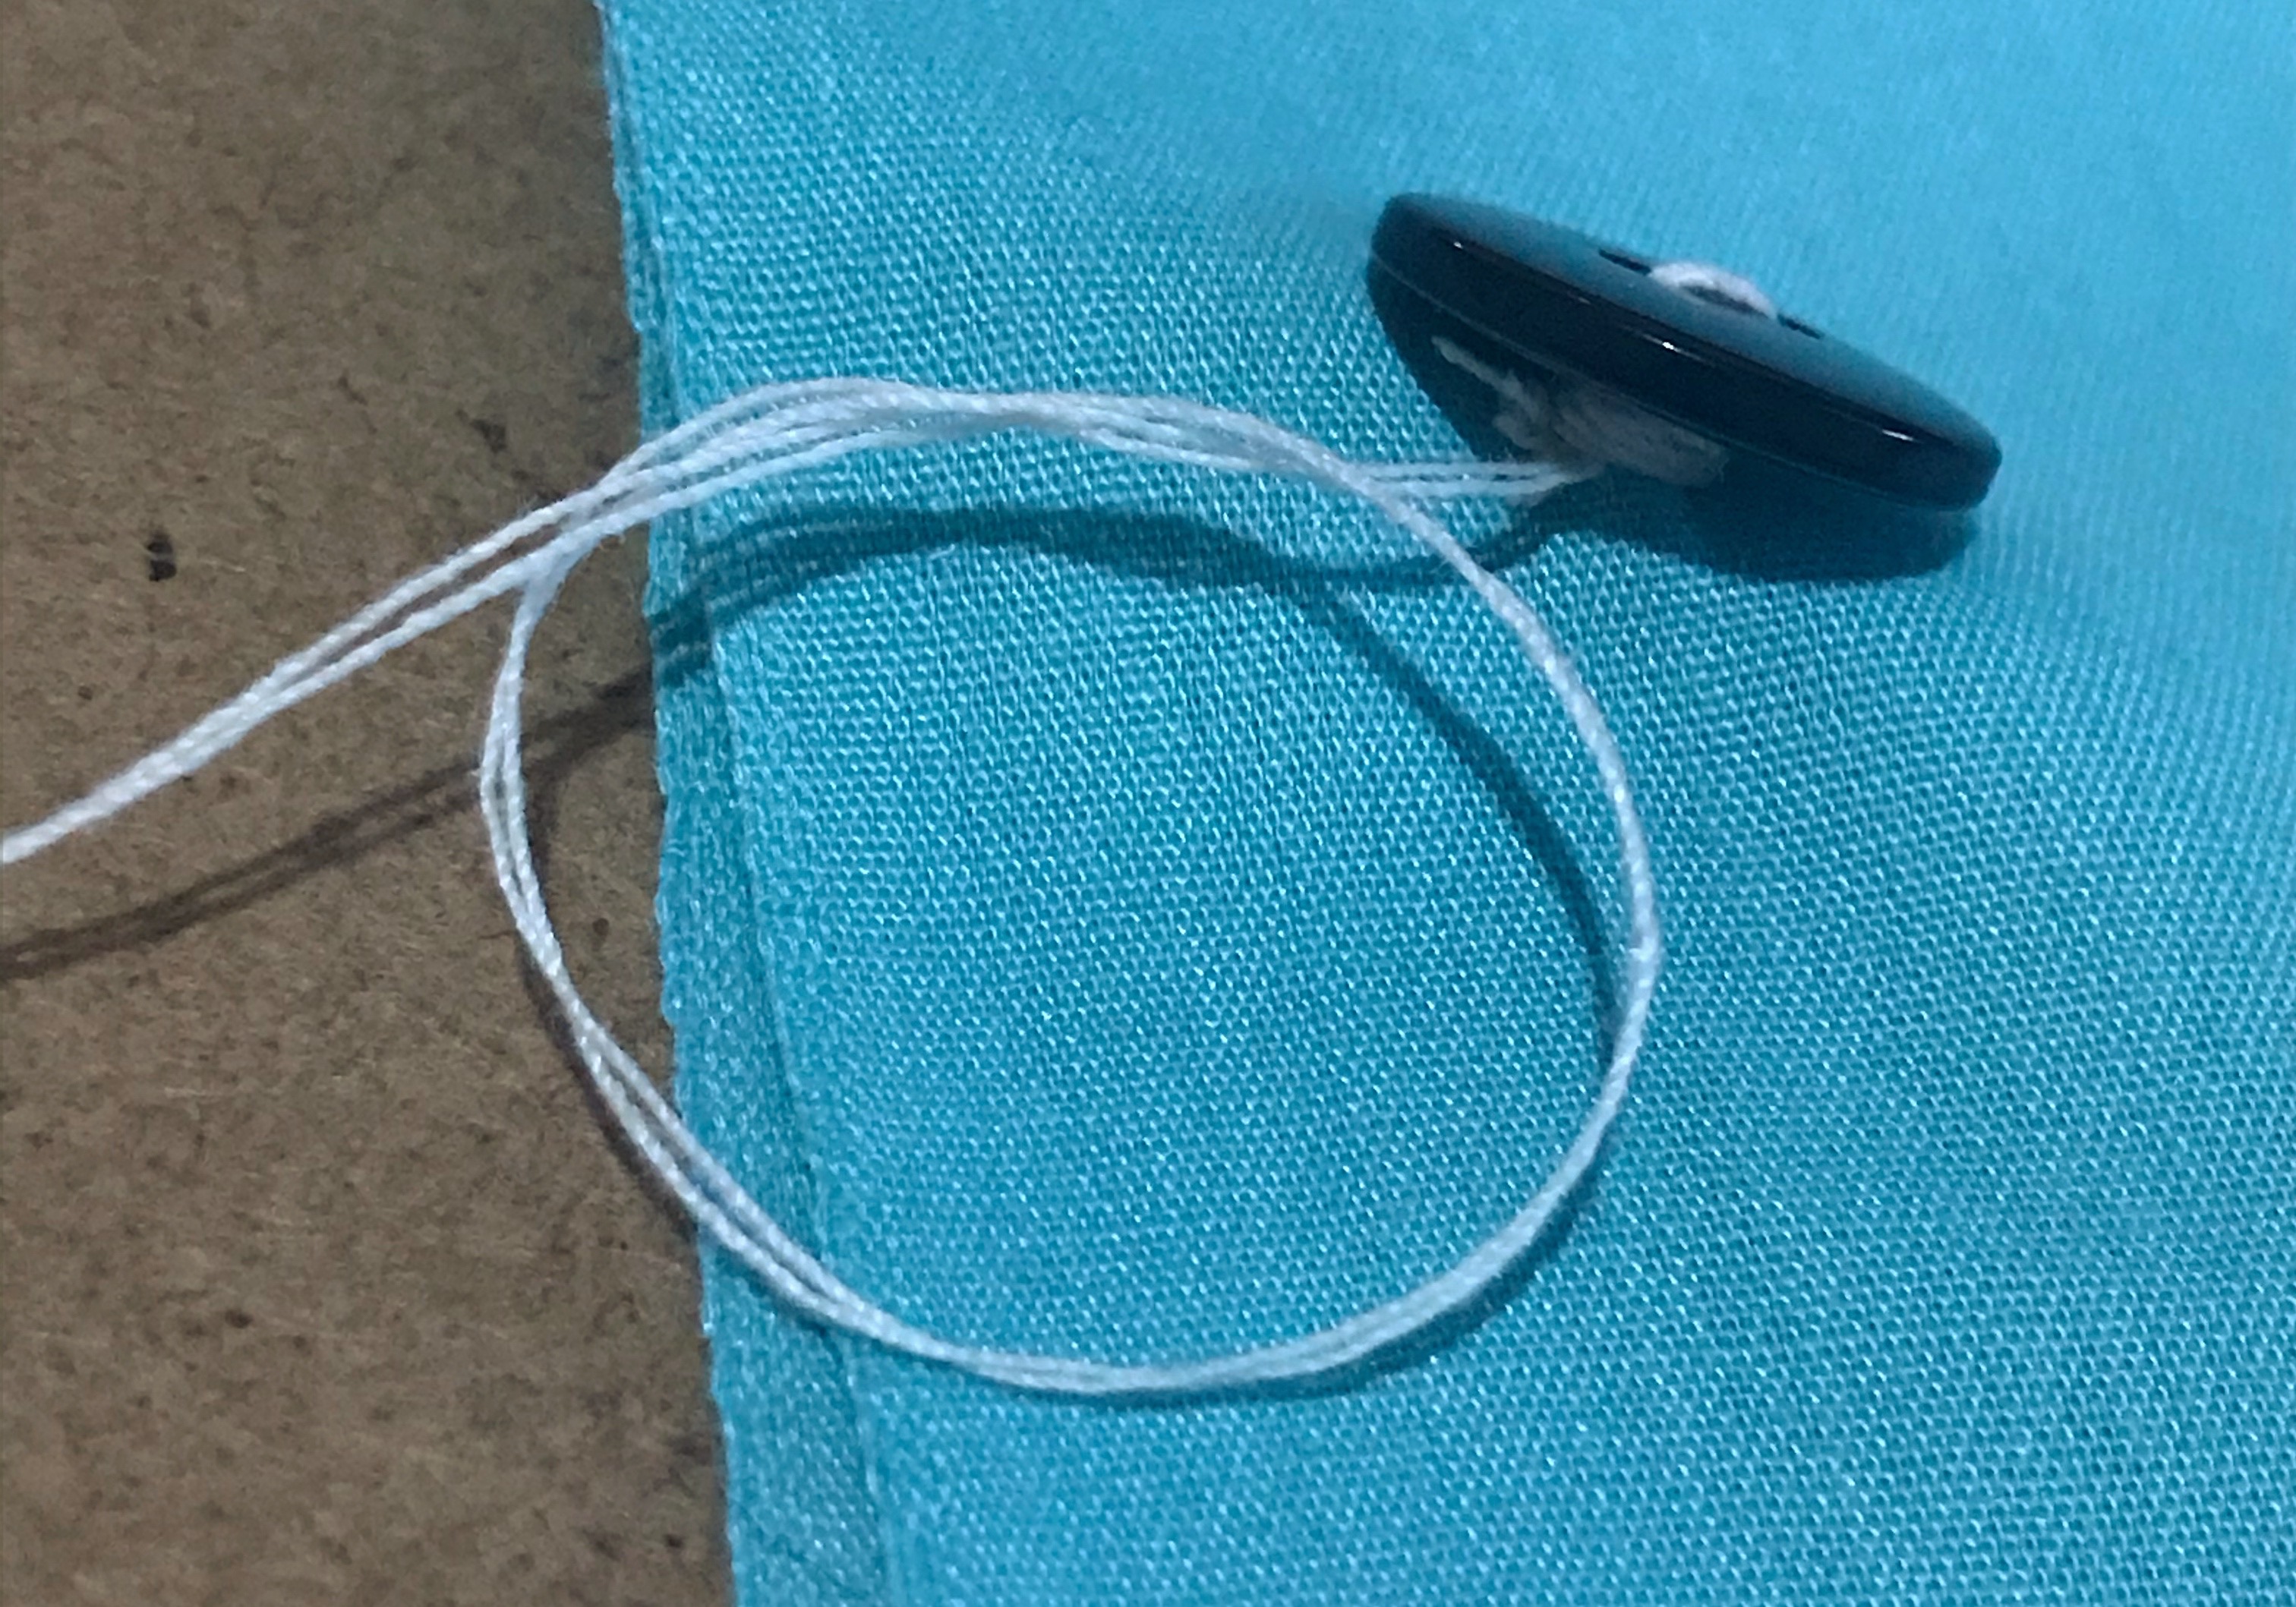
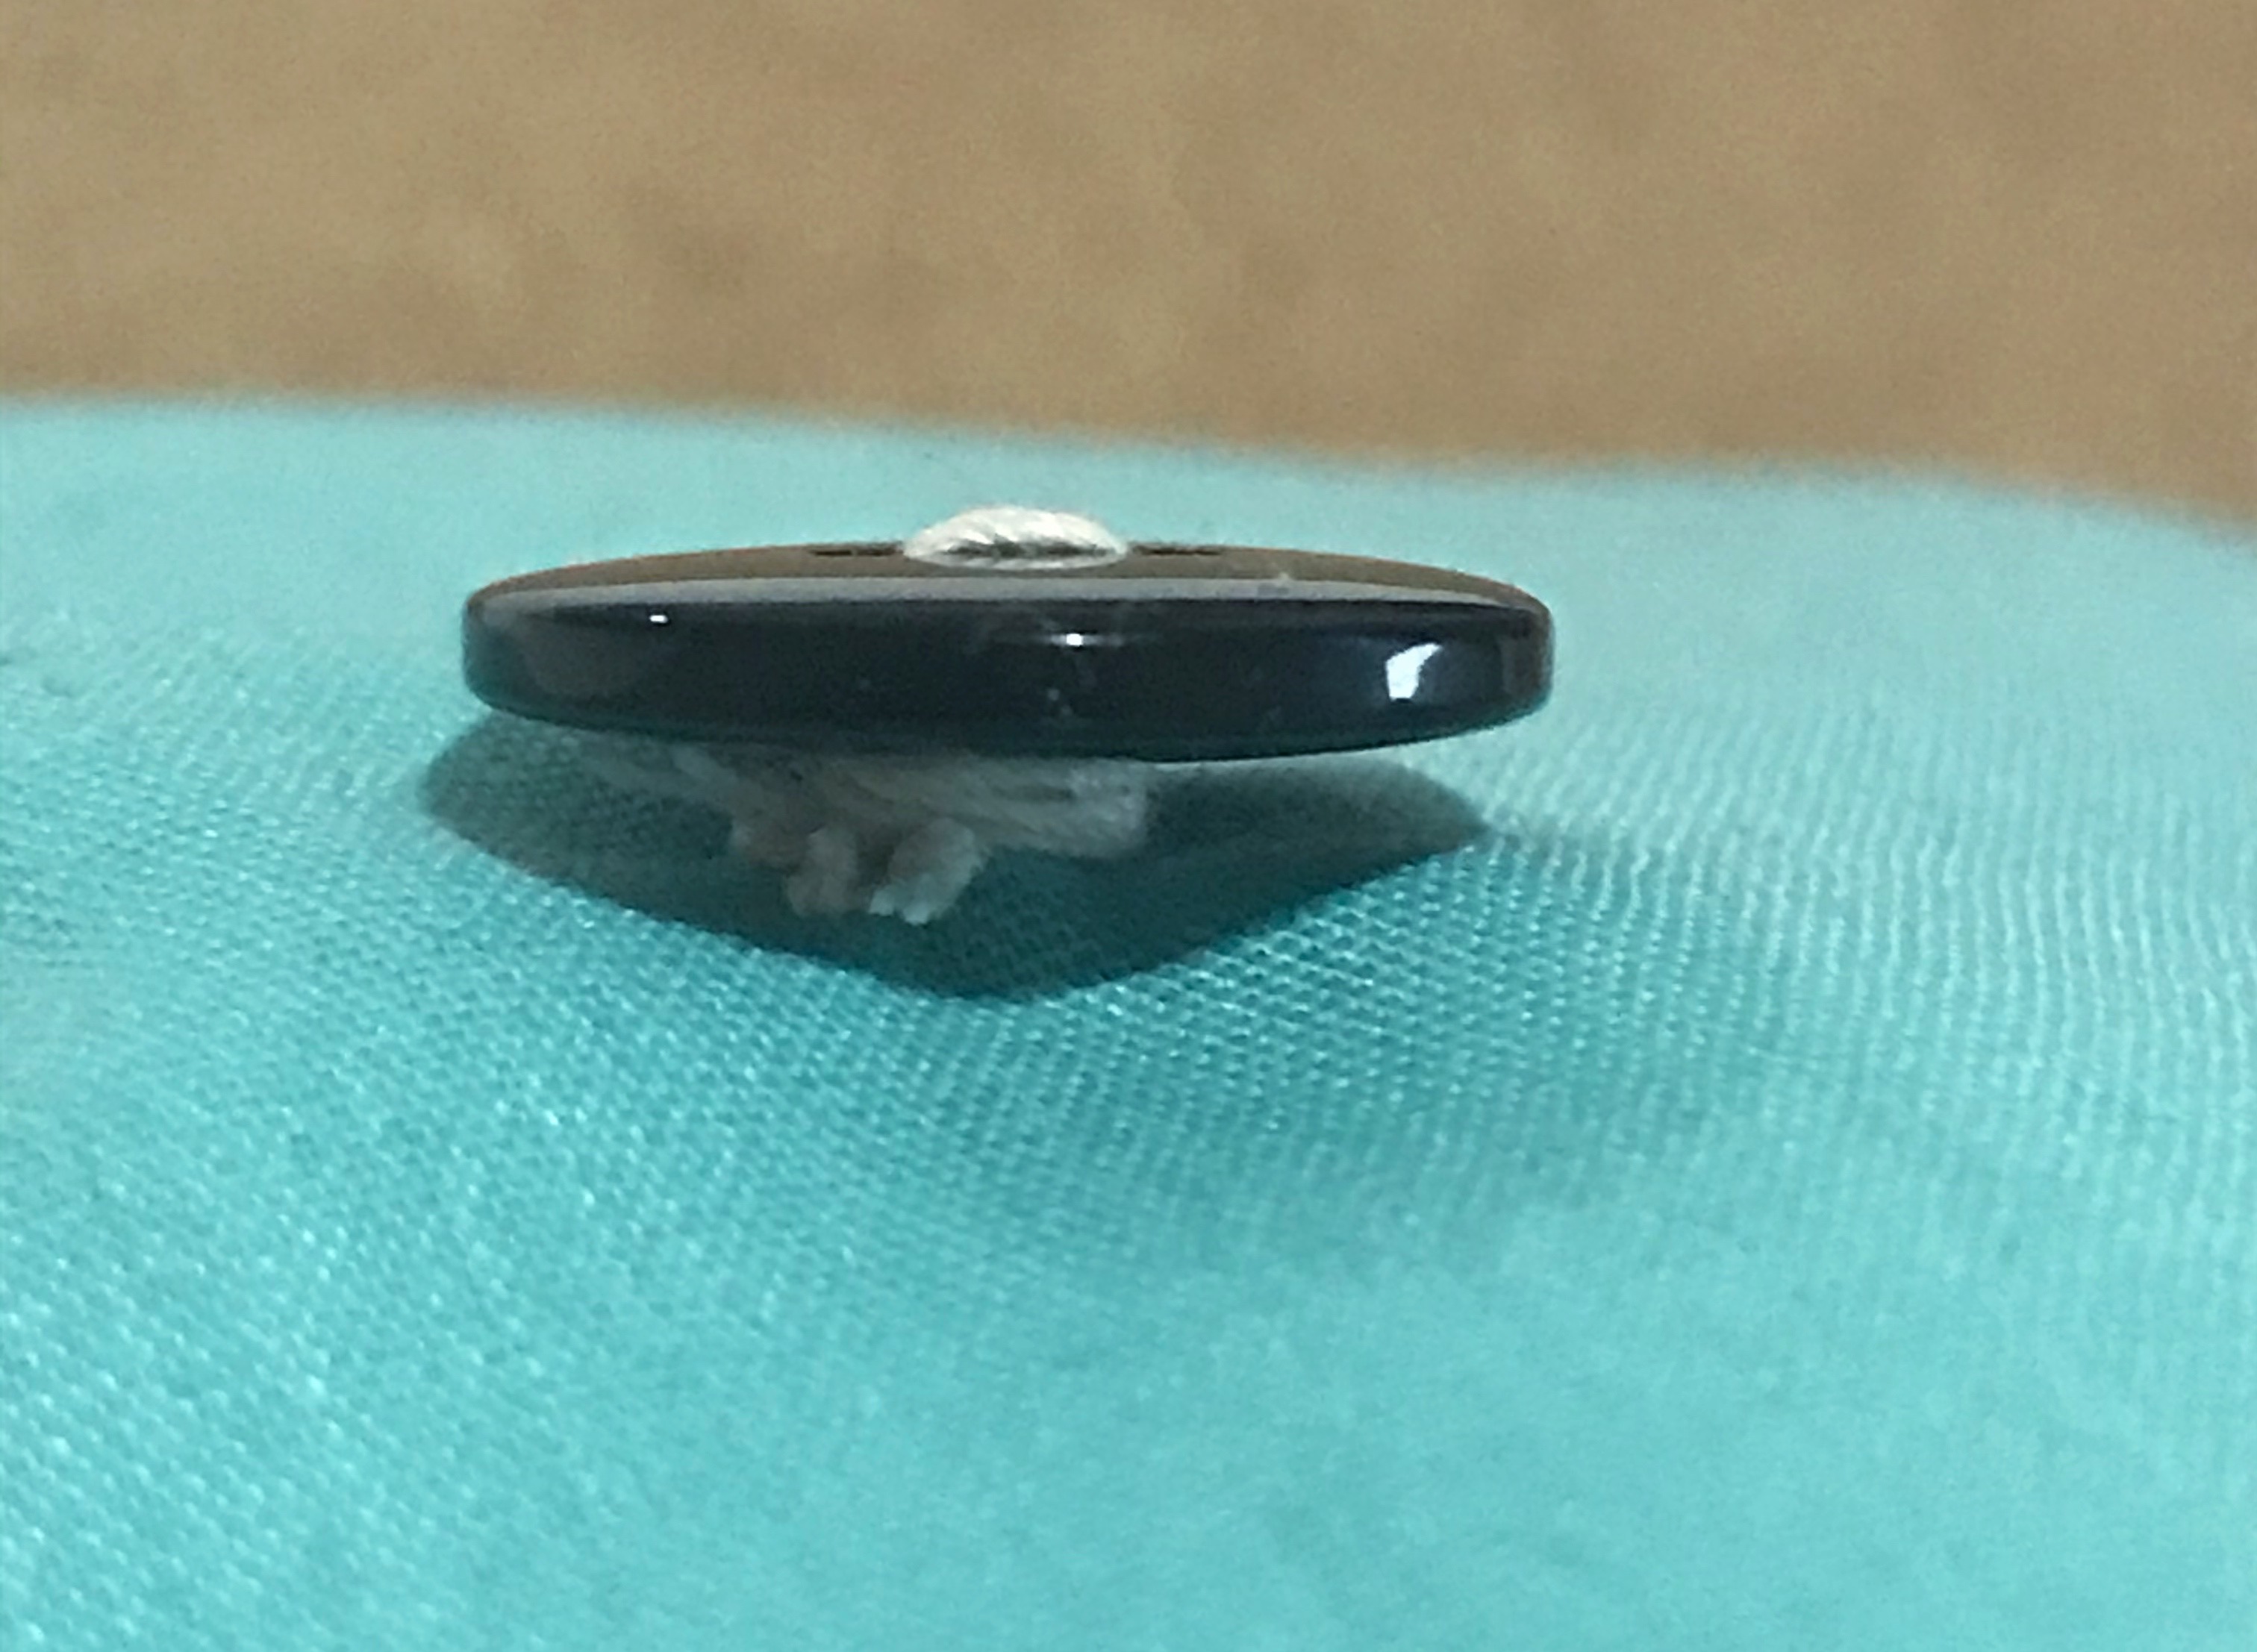
That’s it! Look on the backside you’ll have a clean stitch, no knots, or remaining threads.
As you could see there are many ways you can make your clothing last longer. These are only 8 ways to make your clothes look brand new.
Invest time in taking care of them. You’ll be saving a lot of money and helping the planet to reduce the amount of pollution. If you extend the life of your clothes you throw away less, and the footprint you make will reduce. We’ve mentioned before that the best way you can be sustainable is by using what you already own, we believe in this completely.
Try all these ideas before you decide to discard any piece of clothing.
I hope you find this helpful and if you have any doubt or any other tip you’ve learned, feel free to share it with us. We love it when you share your experiences, every day we grow bigger as a community, and the bad impact on the planet decreases.
BECOME AN OFFICIAL MEMBER OF OUR CLUB!
We would love for you to be part of our community. There are freebies, weekly tutorials, and other secrets we only share with our insiders!


[…] Since this is a whole other subject we made two blog posts about it. One with a guide on how to master the art of washing your clothes and another one on how to repair your clothes so they look brand new. […]