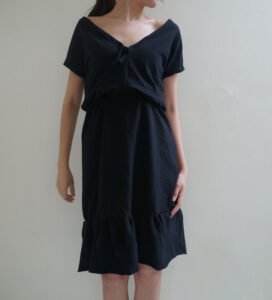
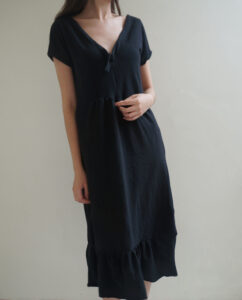
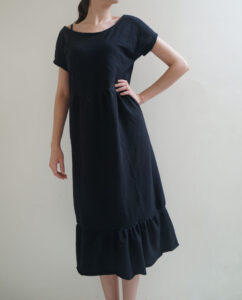
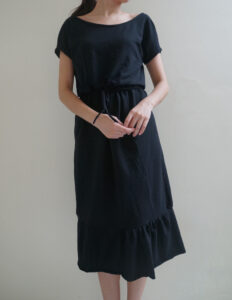
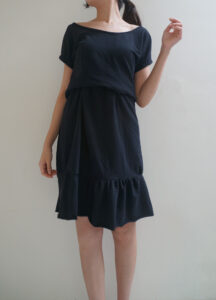
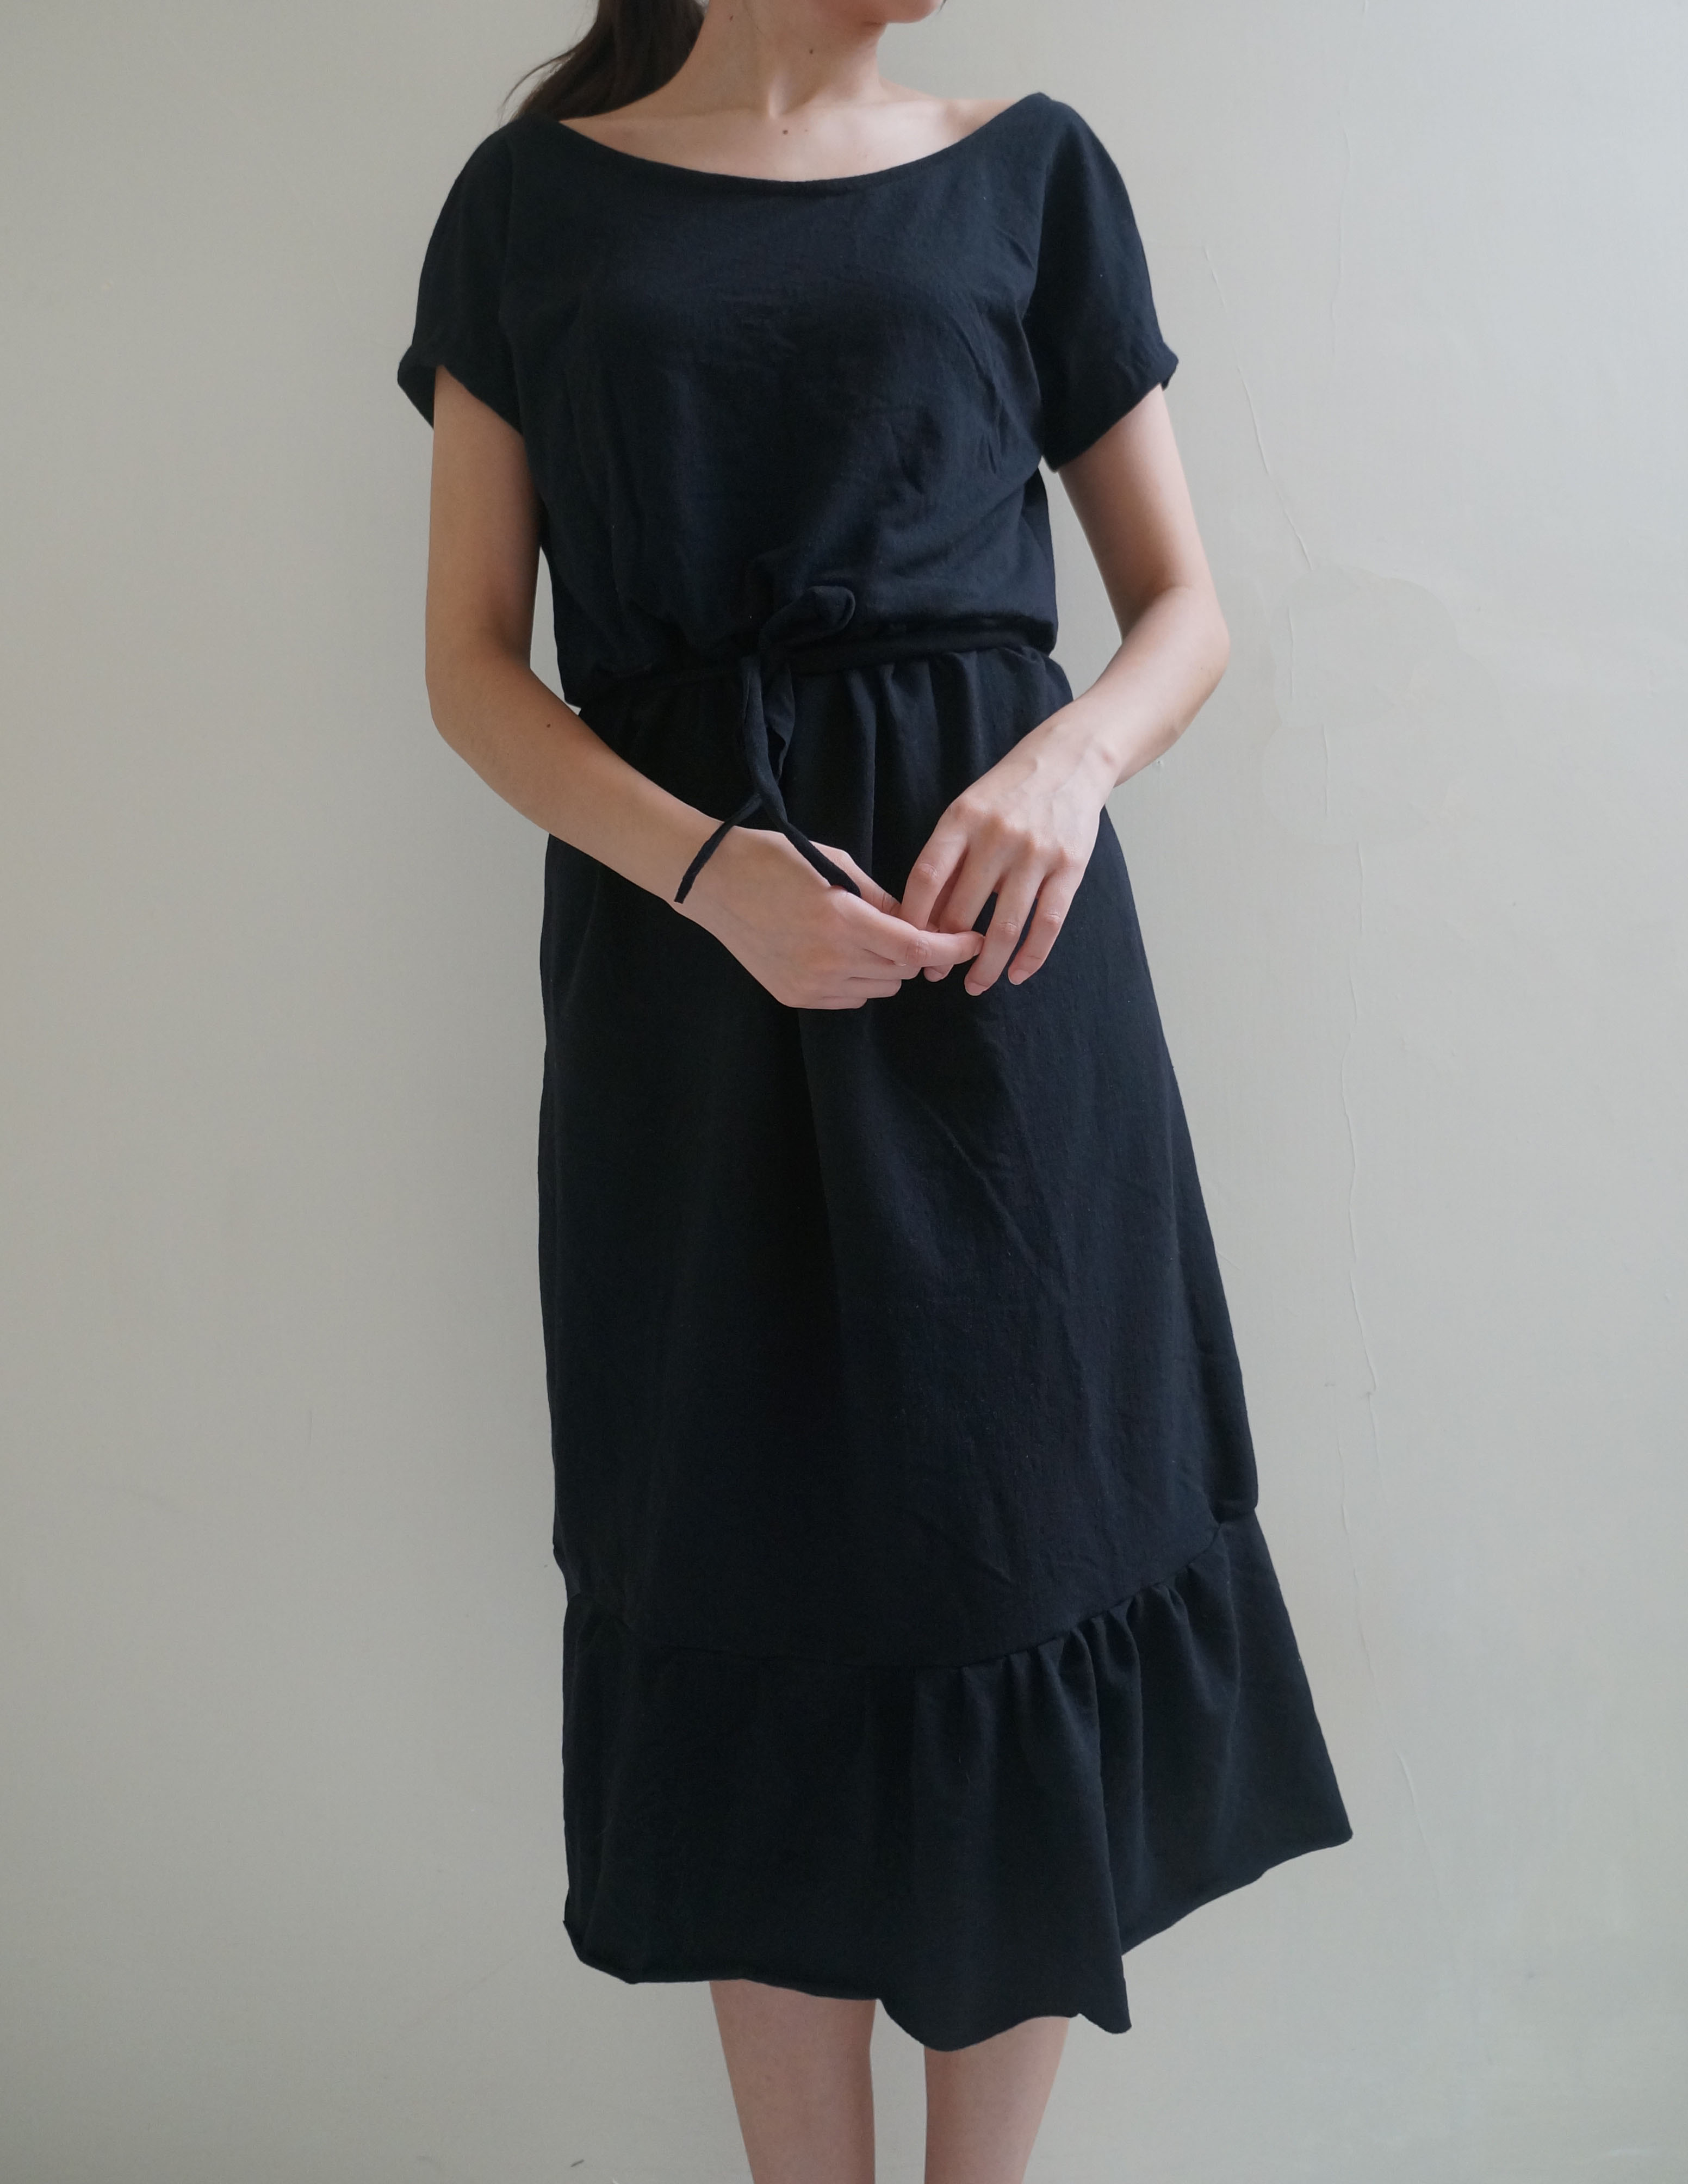
I mean, who doesn’t love versatile clothes, right? Something we can wear in different ways making us feel like we own more garments than we do.
Pieces like this one are perfect for capsule wardrobes. —If you don’t know what it is or want to learn how to start your own, you should definitely dive into our capsule wardrobe guide!—
You’ll be loving this dress all year long, as it is very easy to match with almost anything you already own. You can make it shorter, longer, or you can wear it backwards and it will still look great!
The best part of making your own clothes is that you get to choose what color, pattern, or size you want it to be. This dress looks great in any color and pattern, I used black because I had some leftover fabric from older projects.
You can also use old garments and if they’re made of cotton or any natural fiber, you can dye them and it will look just as new. I recommend using knitted fabrics, but you can also use wovens.
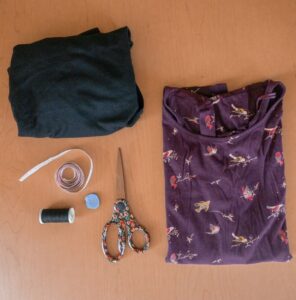
Here’s what you need:
- Fabric. I used 1 yard of Light Jersey (The amount of fabric needed depends on your size and height, keep that in mind.)
- Scissors
- Chalk or soup bar
- Thread
- Sewing Machine
- A T-shirt that fits you just like you want your dress to fit. (If baggy, choose a baggier top, if you want it tight, then opt for a T-shirt that fits just like that.)
TOP FRONTSIDE PATTERN
1. We’re going to use our T-shirt as our sewing pattern, so we must extend it over our fabric. Just like I did on this image. The dress has a cut on the waist, so I folded my T-shirt where my waist goes, otherwise, it will be too long and look weird.
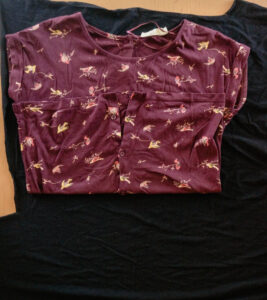
2. Trace the outline adding 1 cm for the seams. I chose a t-shirt where the sleeves are in the same pattern, I mean no added pieces. You must trace it as one piece. You’re free to decide the length of the sleeves.
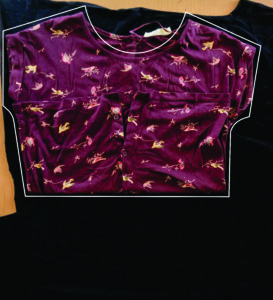
Then, just cut it.
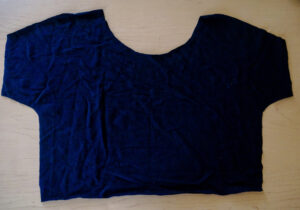
TOP BACKSIDE PATTERN
1. Start by folding in a half the piece we just cut.
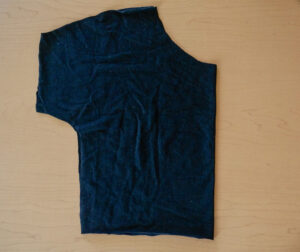
2. Now, we’re going to take neckline and fold it, creating a straight line.
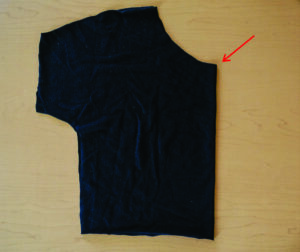
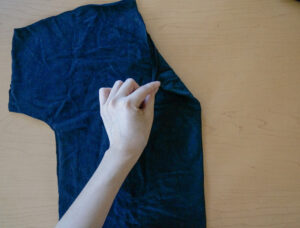
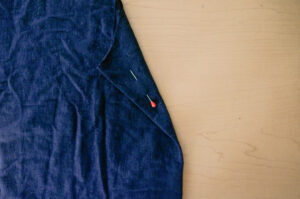
3. Next, we’re placing it over the fabric and it will work as our new sewing pattern.
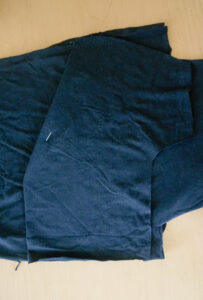
4. We’re going to add 1 cm to the neckline, just like I did here. And then proceed to cut it.
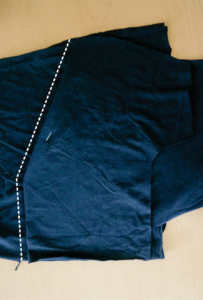
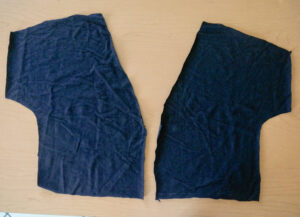
5. Taking the piece we just cut, we’re going to flip it to mirror it. And we’re going to cut another piece for the other side.
SEWING THE TOP OF OUR DRESS
1. We must place the front side with our two backsides, facing each other like this:
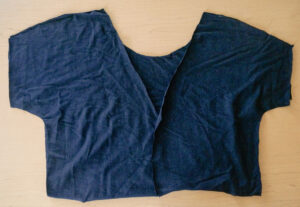
2. First, sew the shoulders together.
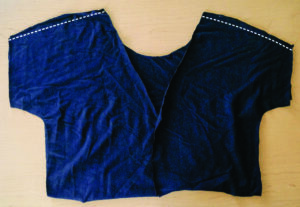
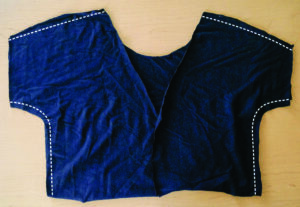
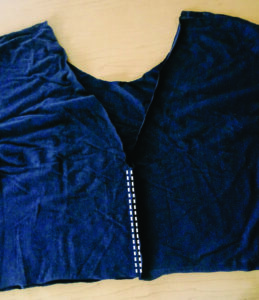
You’re going to end up with something like this:
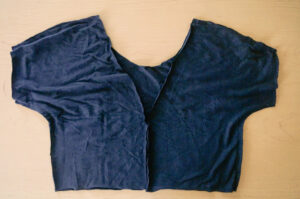
5. Now, you need to measure the neckline, front, and backside together.
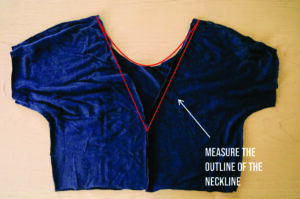
Once done, we’re going to cut a small strip of the measure of your neckline x1 inch.
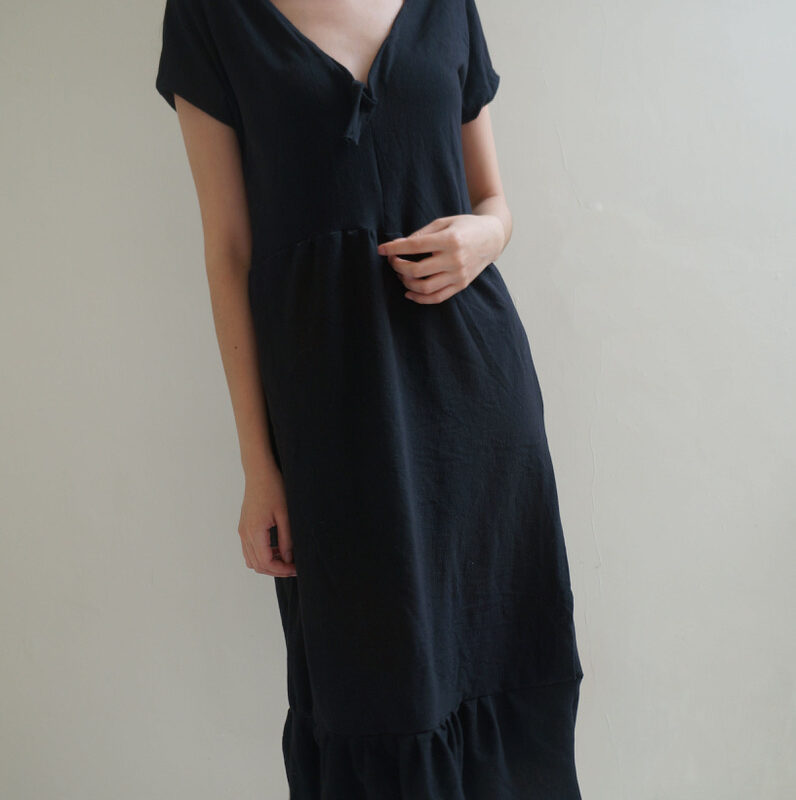
I decided to make it longer so I could make a cute knot at the end.
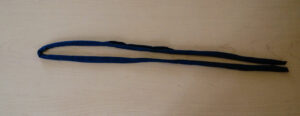
Fold it in a half and also mark the half of your front side in the neckline. Like this:
The middle part of the strip must coincide with the middle part of the top. Pin them together.
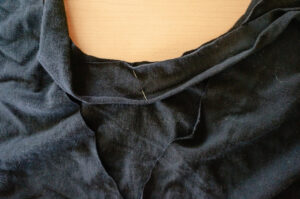
* To learn how to sew an invisible bias, watch this video. If you don’t want to do this, you can just fold 1 cm to the inside and sew a hem on the neckline. But if you do, you’re going to end up with something like this:
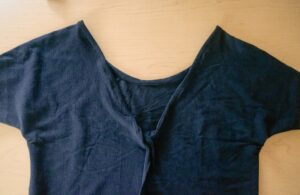
6. Finally, just fold the sleeves 1/2 inch to the inside to make the hem.
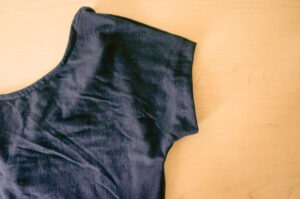
To make the skirt of our dress, we must measure the waist of our top and how long we want it to be. This dress has a midi cut, so you can measure from your waist to above of your knees and cut a rectangle in your fabric.
Waist of the top part of the dress x Your measure from your waist to above your knees.
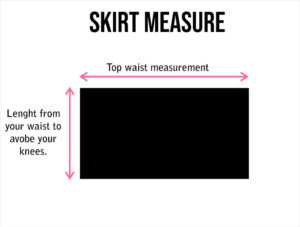
7. Fold the rectangle in a half and sew the sides together.
8. Flip the skirt with the seams on the inside and put the skirt on the inside of the top, like this:
The seams of the top must be showing on the outside.
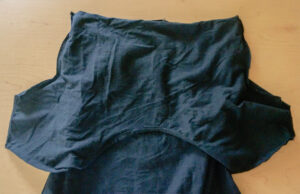
Next, we need to sew them together in a circle. Don’t sew it in a straight line.
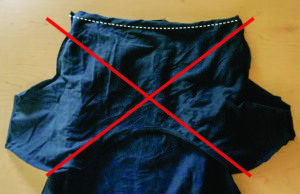
Make sure you’re only sewing one side of the top to one side of the skirt. Otherwise, you won’t be able to put your dress on.
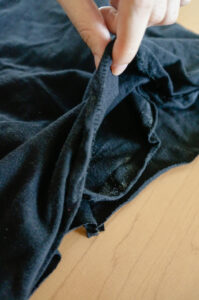
9. Once done, you need to cut another rectangle. This will be the frills of our dress.
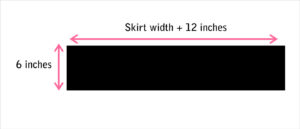
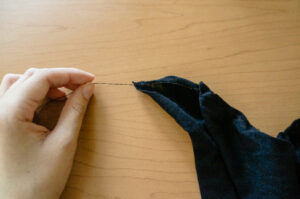
To make the frills, you must change the tension of your sewing machine to 0 and amplify the stitches. You need to sew it on one of the largest borders.

The thread will be floppy, and will look like this:
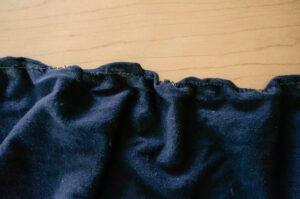
This will help you gather the fabric however you want without moving it. You can pull the thread to adjust the frills.
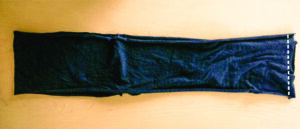
Sew the sides of the strip together.
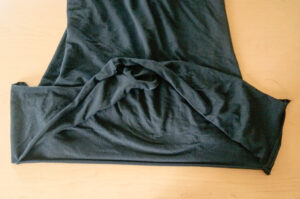
10. Put the strip with the seams on the outside over the dress.
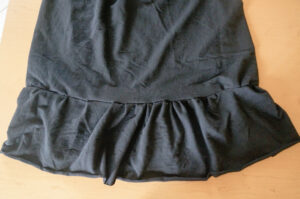
Sew the ends together and you’re done!
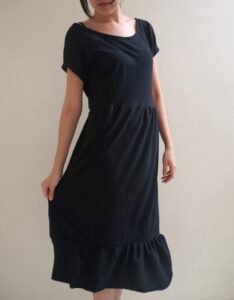
Okay, this is an extra step, but you can always use a black belt you already own. I cut another strip of fabric. A rectangle of (1 inches) x (the measure of my waist +16 inches).
This will create a belt and you can make another style while wearing the same dress! If you use light jersey, it’s okay if you don’t sew a hem to the frill, because the fabric won’t fray.
And that’s it! You can wear it backwards, you can put on a belt, and you can get as creative as you want!

I hope you make this dress and love it as much as we do! It’s truly a piece that will work for a lot of occasions! If you have any doubts let us know in the comments, and if you make this dress don’t forget to tag us on Instagram @ourfashiongarden.
BECOME AN OFFICIAL MEMBER OF OUR CLUB!
We would love for you to be part of our community. There are monthly freebies, weekly tutorials, and other secrets we only share with our insiders!


105246 54730I ran into this page accidentally, surprisingly, this really is a fantastic site. The web site owner has done a fantastic job writing/collecting articles to post, the information here is actually insightful. You just secured yourself a guarenteed reader. 746122
Hi! Thank you so much! We’re so happy to have you here.