Upcycling is one of the best ways to reduce our consumption and reuse what already exists in the world, therefore avoiding it from going to landfills.
If you have a pair of shirts that you no longer wear or maybe you know someone who wants to get rid of old shirts, I have a solution for you. Make a pair of shorts out of them.
One more thing… If you don’t have any shirt to upcycle you can make this tutorial as well, find another garment, and make sure you will have enough fabric.
Summer in the east is all about hot weather and trying to wear as little fabric as possible haha. Loose shorts are one of my favorite things to wear at that time. Since hot weather is coming soon, I want to prepare myself and make another pair of these.
This short’s style is relaxed dressy, and it has a charming flare with the paper waist. It has an elastic waistband and it HAS POCKETS!! Isn’t it awesome?!
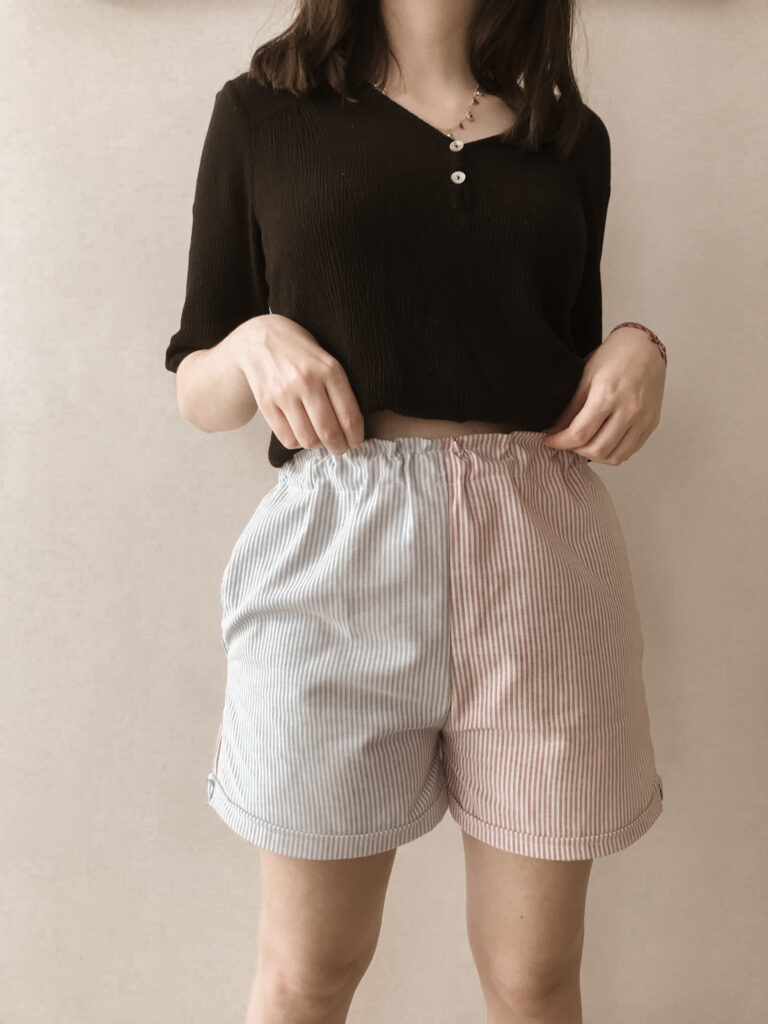
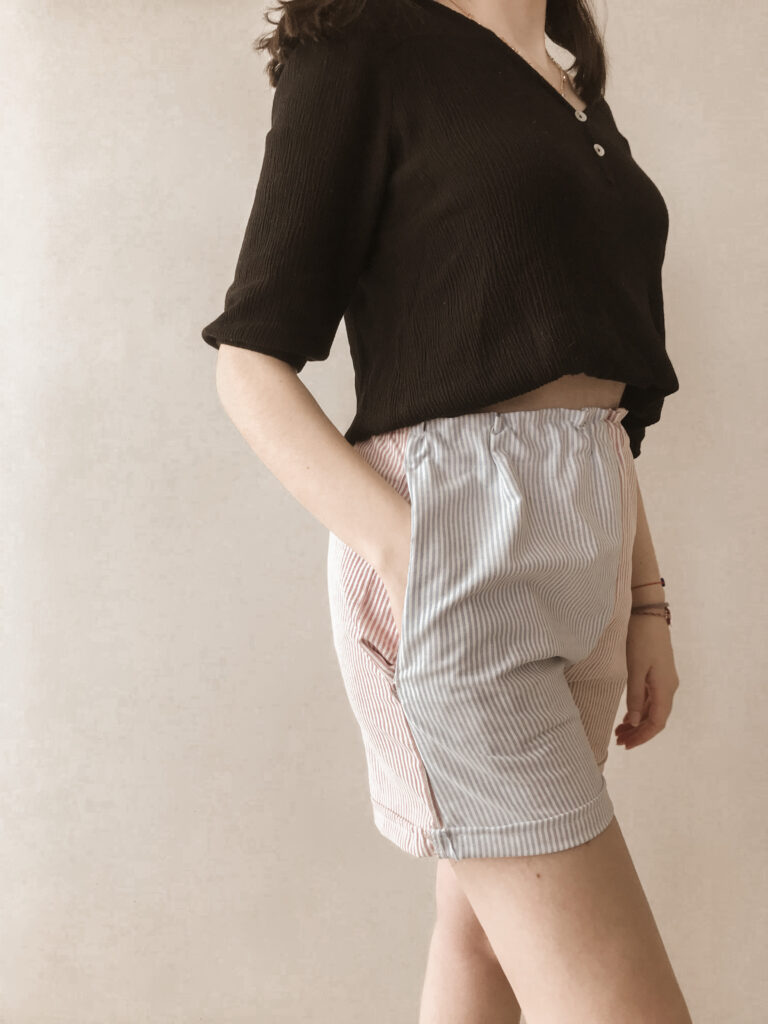
Materials you need to make this:
- 2 shirts
- 1 short that fits you well
- Measure tape
- Pencil/Chalk
- Scissors
- Elastic (depends on your waist/hip measurement)
- Pins (optional)
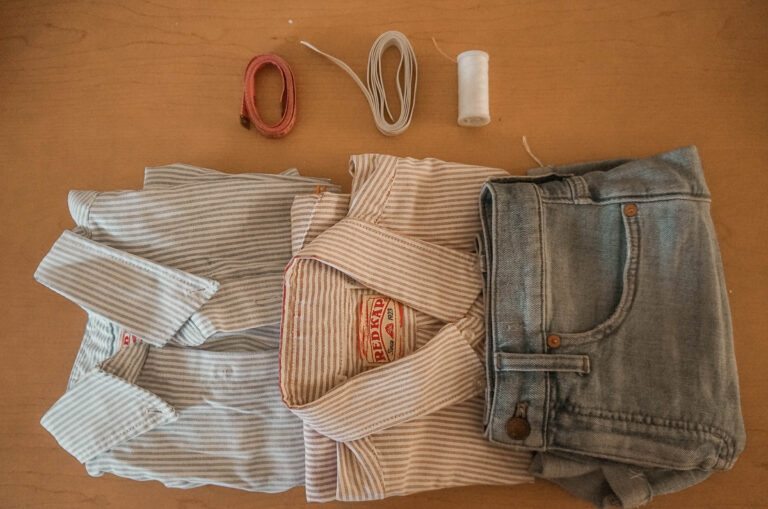
How much FABRIC do I need?
Your shirts will be your fabric, you can even use two shirts that don’t match in color, it will make your shorts more unique.
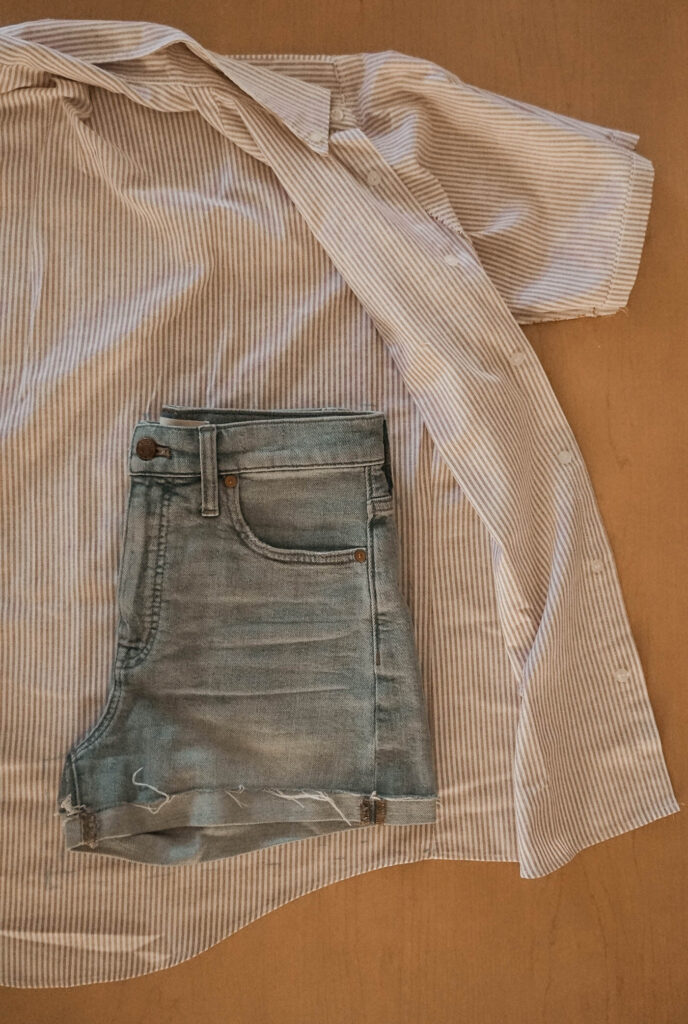
To choose the right shirts, ensure there will be enough fabric for your new shorts. Place a pair of shorts on top of the shirt, see if it fits open and if it has space around them.
Remember you need seam allowance. 1 shirt was not enough for me since it only fitted 1 side of the shorts, so I used two. The remaining’s you will use for the pockets, take that into consideration as well.
How much ELASTIC do I need?
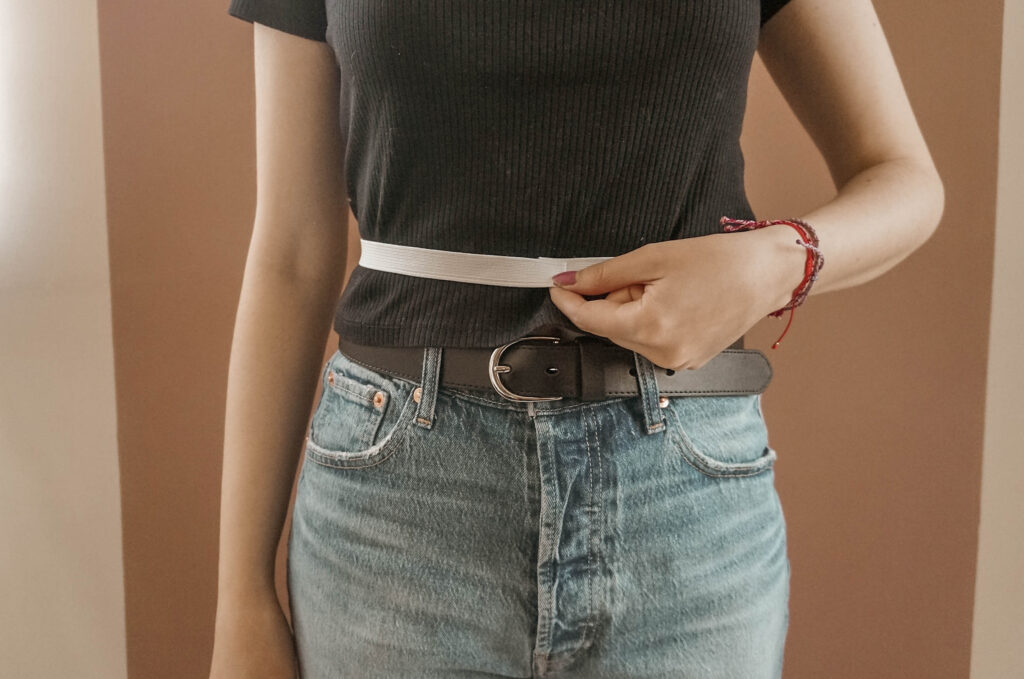
The elastic should measure the same thing as your waist + 1cm (3/8”). Sometimes the elastic band doesn’t have a lot of stretches, to verify that it will also fit through your hips you can take the elastic with your waist measurement and stretch it out to see if your hips fit in there as well.
Imagine you finished it; will you be able to wear it? Does it fit through your hips?
Let’s start with sewing those shorts!
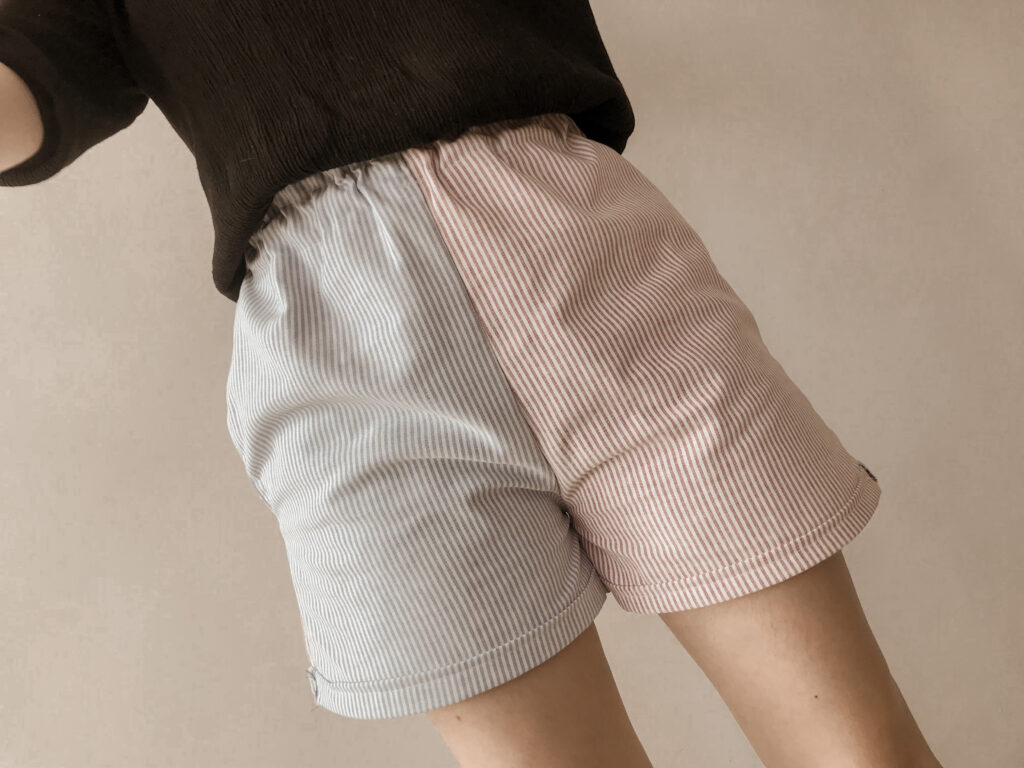
When I envisioned and designed this short I wanted it to be in two colors just like my I Made My Wardrobe pants. But this time I had two old shirts that my dad gave me because he was throwing them away. These shirts whereof the exact same fabric but in two different colors, one was blue and the other was red as you can see above.
So I took advantage of that and made these shorts.
If you love garments that have two colors you can do the same as me, if not you can follow the instructions normally.
Step 1
Take one of your shirts and extend it so you can place the short on the biggest part of the fabric that has no seams or anything.
Take your pair of shorts and fold them in half. Put it on the shirt like this:
Step 2
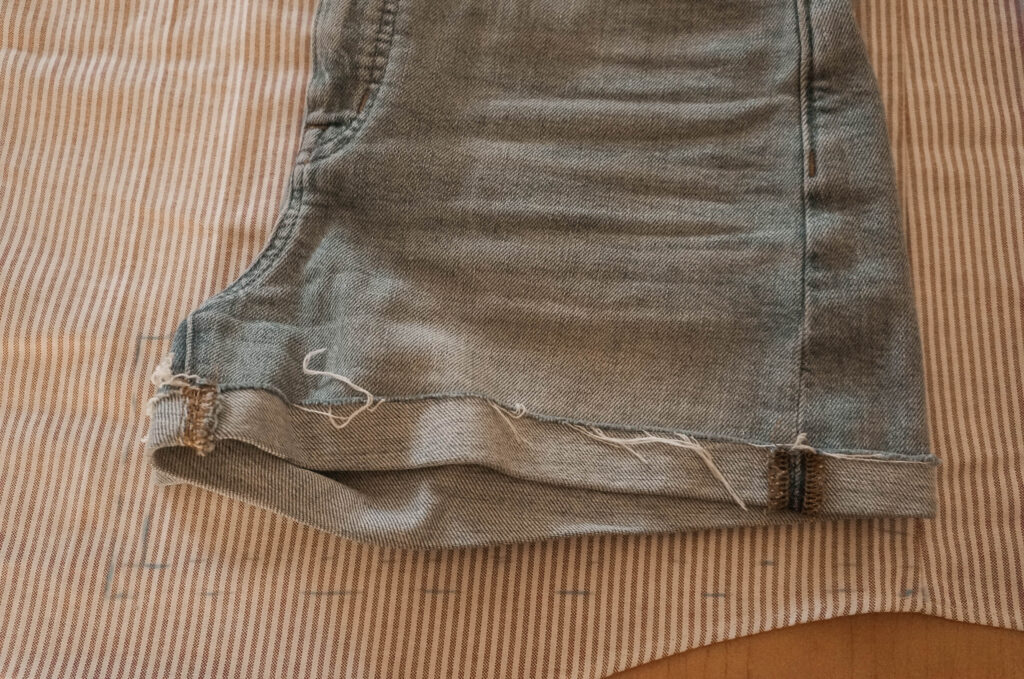
Trace the contour.
Then add 2 cm for the hem at the bottom.
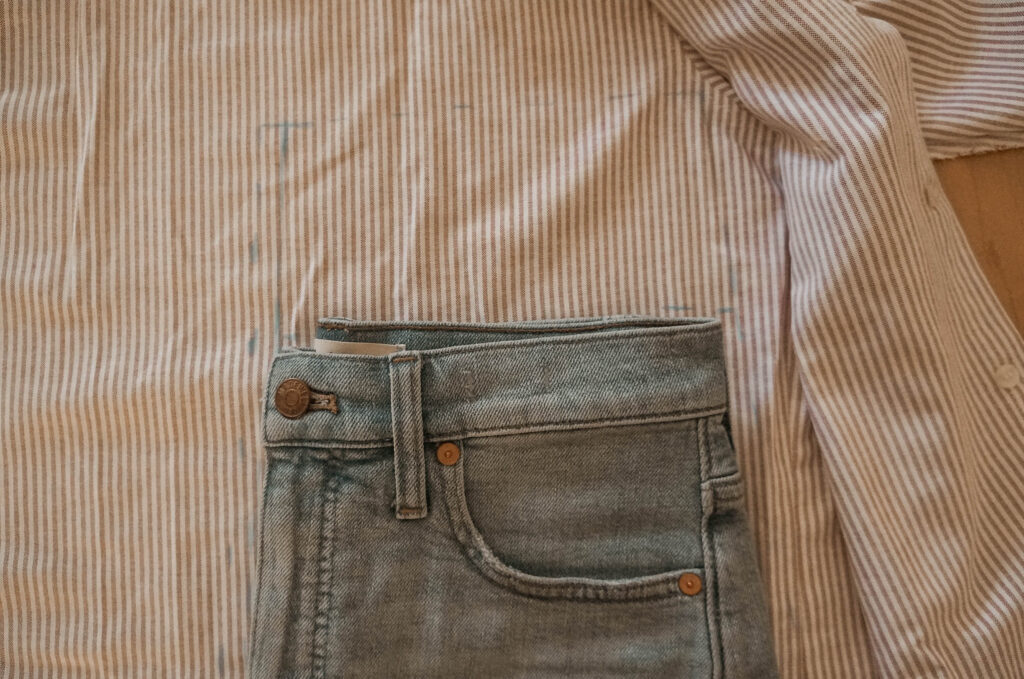
Next, add 12 cm for the paper waistband at the top.
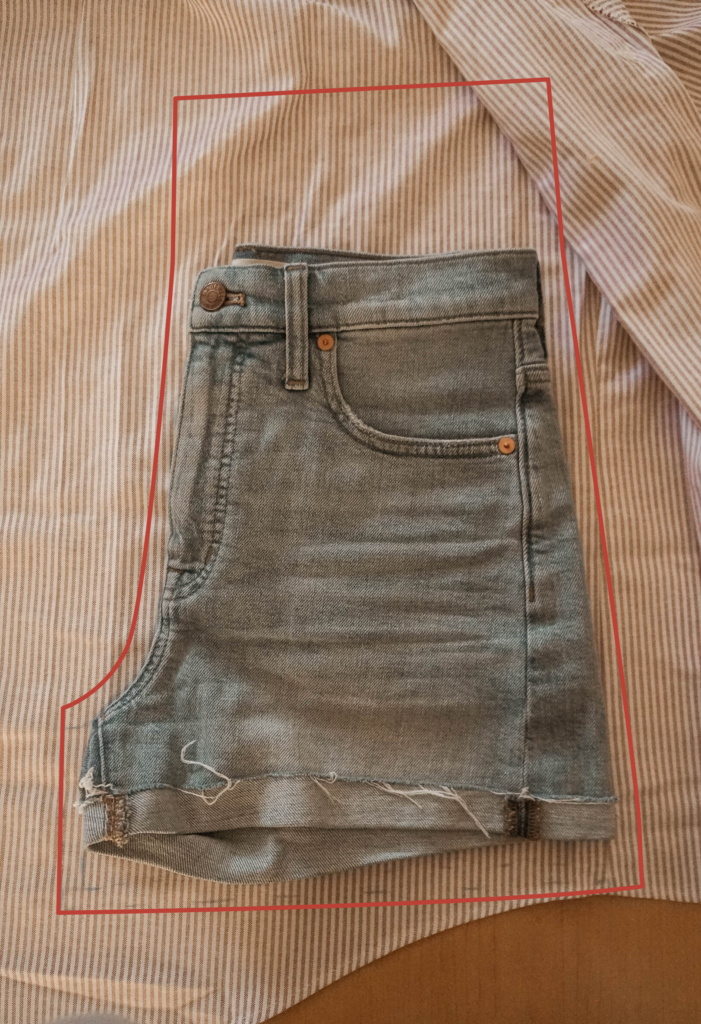
Add 1 cm of seam allowance to all the other sides.
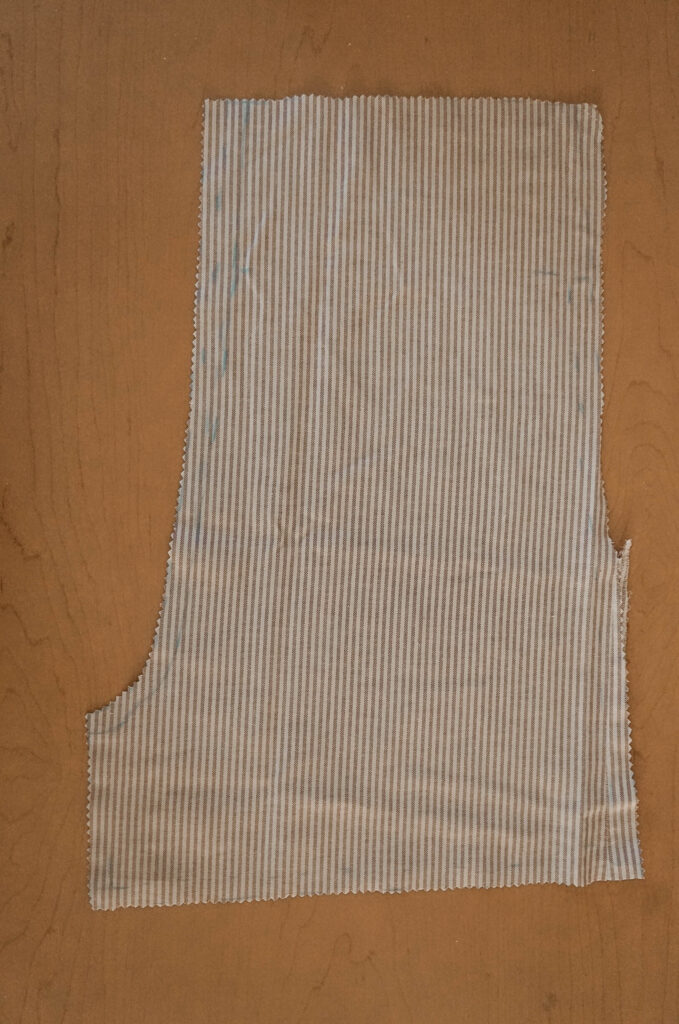
You should end up with something like this.
*Try to avoid cutting through existing cuts, it will make sewing harder. If your shirts are small like mine, you might need to really plan this so it will fit you in two shirts.
Cut that piece.
Step 3
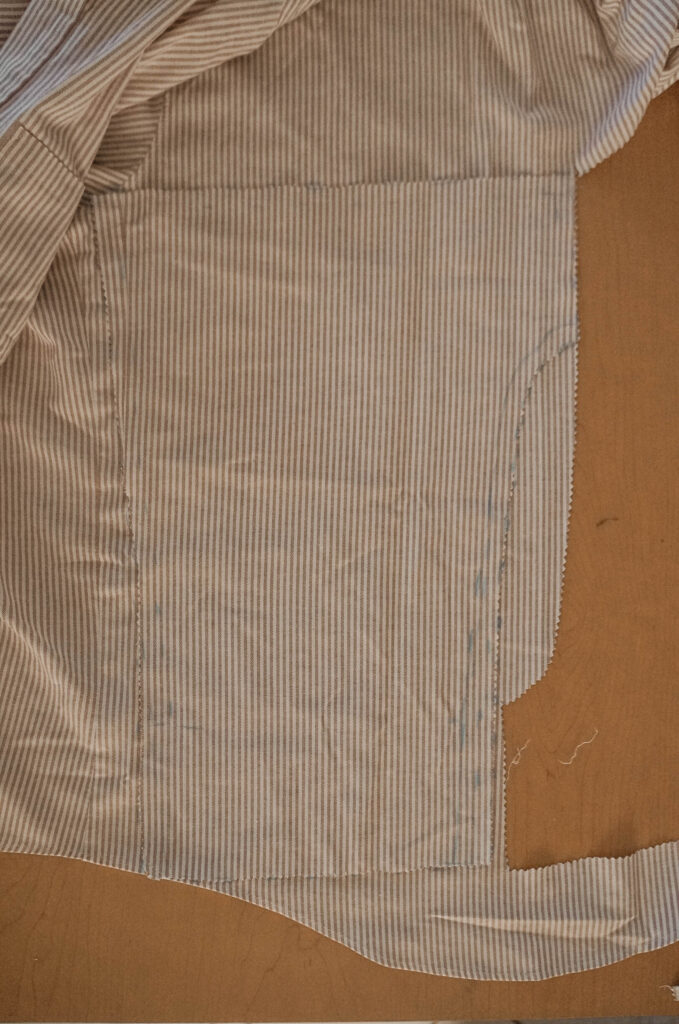
Place the piece you just cut on the other side.
I flipped it so it fitted on the remaining fabric.
Step 4
Extend your other shirt like the first one and place the pieces you cut on top.
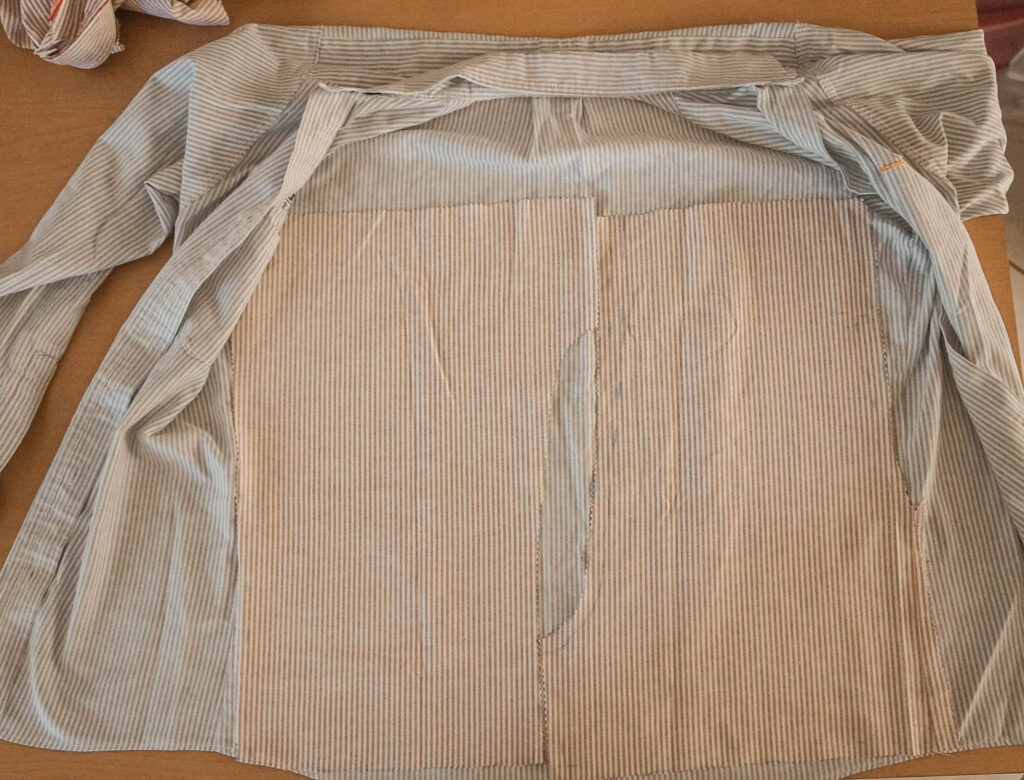
*In this step is where you should cut two pieces of the other color.
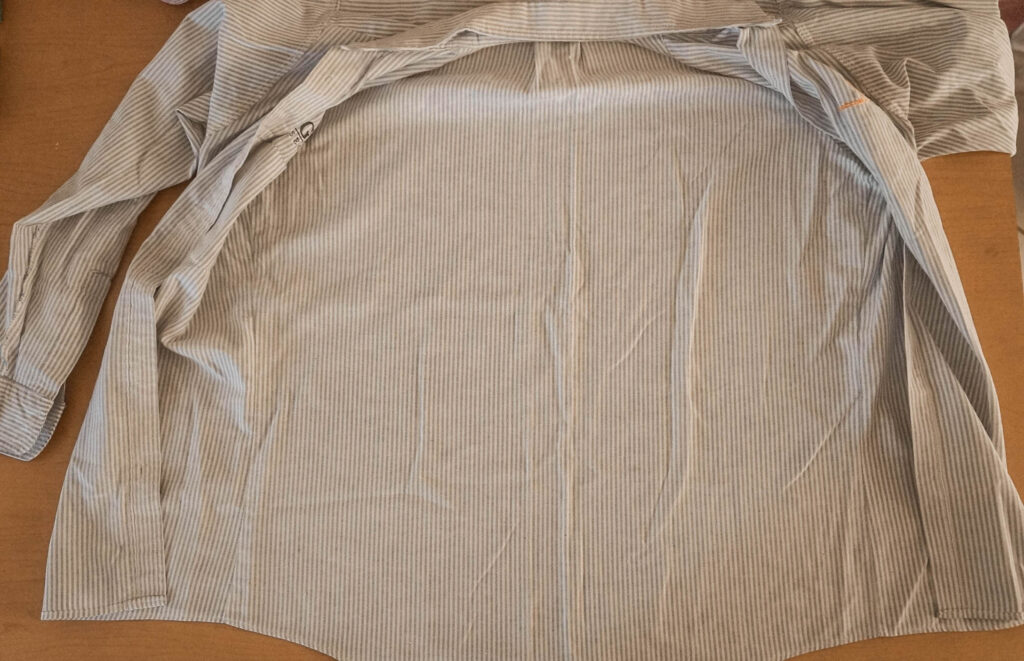
Trace the contour and cut those other two pieces.
Step 5
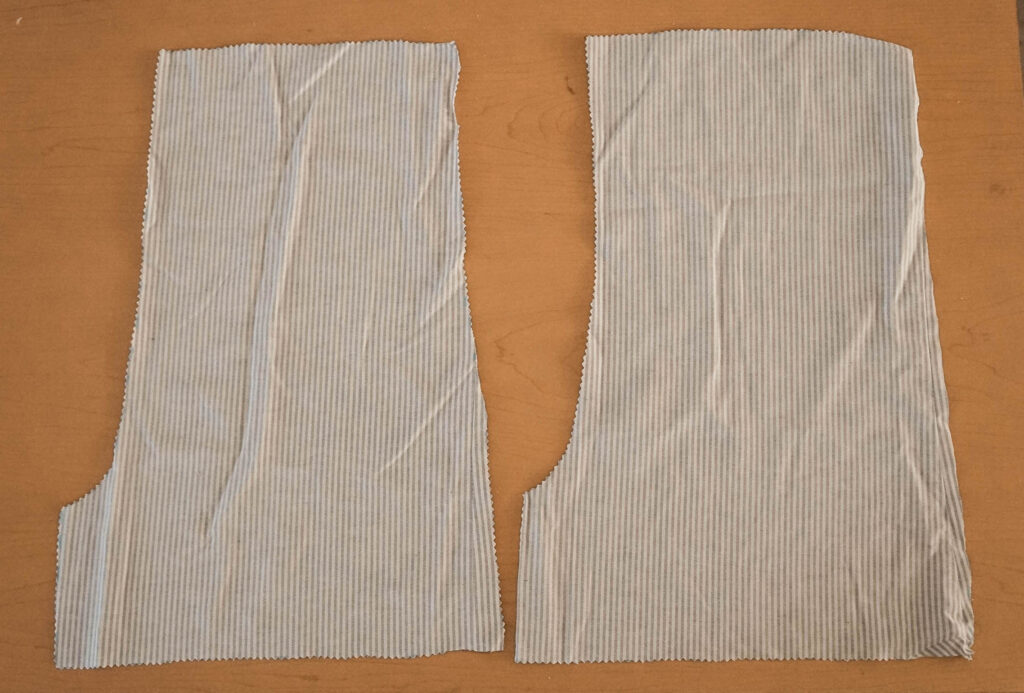
To trace your pockets, unstitch from your remaining fabric any pockets or extra pieces. This will give you more space to use.
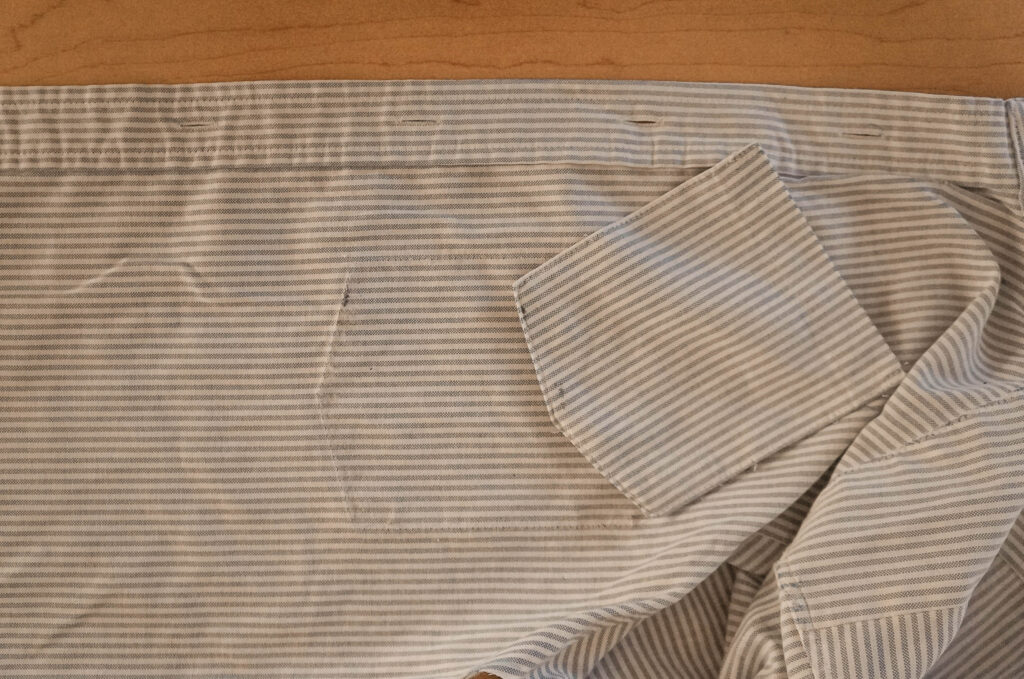
Fold your fabric like this:
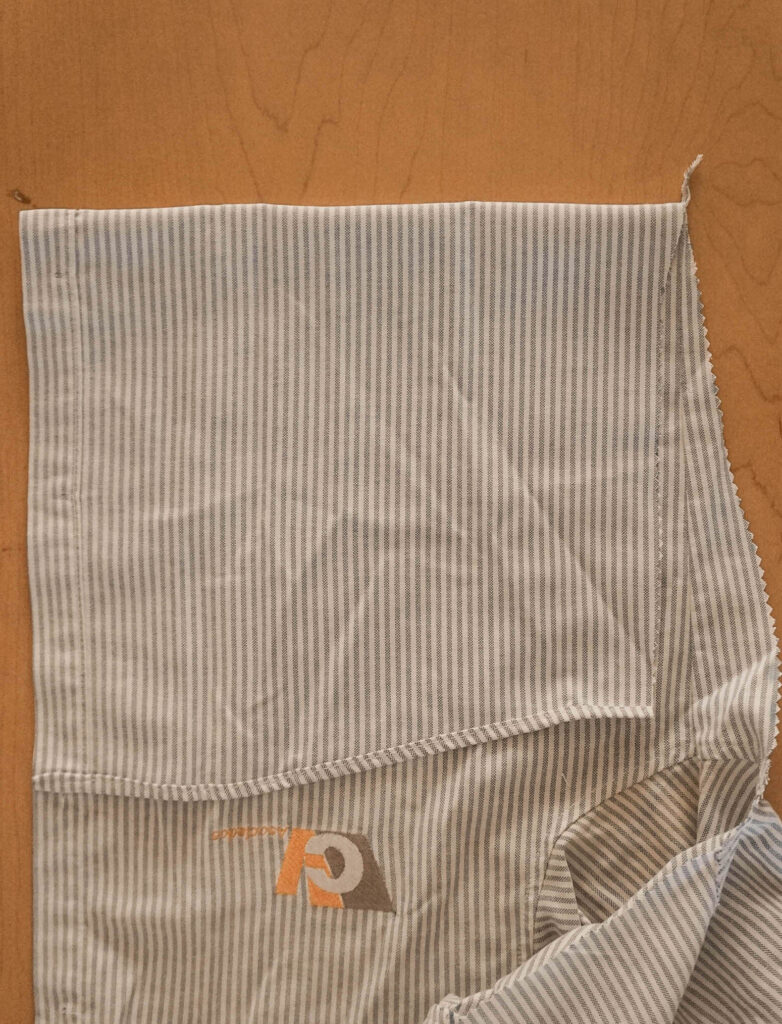
Make sure this fold measures in height 25 cm.
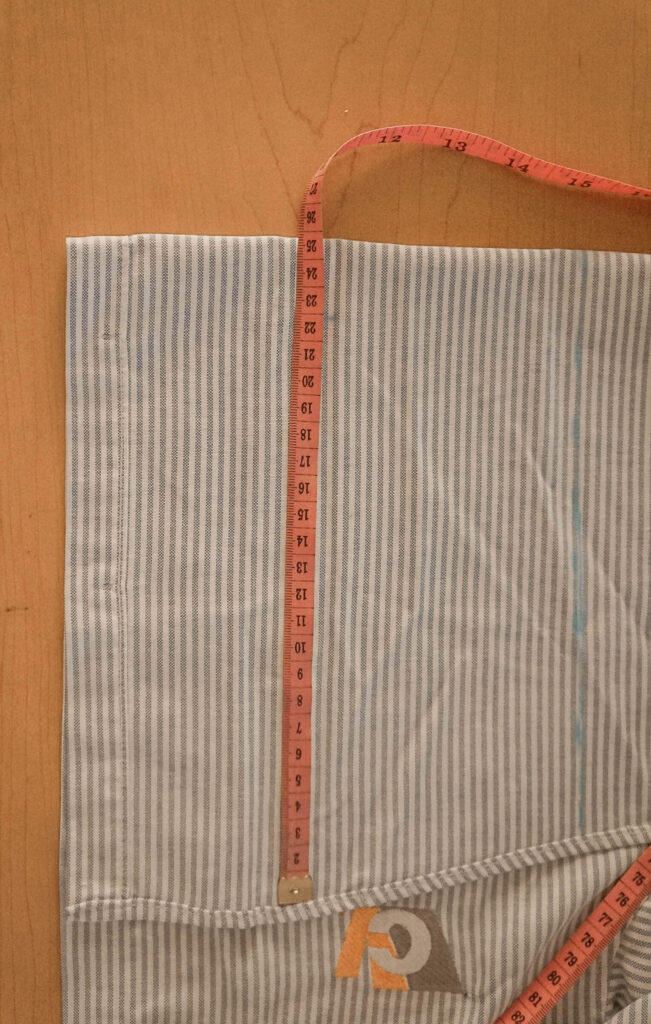
And 18 cm in width.
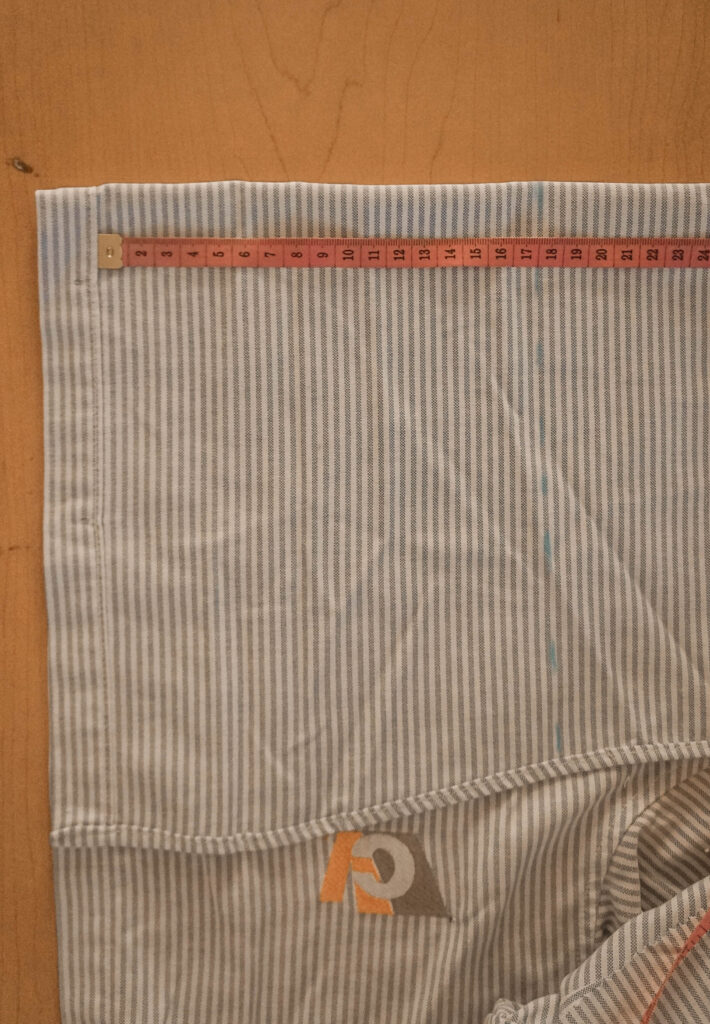
Now, trace your pocket like this:
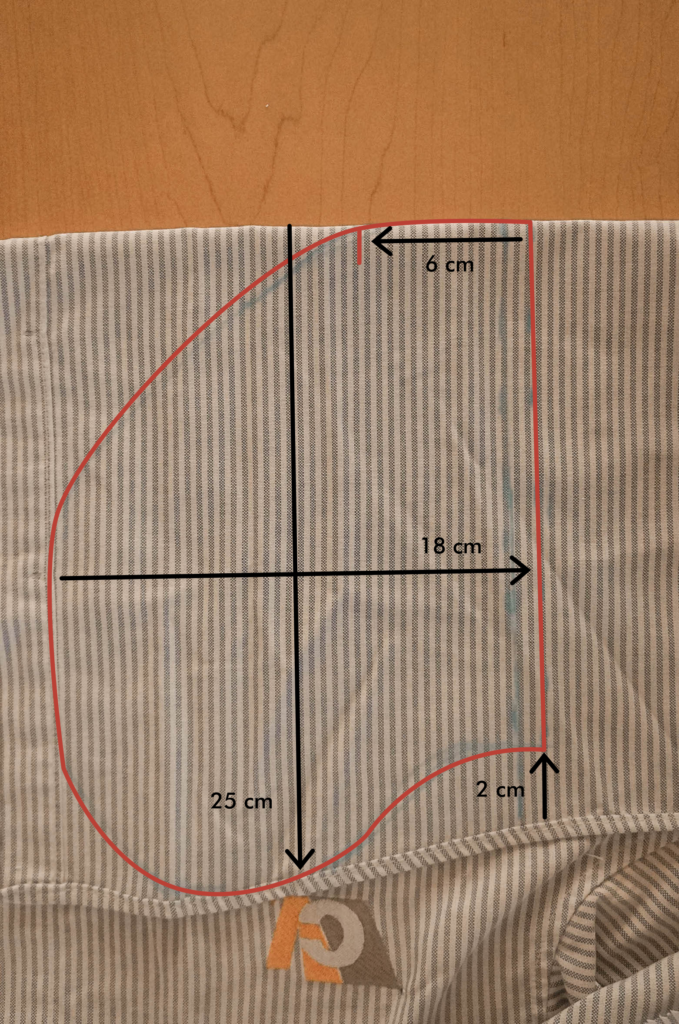
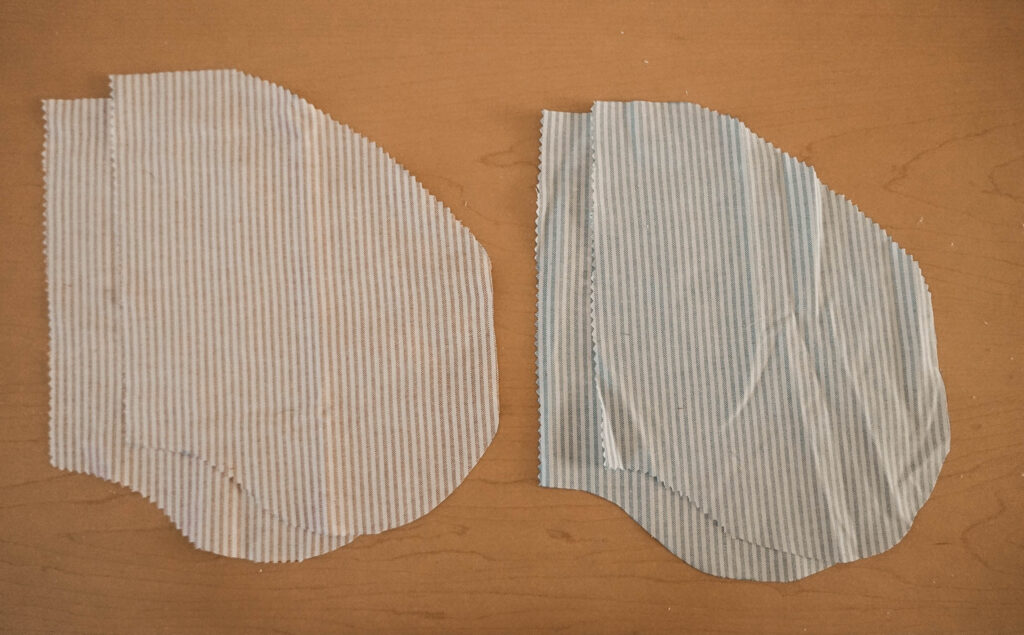
Cut those pieces, for 1 pocket you will need two pieces. For two pockets 4 pieces.
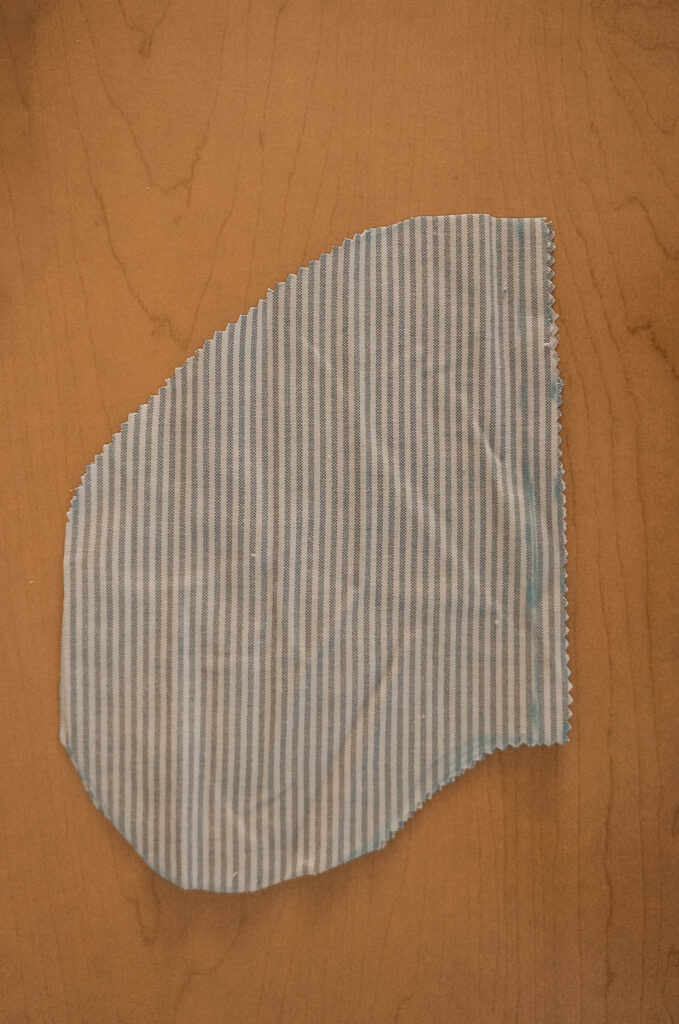
Two cut two more pieces, fold again the fabric and place the pocket piece you just cut, on top. Trace the piece.
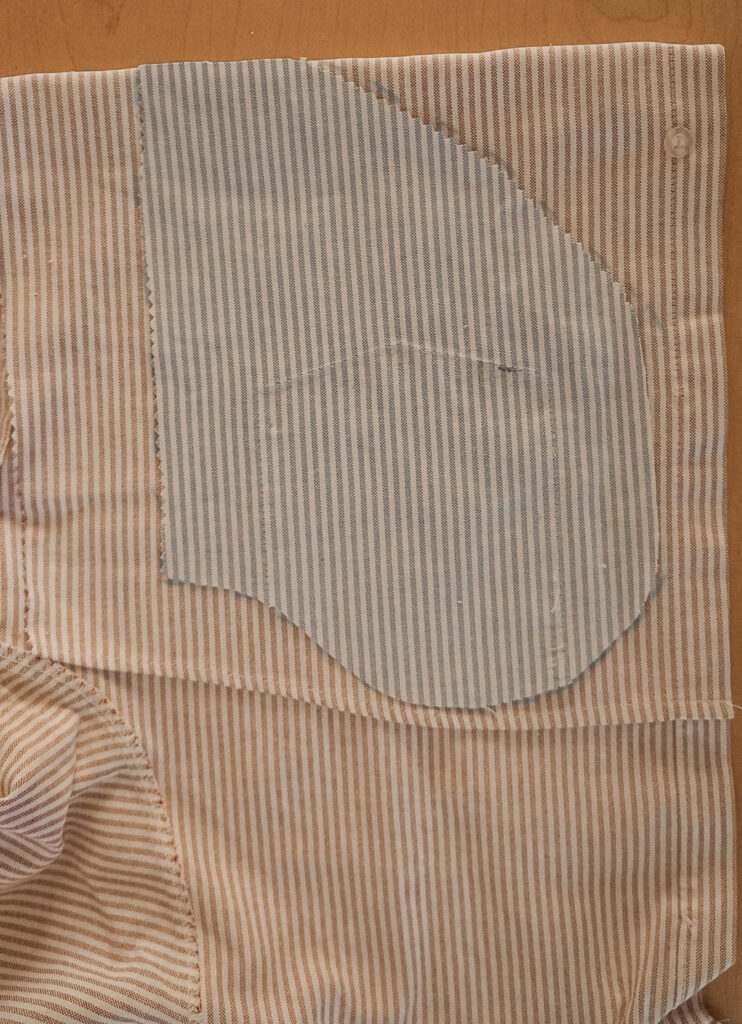
Cut those pieces, you should have four pieces.
*If your short has two colors, you should have one pocket of one color and the other pocket of the other color.
Step 6
Let’s start sewing.
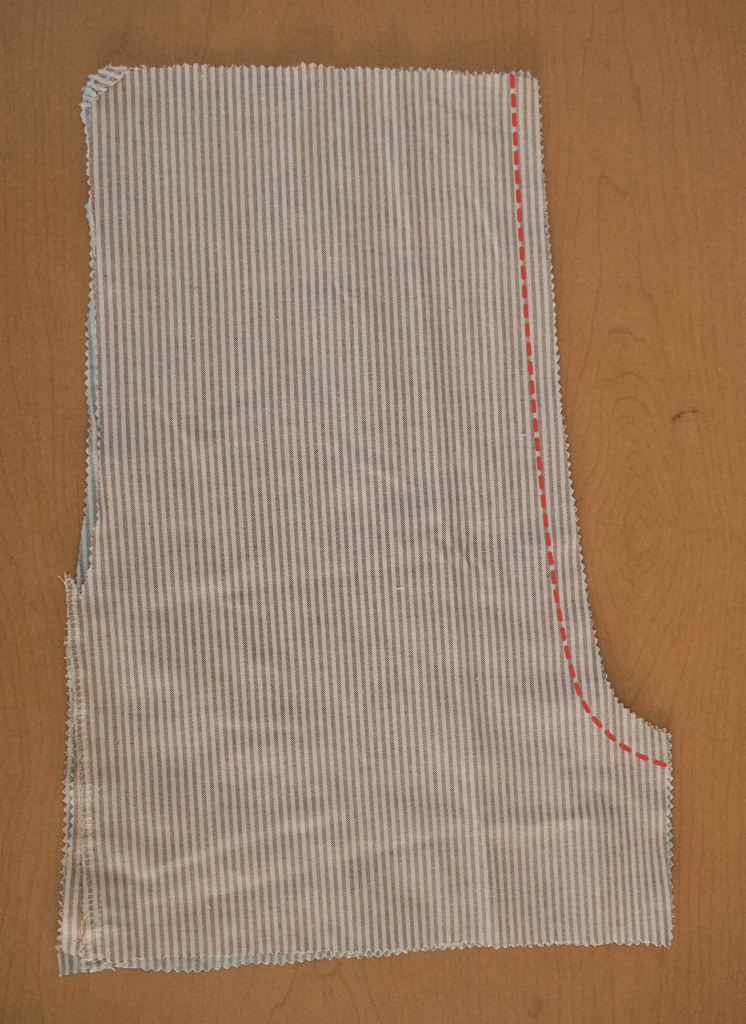
Grab both of your front pieces and join them at the crotch. Then, do the same but with the back pieces, just make sure to face the good sides of the fabric when you sew.
Step 7
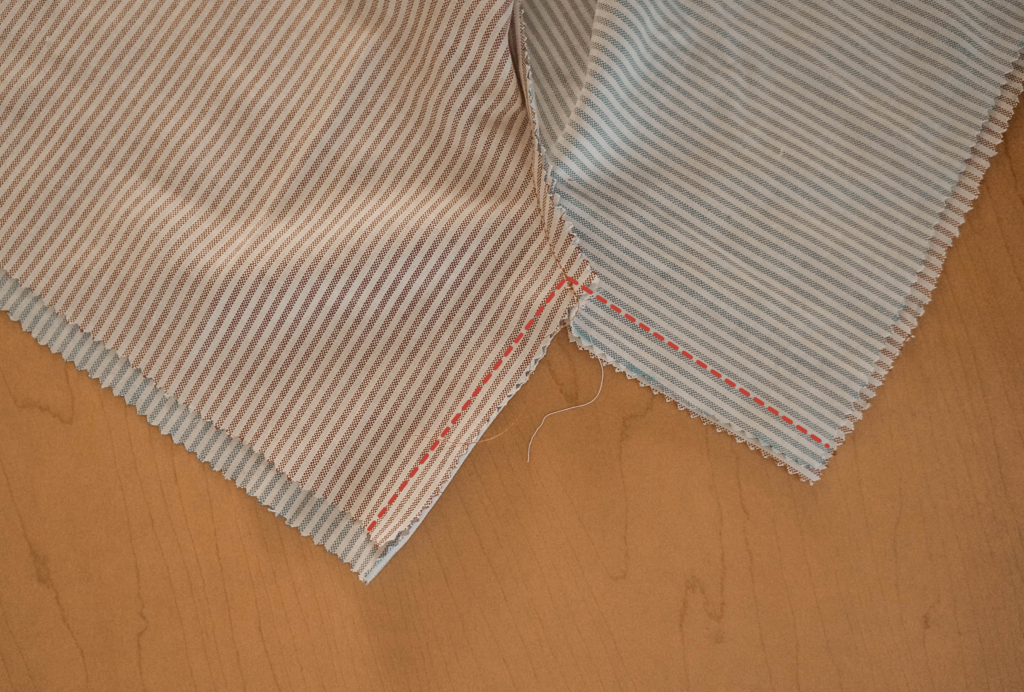
Sew the inseam.
Step 8
It’s time for the pockets. This is one of the easiest ways of sewing pockets.
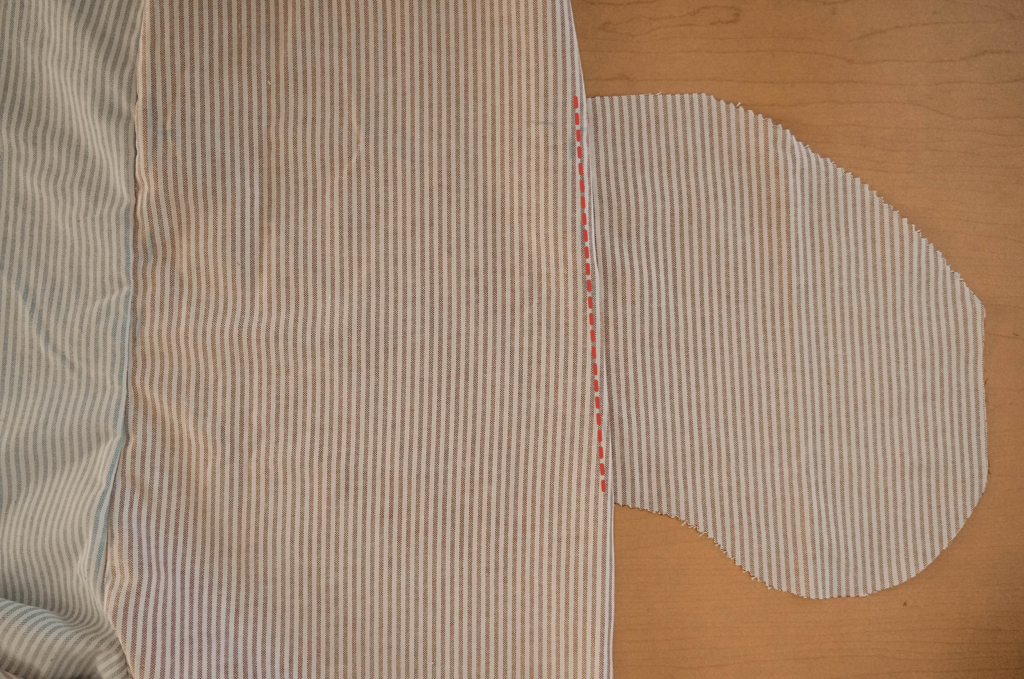
First, take one of your pocket pieces and only one side of your front piece and place the pocket 10 cm down from the top. Sew it with a 1 cm seam allowance.
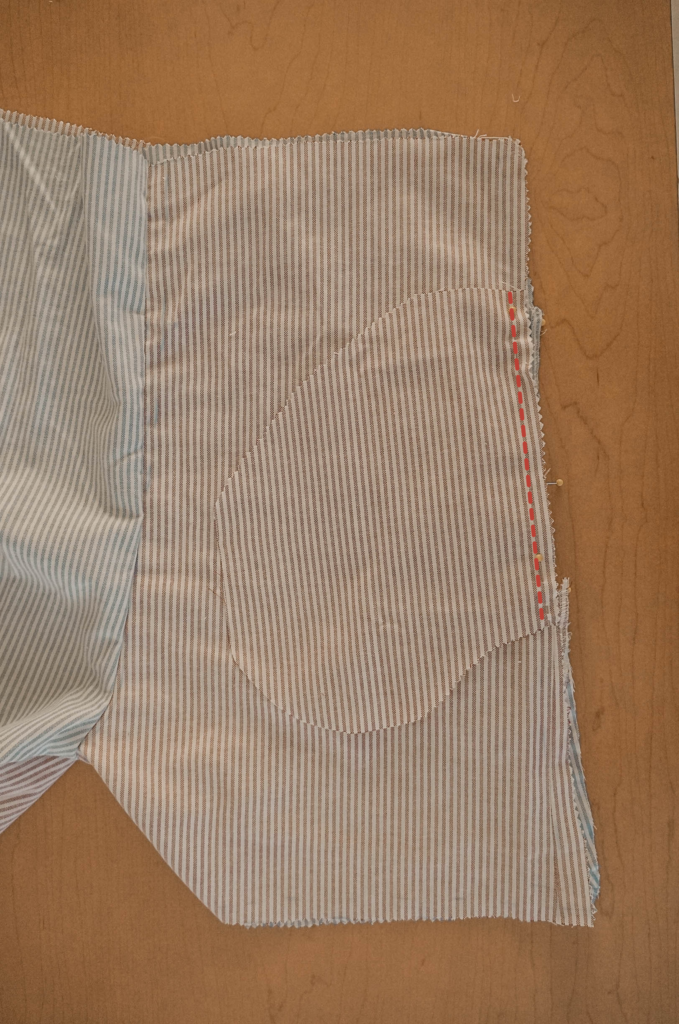
Now, turn the pocket to the side, like in the photo, and sew that with a 0.5 cm seam allowance.
Repeat those steps on the other three pocket pieces.
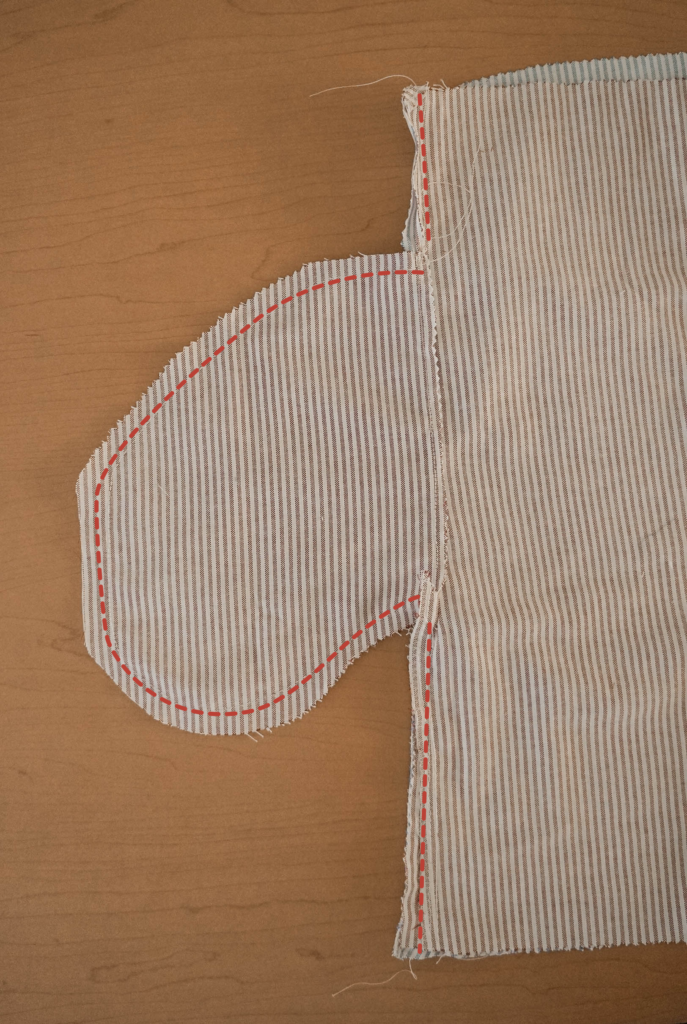
Then, close the sides and the pockets. Face both sides of the fabric together and sew the top of the side, then the pockets, then the rest of the side.
Step 9
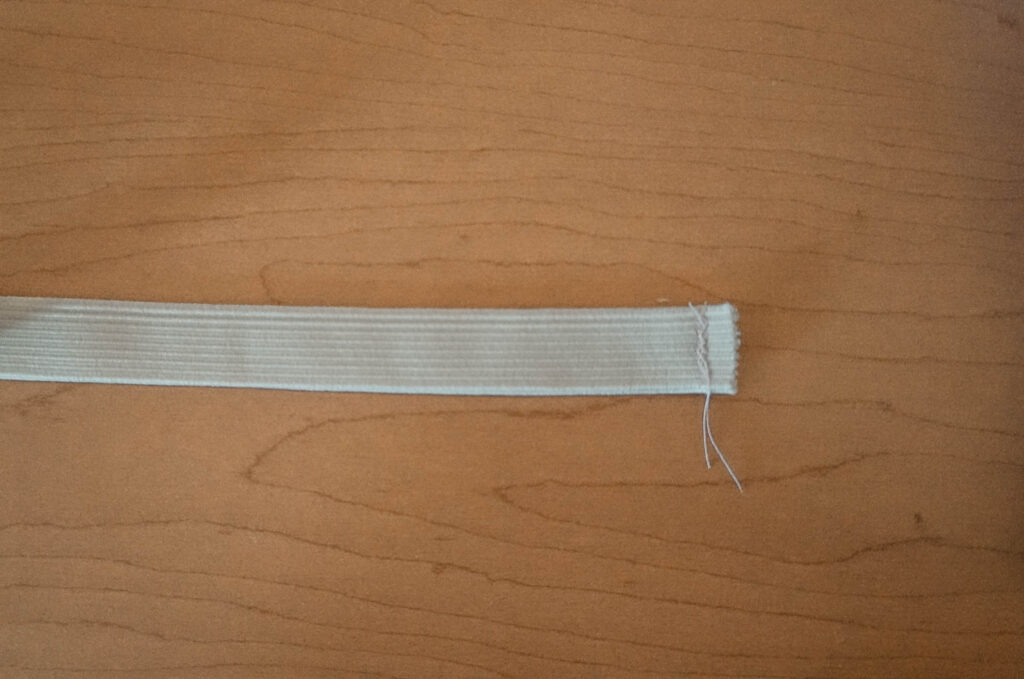
Take your elastic and cut it at the same size as your waste, plus 2 cm of the seam allowance. Before you cut it, make sure that the measurement is enough to fit through your hips when you stretch it.

Sew the elastic ends together to make a big band.
You’re almost done.
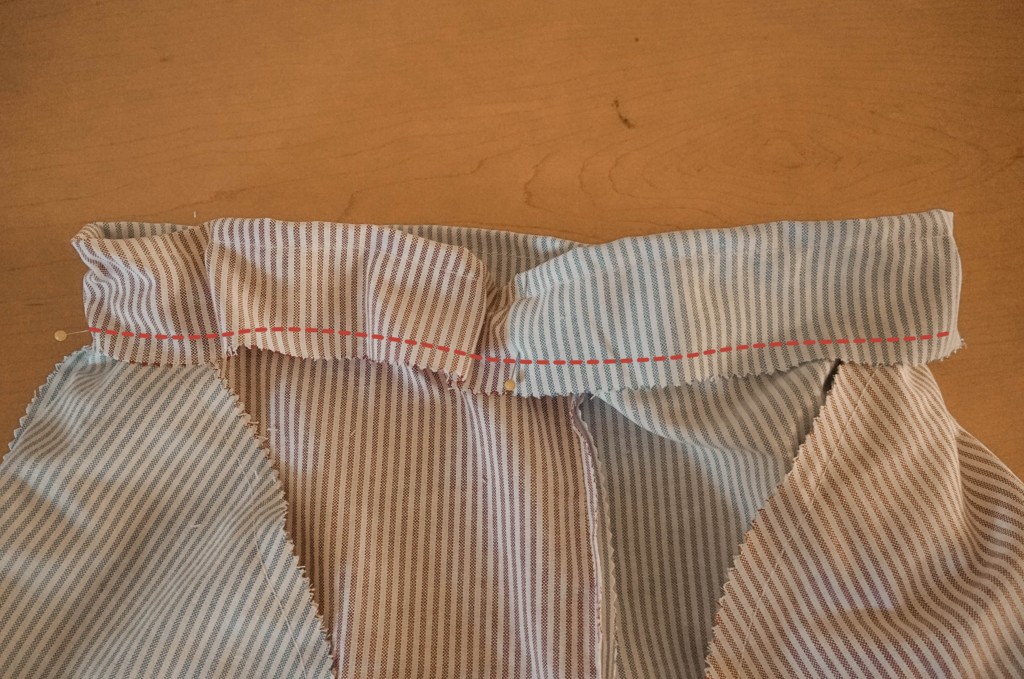
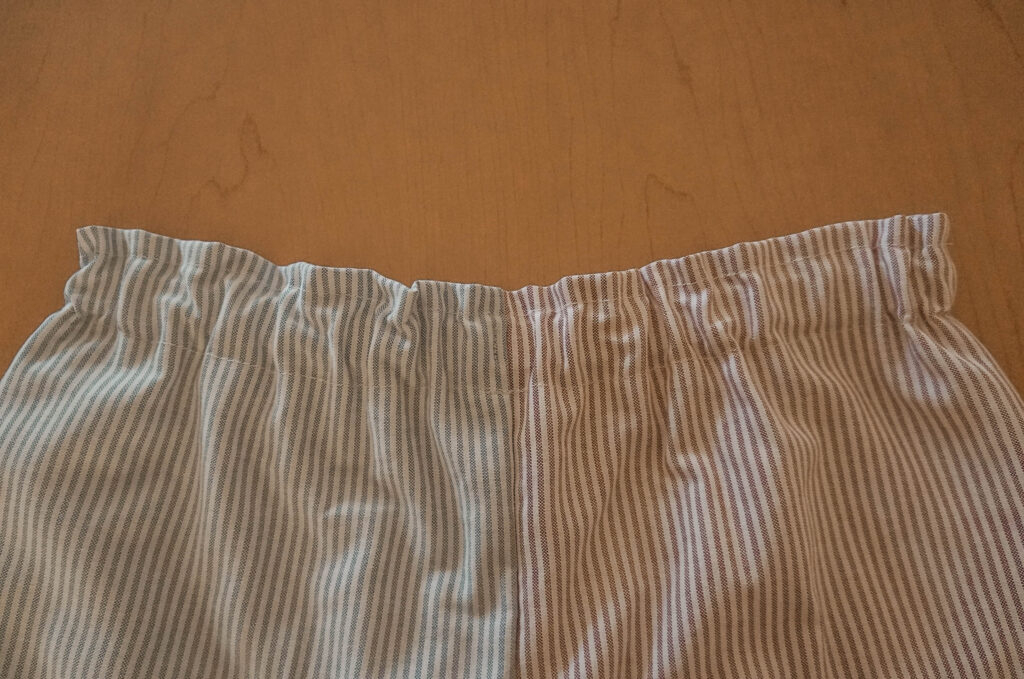
To make the paper waist, you’ll need to fold it 5 cm to the inside and sew it in place, 1 cm of the seam allowance.
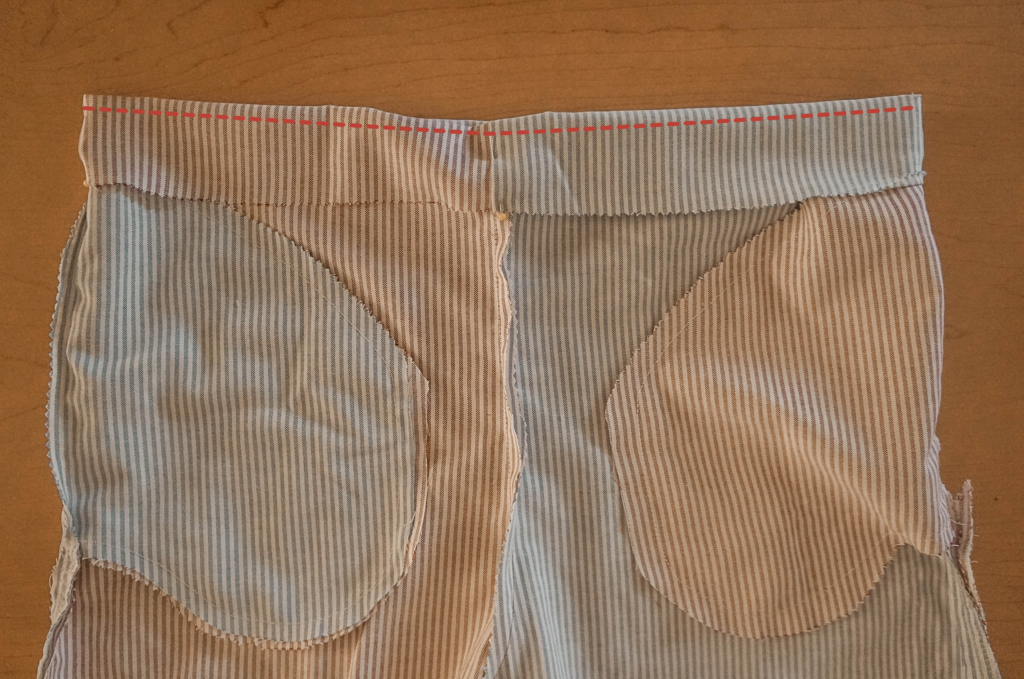
Then, take your elastic and place it inside the waist fold like this.
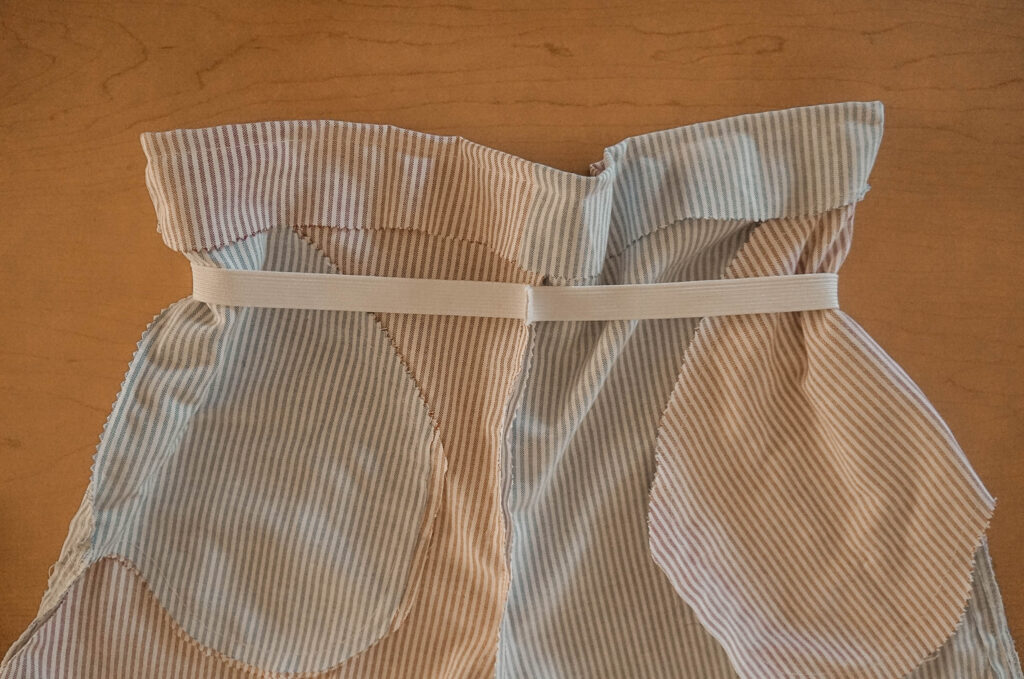
Make sure to align the elastic seam with the center seam of the shorts.
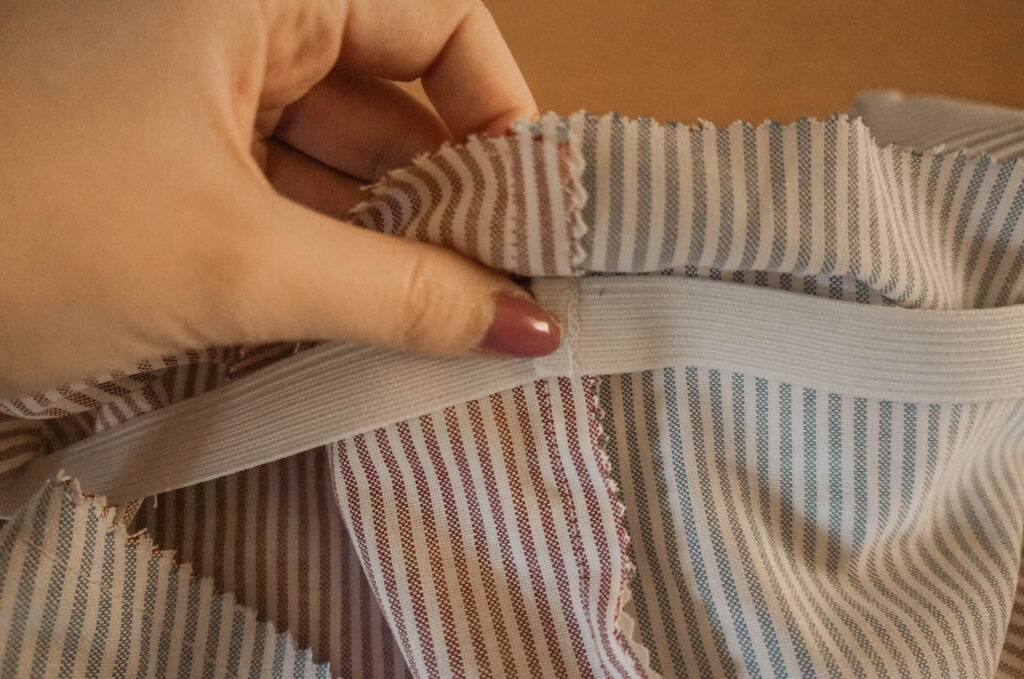
Cover the elastic all around the waist, and pint it down so it won’t move.
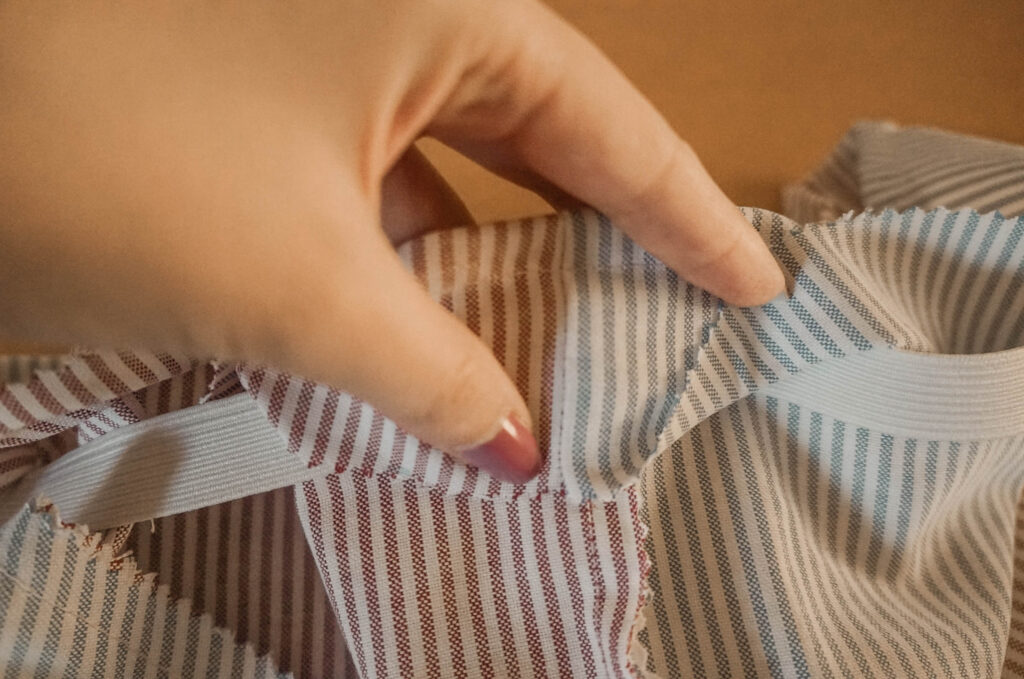
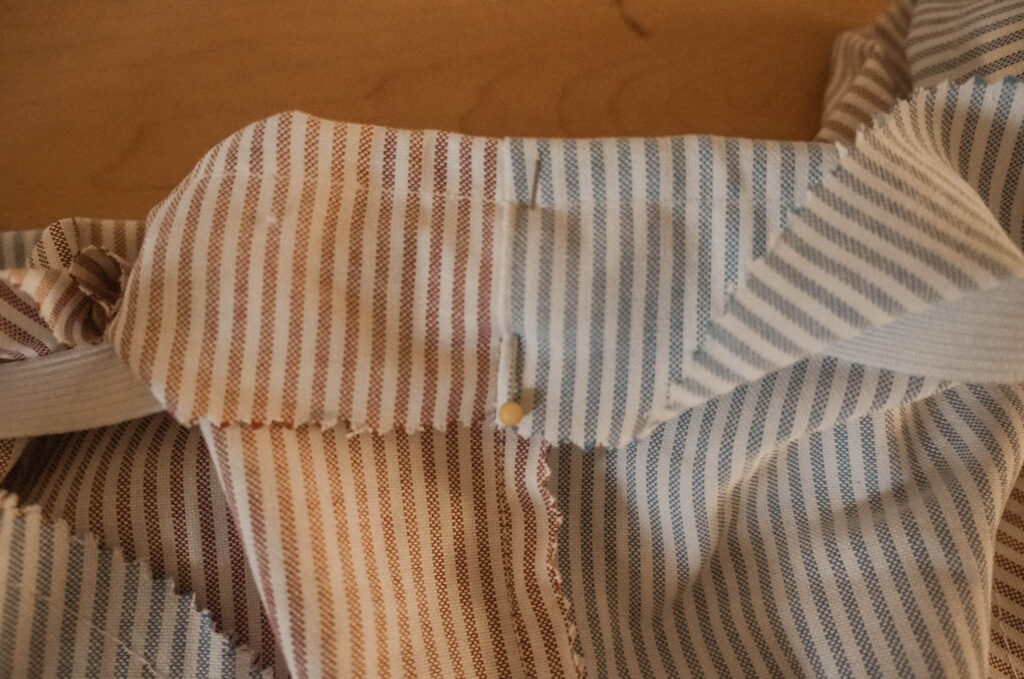
Sew that. Be careful not to sew the elastic, if you do it won’t stretch correctly. It should stay between the two seams.
Step 10
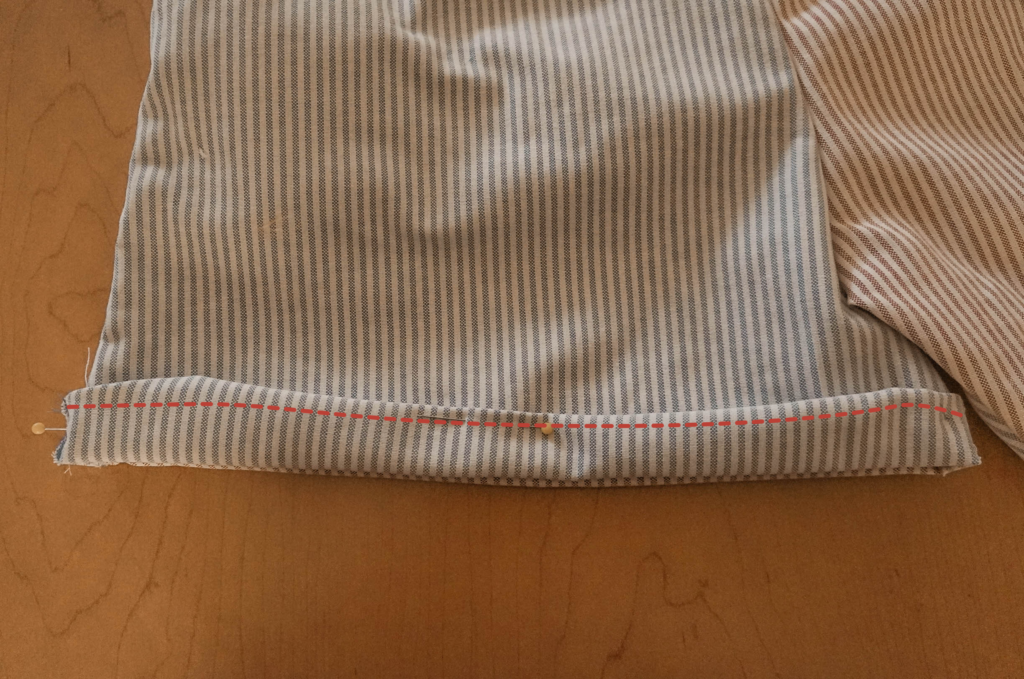
Finally, sew the hem of both legs. This time you can do it the fold to the outside. Like a rolled-up sleeve, but at the hem, it gives it a different look.
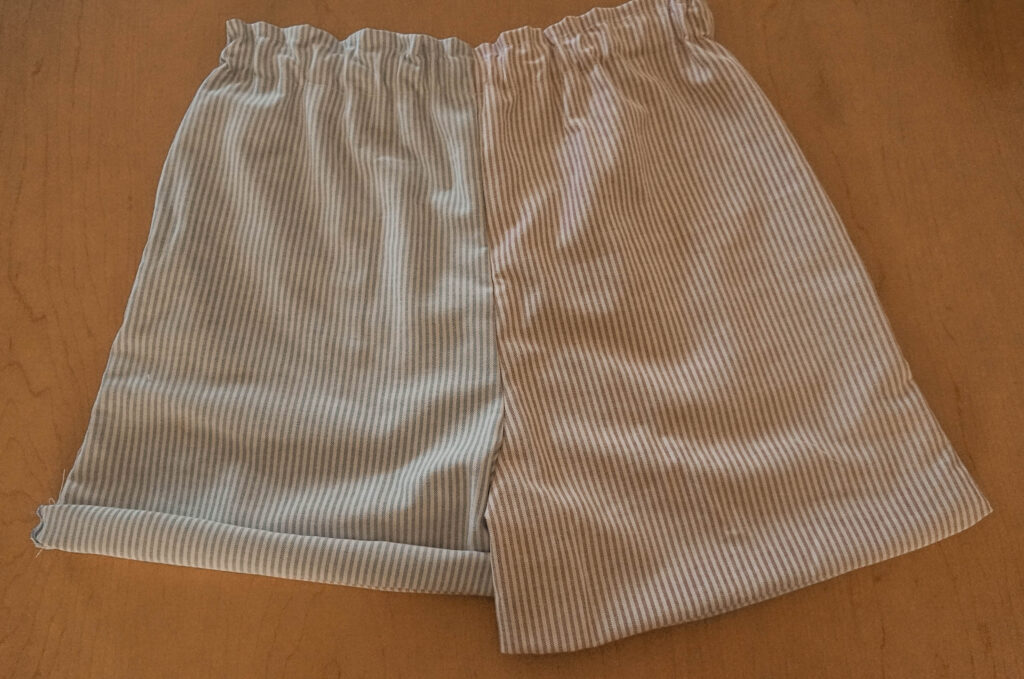
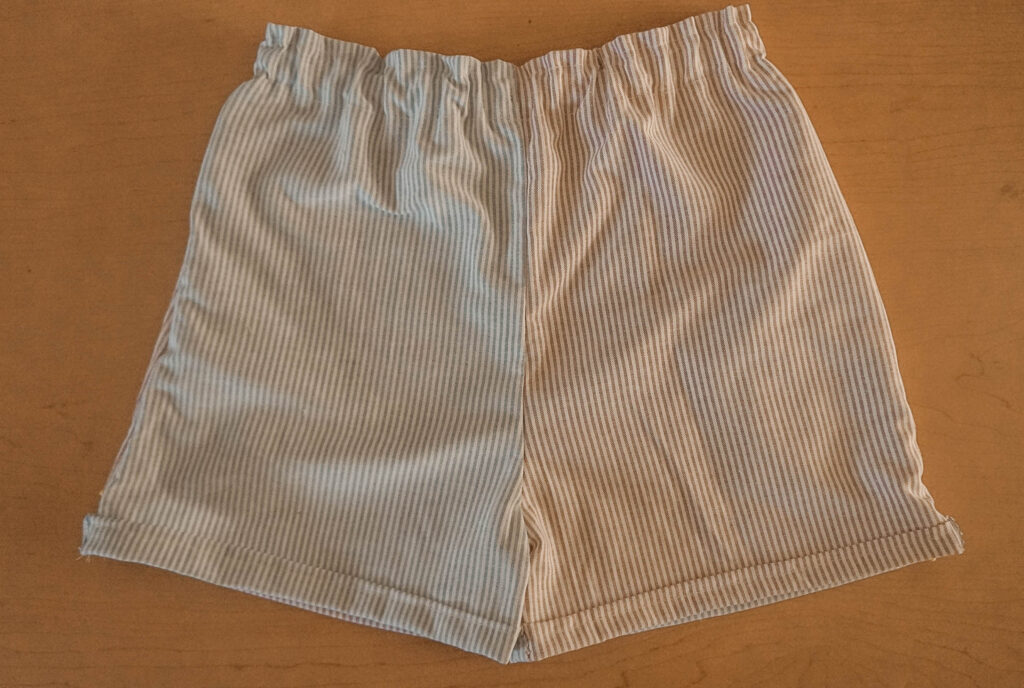
And there you have it, a new pair of shorts made by you! Doesn’t it feel great? To finish a sewing project, a garment made by you which you will wear many times.
Hope you enjoy making this upcycling project as much as I did.
And don’t be afraid if your shirts are of different colors or patterns, they could turn out lovely like mine.
become an official member of our club!
We would love you to be part of our community. There are monthly freebies, giveaways, weekly tutorials, and other secrets we only share with our insiders!
join at the end of the page
↓↓↓


Leave a Reply